Transom replacement

cjcooper

Member
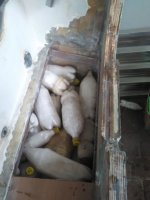
Next it Was fitting the new (partial) transom in place.

A thicker consistency of paste will be needed for this so the glue stay relatively in place. You can be liberal and the excess that squeezes out the sides can be used to round off the corners. This ease up the glass process later.
 

Attachments

  • 9a.jpg
    9a.jpg
    31.1 KB · Views: 146

cjcooper

Member
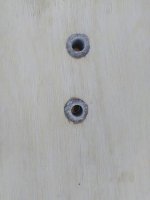
Note: use a piece of pvc pipe to plug the drain hole and keep the paste out. I am moving the fish hatch back to the pontoons so we installed a drain pipe there as well. The connecting ends of the pipe can be protected with masking tape.
 

Attachments

  • 9c.jpeg
    9c.jpeg
    36.8 KB · Views: 150

cjcooper

Member
As you can see the transom will be installed in sections. The Starboard transom next and the centre section last. Note the bevels to make sure the pieces are strong enough to resist beaching etc. These were built up gradually with layers of mat and chop strand.
 

Attachments

  • 9k.jpg
    9k.jpg
    31 KB · Views: 143

cjcooper

Member
The plan was to fit a push plate to the center and reinforce the section properly.
 

Attachments

  • 9m.jpg
    9m.jpg
    46.8 KB · Views: 144

cjcooper

Member
You'll see the joints aren't the same on the port as the starboard as the starboard transom was not part of the original plan. ( and I was not gonna buy another sheet ply.) But it will be leveled properly.
 

Attachments

  • 9n.jpg
    9n.jpg
    47.5 KB · Views: 145

cjcooper

Member
The wood is sealed with a strip in the corners and then a full sheet over the entire plank. A extra layer was then added in the corners.
 

Attachments

  • 9o.jpeg
    9o.jpeg
    31.9 KB · Views: 145

cjcooper

Member
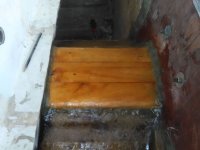
Next came the push-plate reinforcing at the center section. I wanted to spread the pressure area as far over the tunnel as possible and raise the floor height back to original. As stated before some of the design is best guess as the boat has been refurbished before and i'm not sure how much is still as the day it left the factory
 

Attachments

  • 10a.jpeg
    10a.jpeg
    31.7 KB · Views: 144

cjcooper

Member
A layer of strand paste used to glue the wood into position and round off the edges for matting.
 

Attachments

  • 10b.jpeg
    10b.jpeg
    30.3 KB · Views: 140

cjcooper

Member
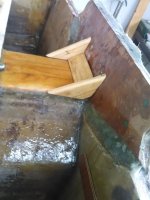
The gussets were installed using the strand mix as well. with mat to seal. additional reinforcing will be done after that floor section is installed as the floor will be flush with the tunnel reinforcing.

Extra mat was installed in a cris-cross patern over the tunnel planks. before the floor.
 

Attachments

  • 10g.jpeg
    10g.jpeg
    34.5 KB · Views: 142

cjcooper

Member
Center floor board installed following suit and corners lined with strand paste.
 

Attachments

  • 11.jpeg
    11.jpeg
    34.4 KB · Views: 143

cjcooper

Member
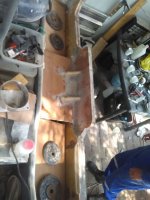
Rest of the floors install using the original scupper holes for a level and a slight modification to make the area more aesthetically pleasing
 

Attachments

  • 11d.jpeg
    11d.jpeg
    45.6 KB · Views: 142

cjcooper

Member
Installing the floor:

Note all planks were treated with resin on the bottom side before installing them.
 

Attachments

  • 11d.jpeg
    11d.jpeg
    45.6 KB · Views: 142
Top