My bucktail jouney

neilg

Sealiner
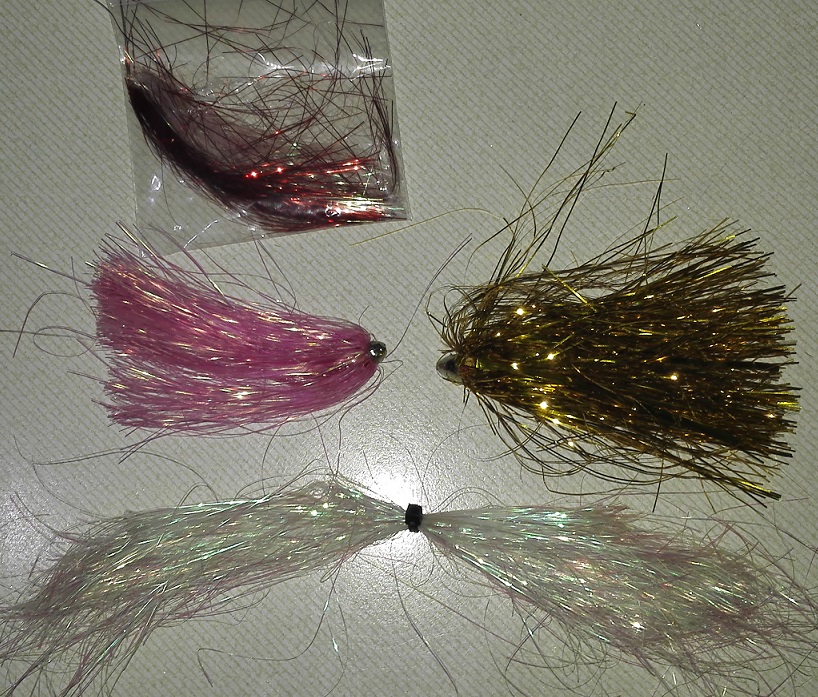
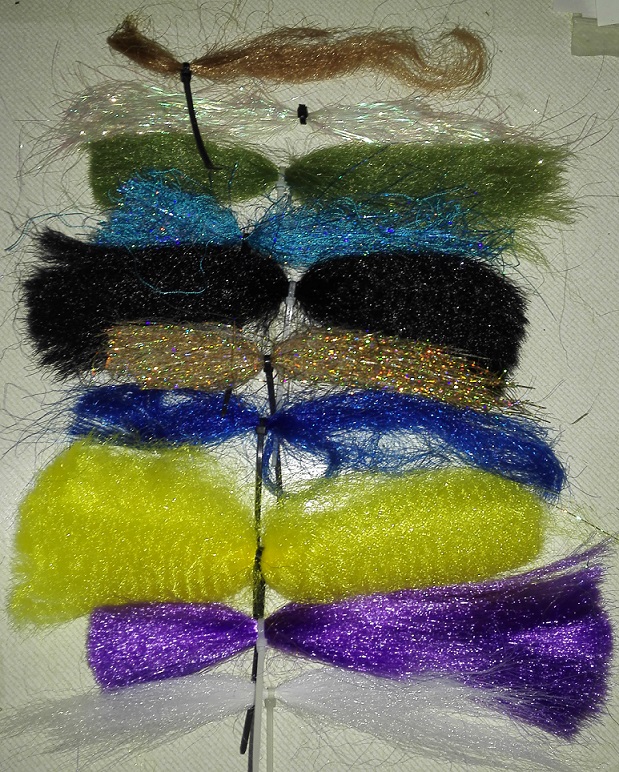
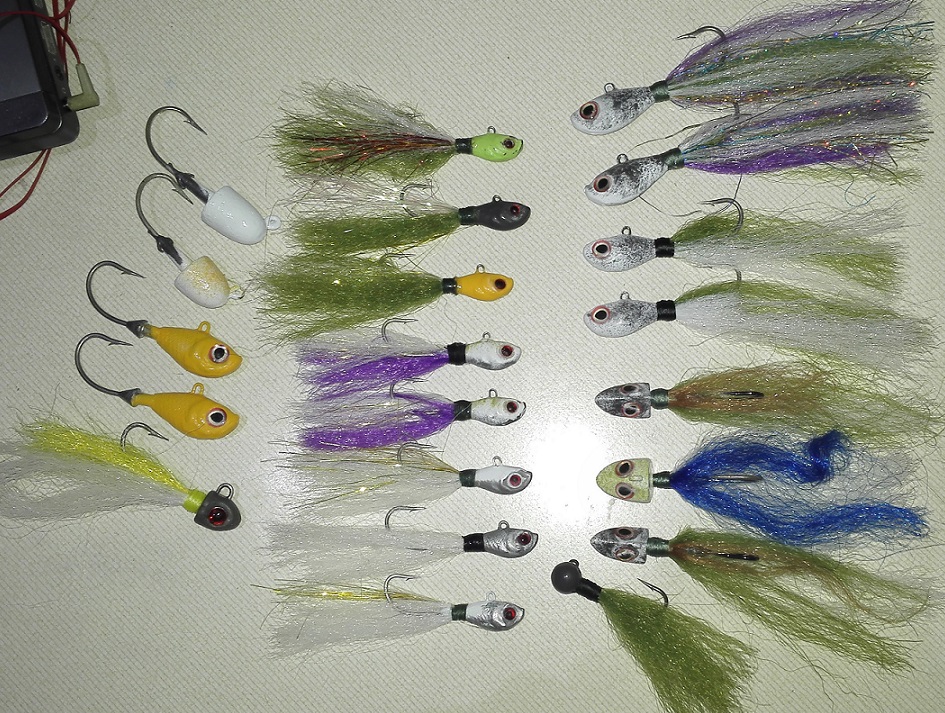
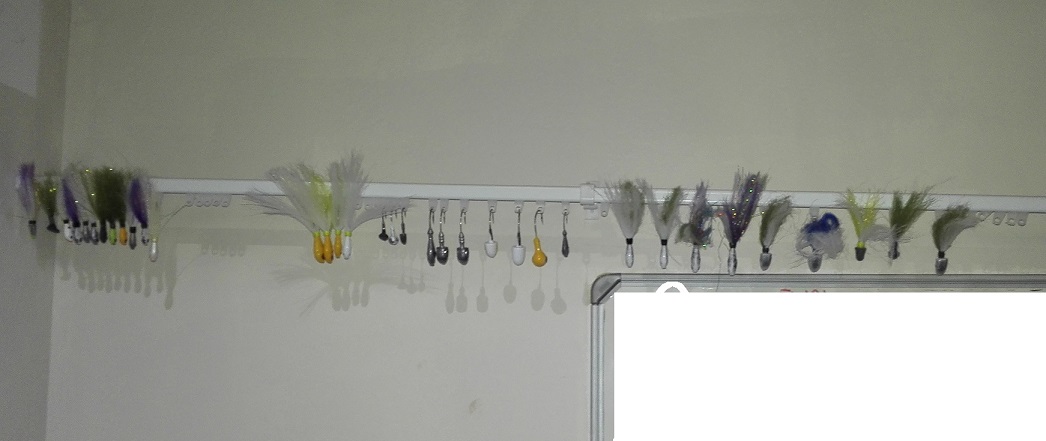
The fun part of making your own lures is you can make them exactly the way you want, which is what I have started doing, and will try to explain in this post

I have edited this post over the last few days to show how I do it

To those that have helped me improve the way I do it, thank you.

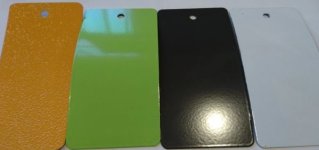
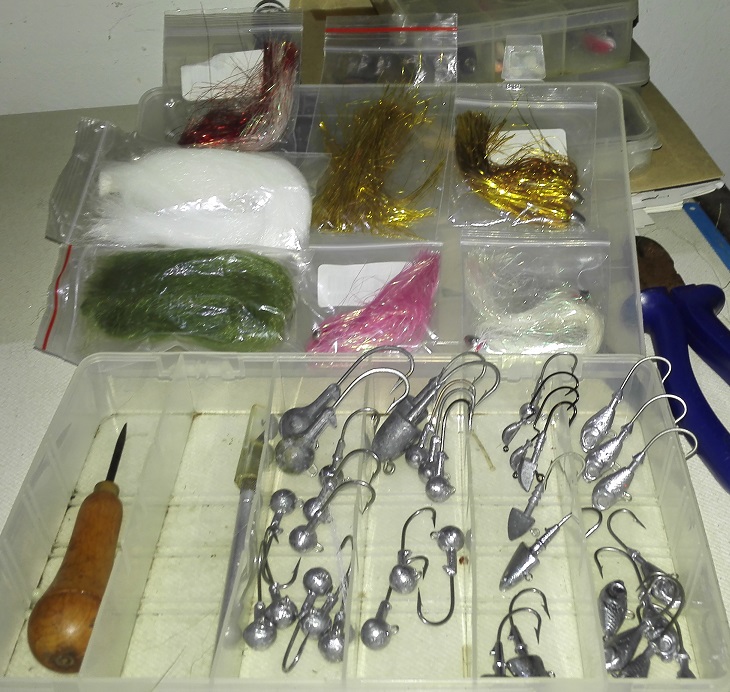
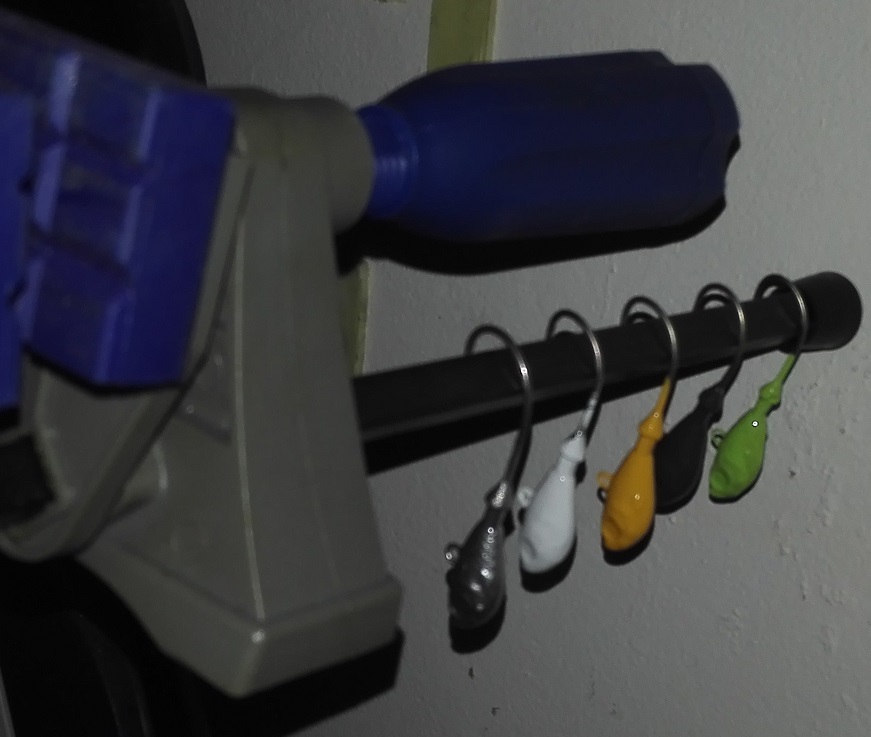
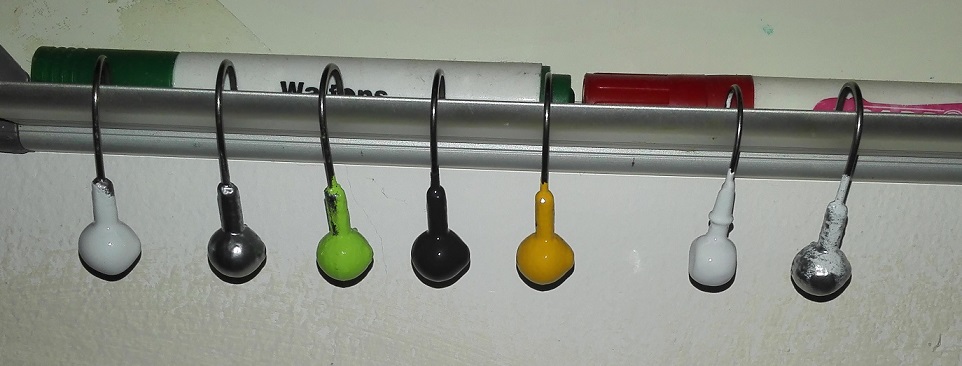
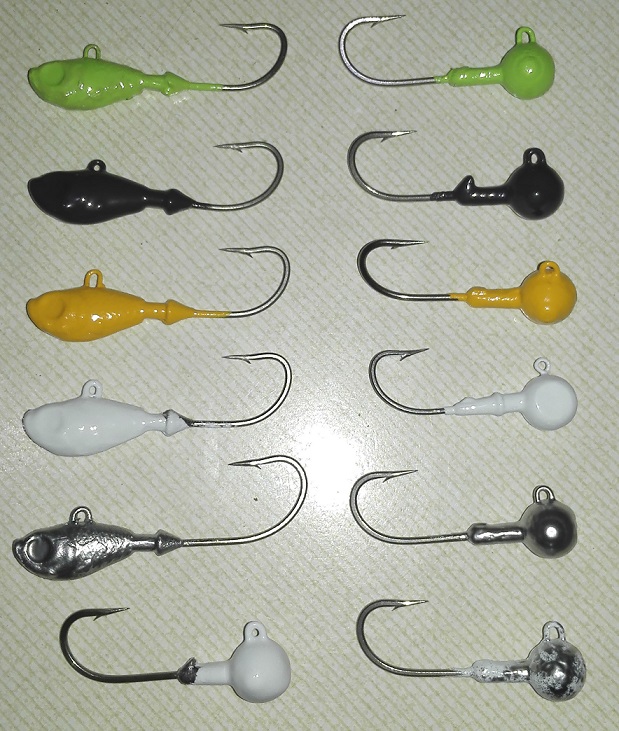
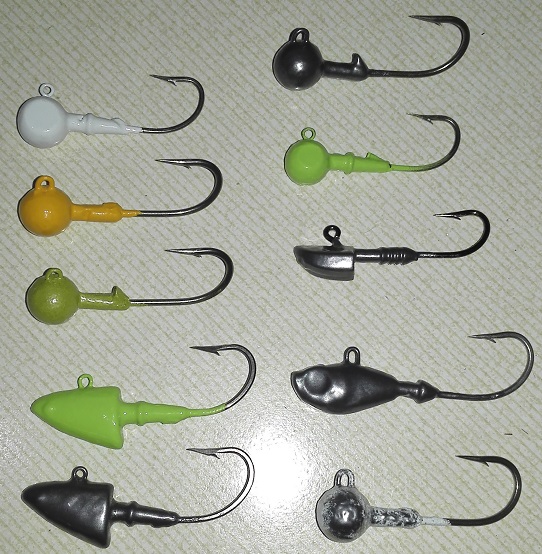
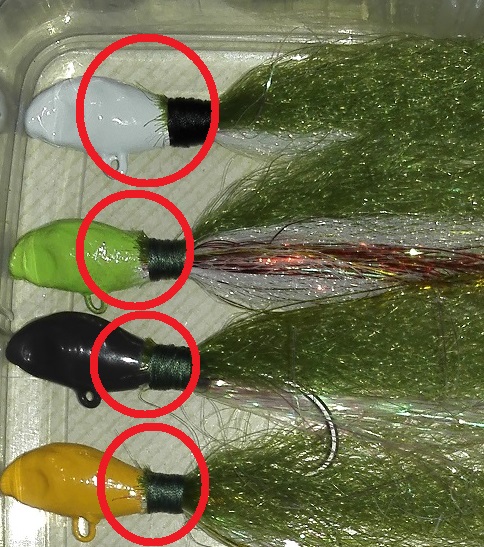
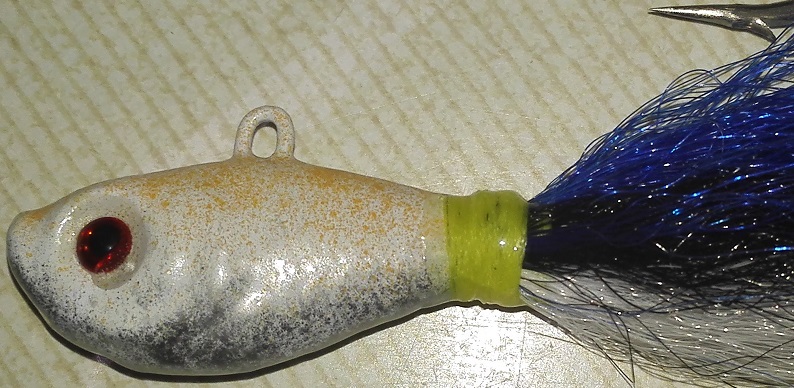
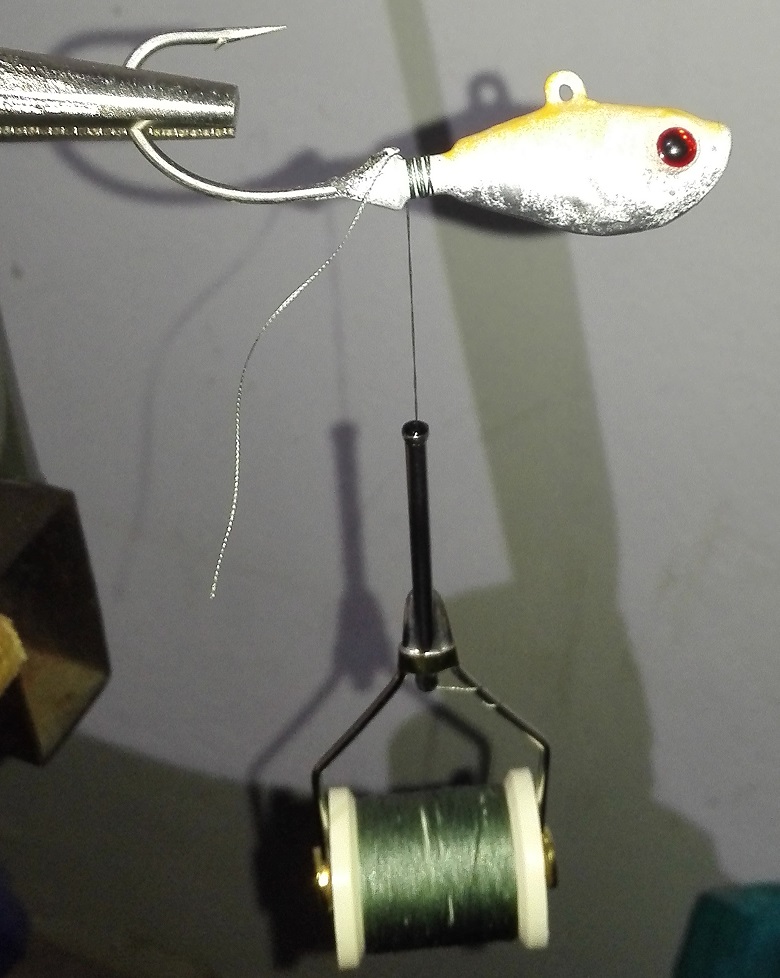
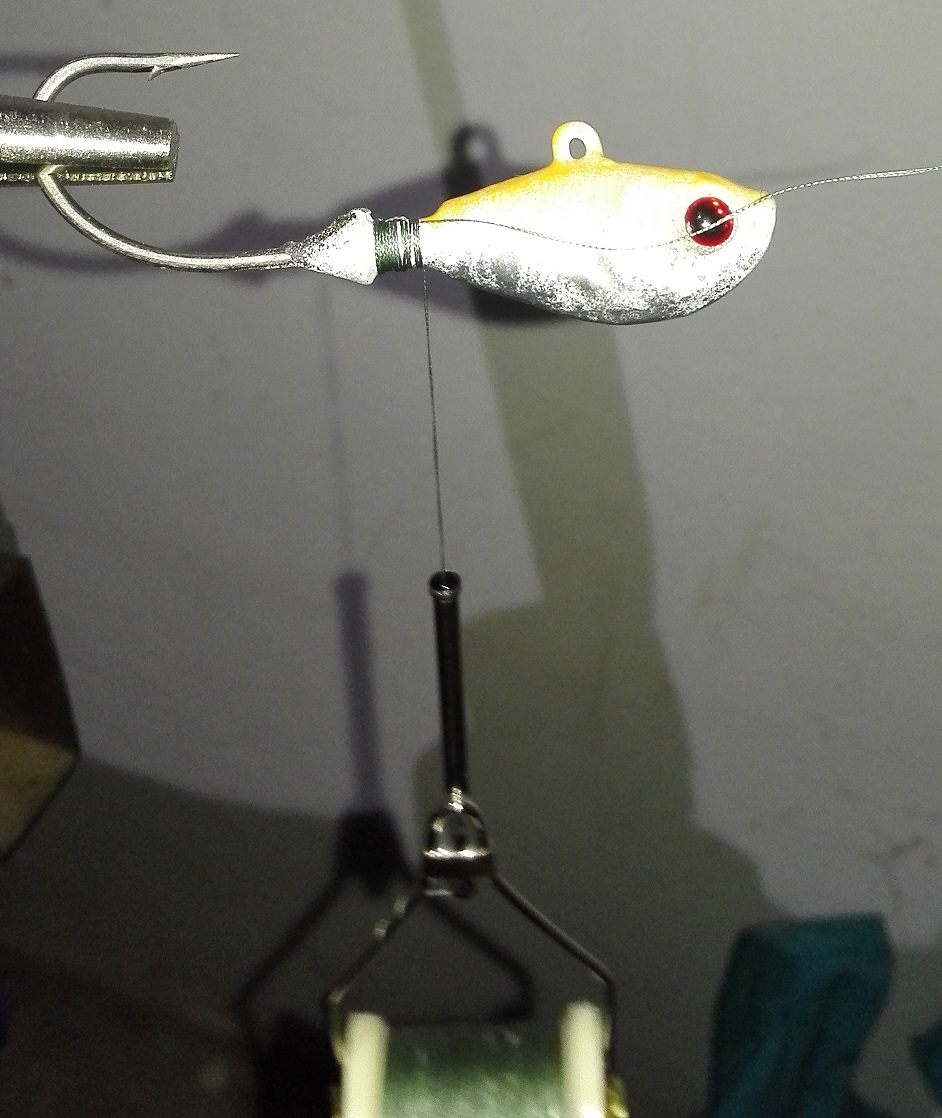
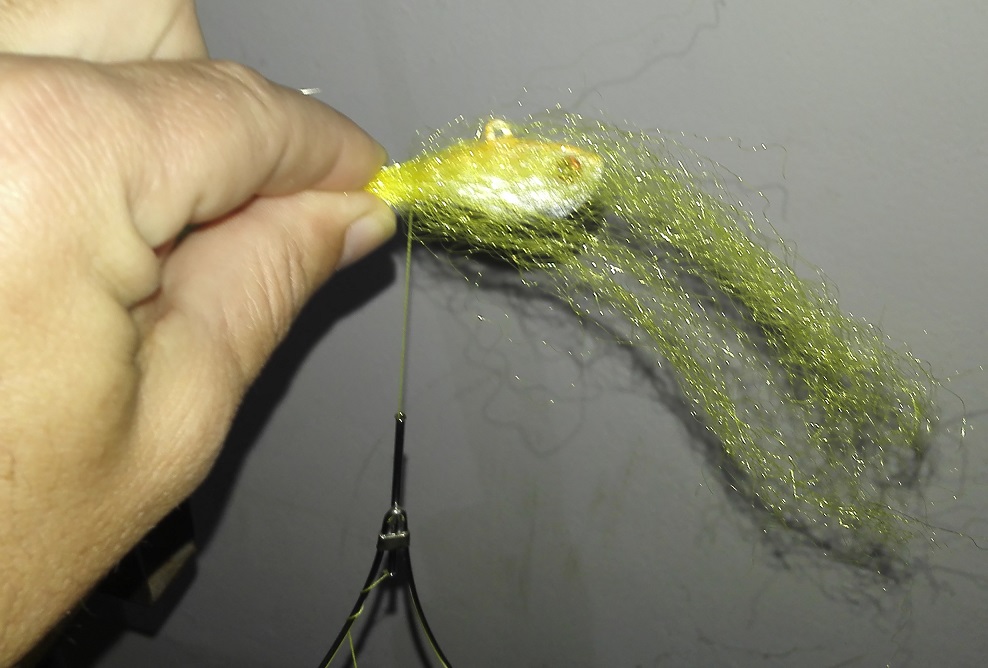
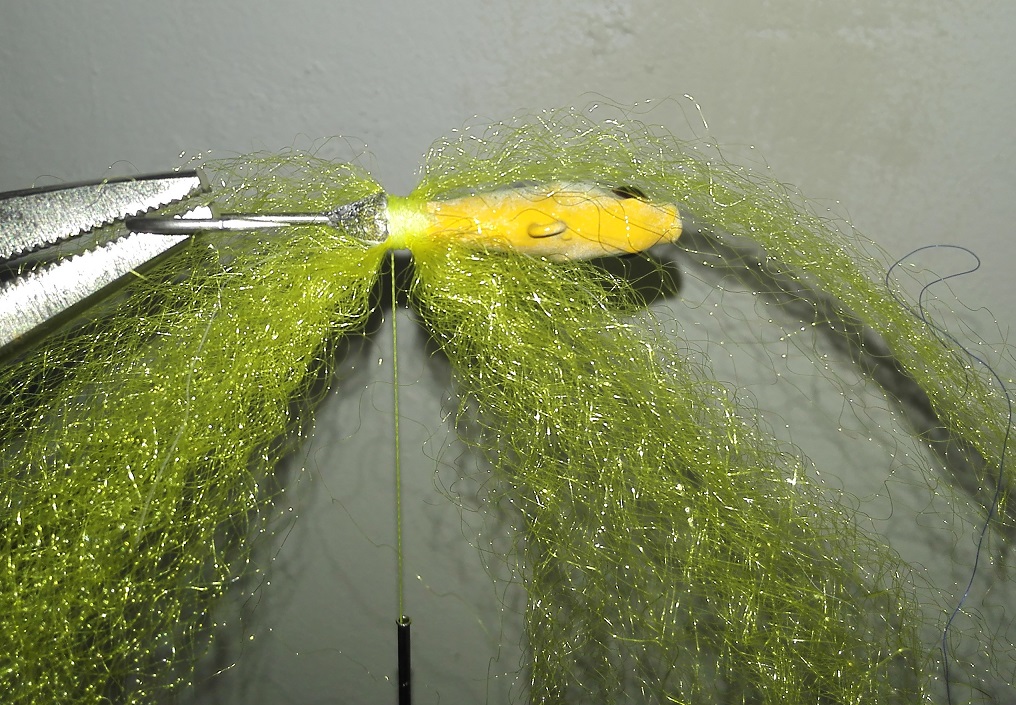
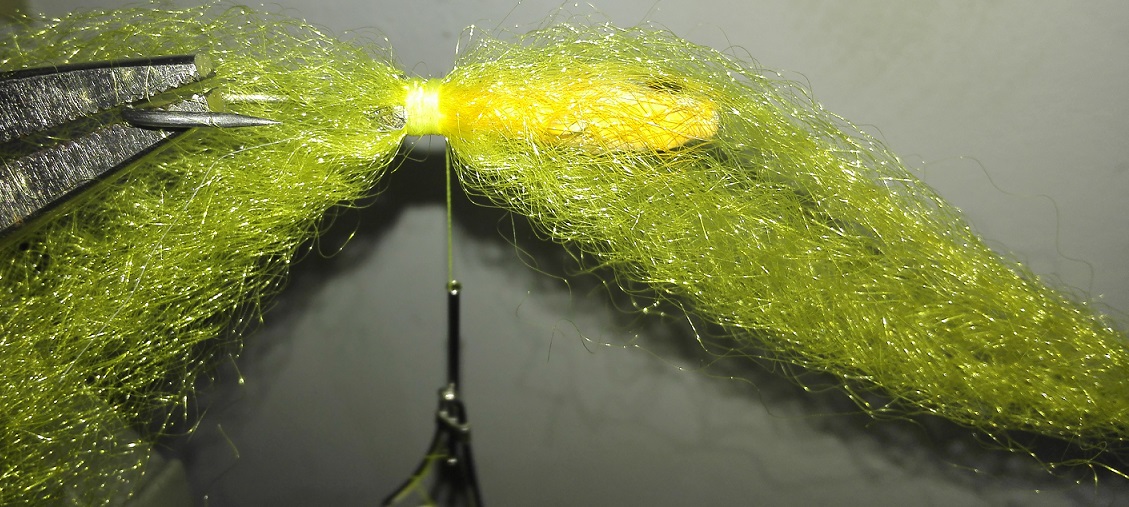
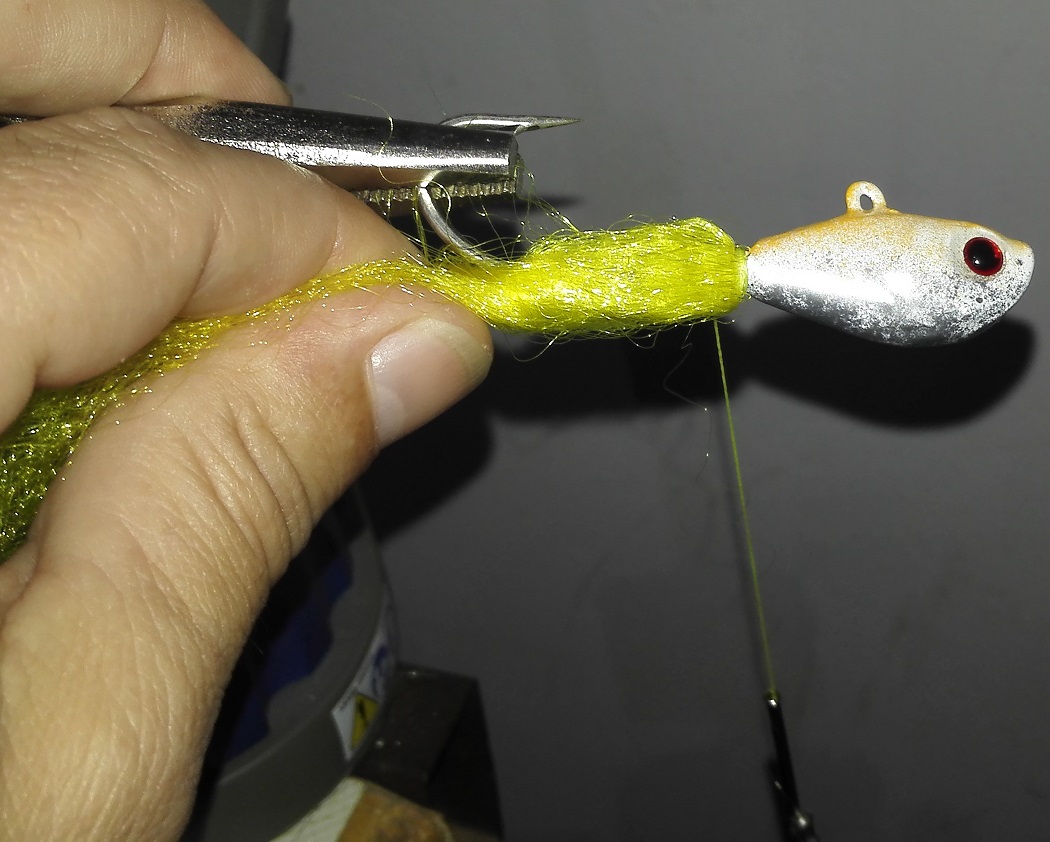
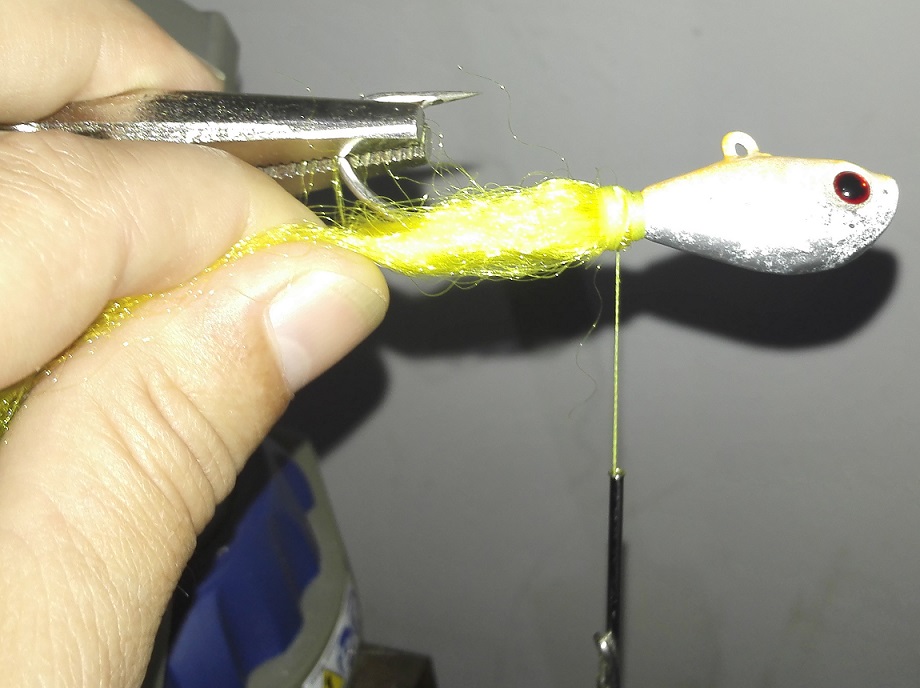
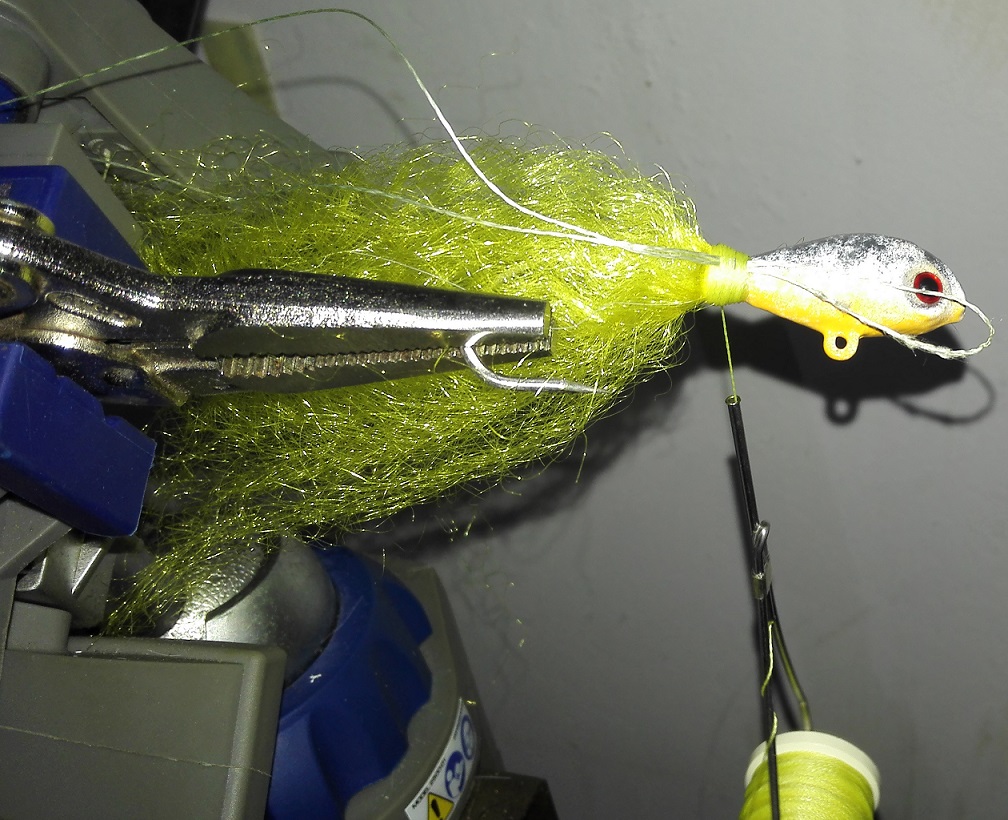
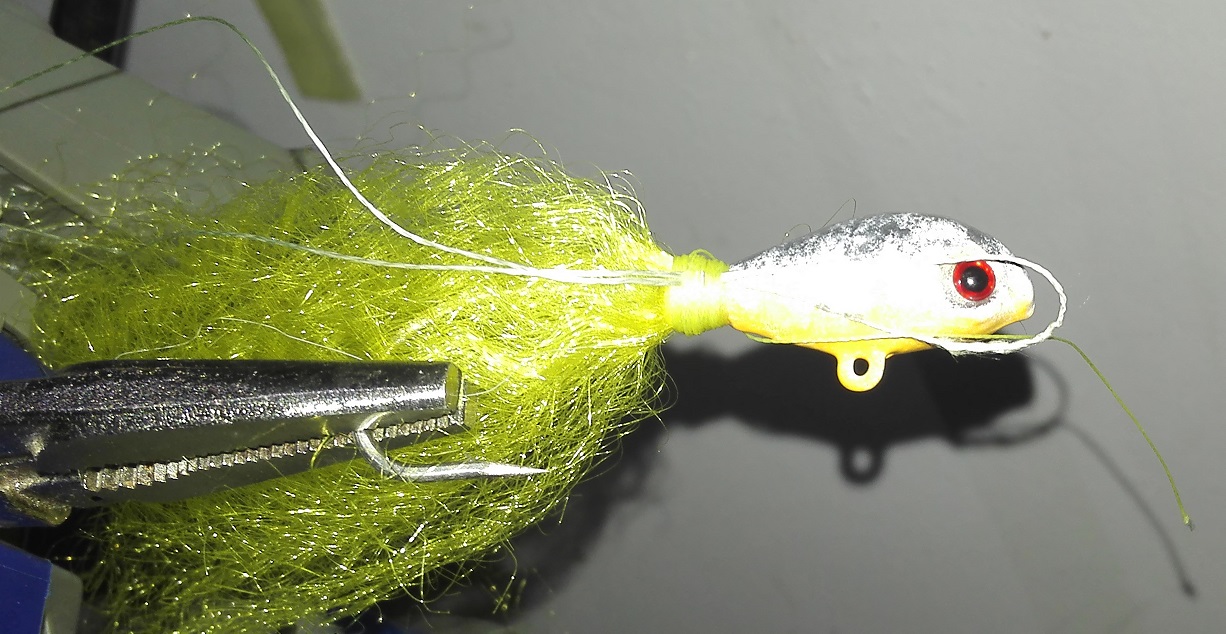
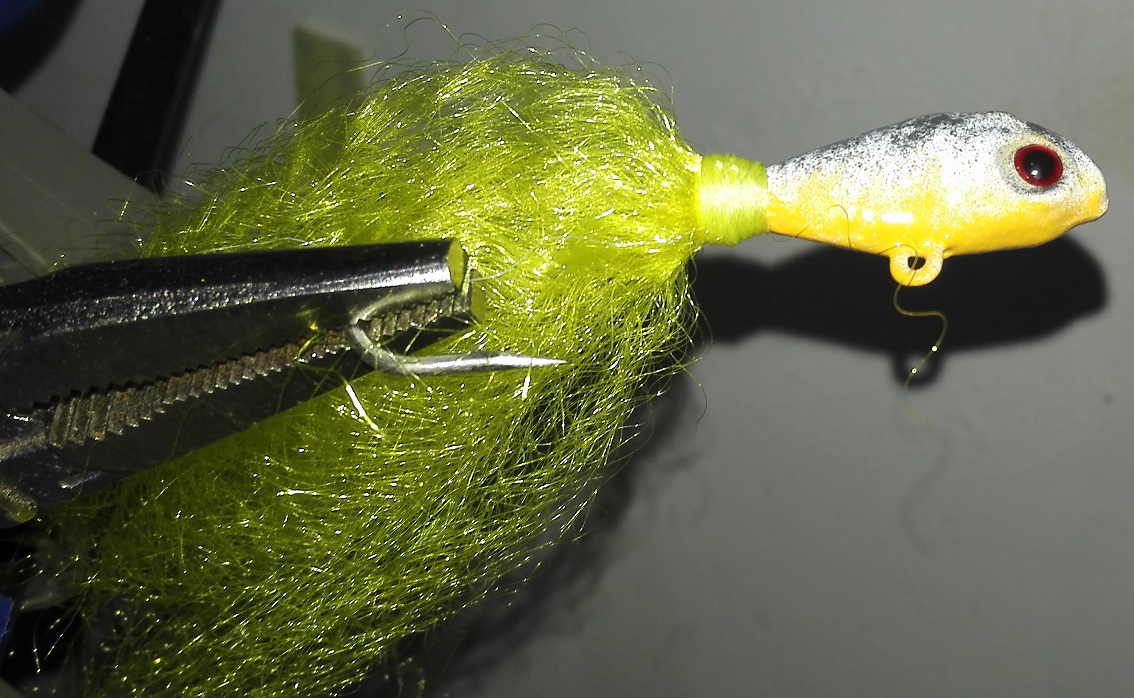
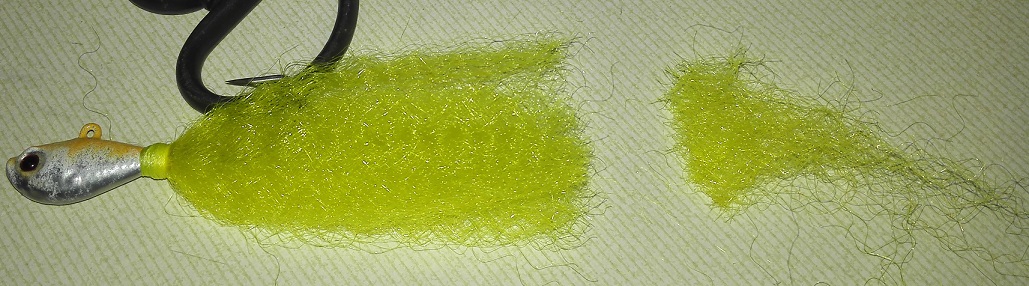
I bought some raw jigs (not doing the whole lead buying and mould thing, atleast not at this stage)

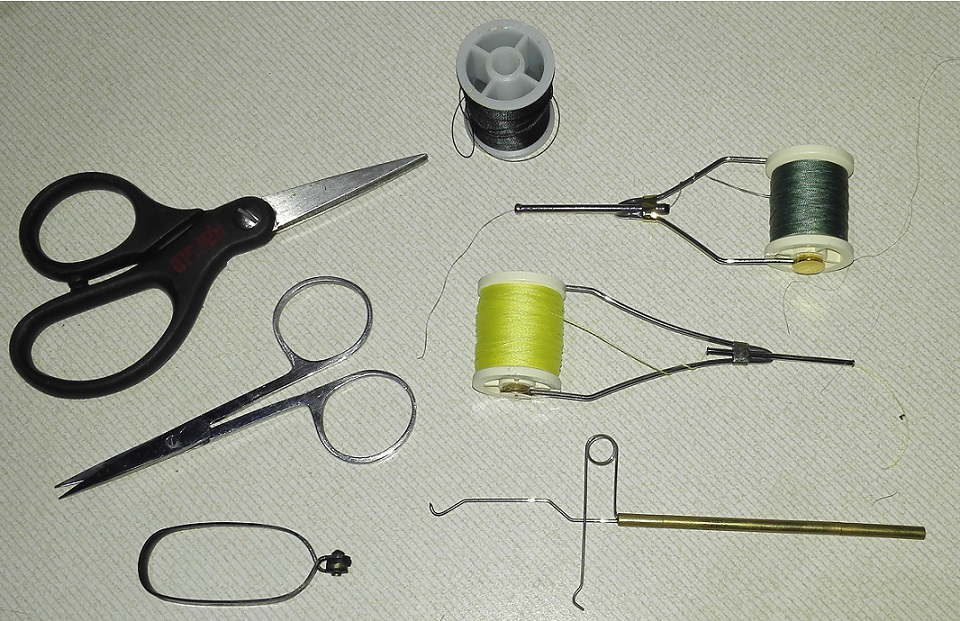
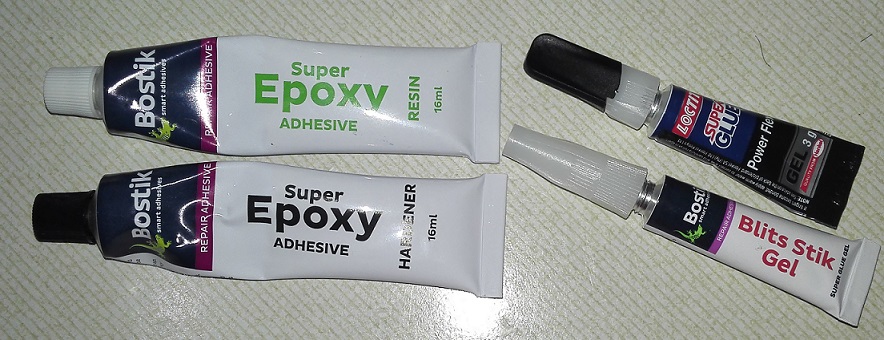
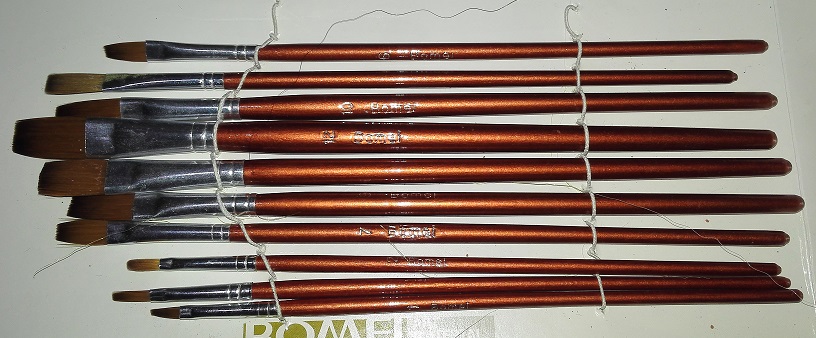
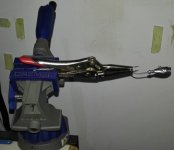
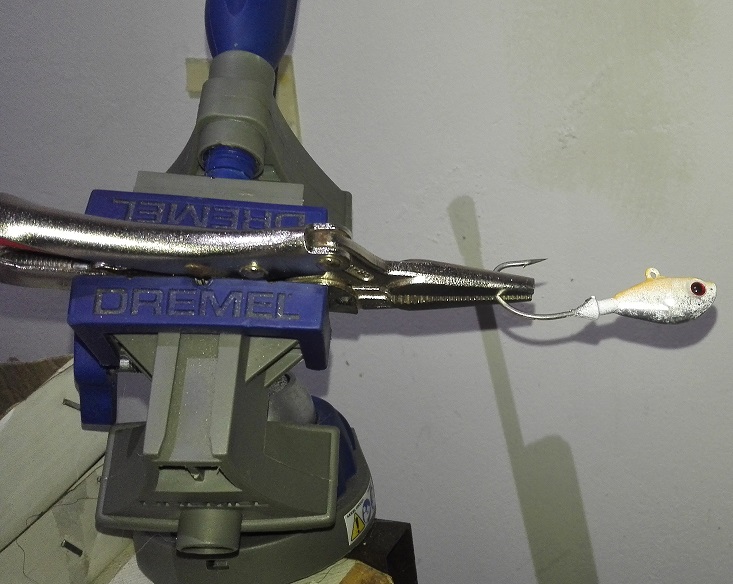
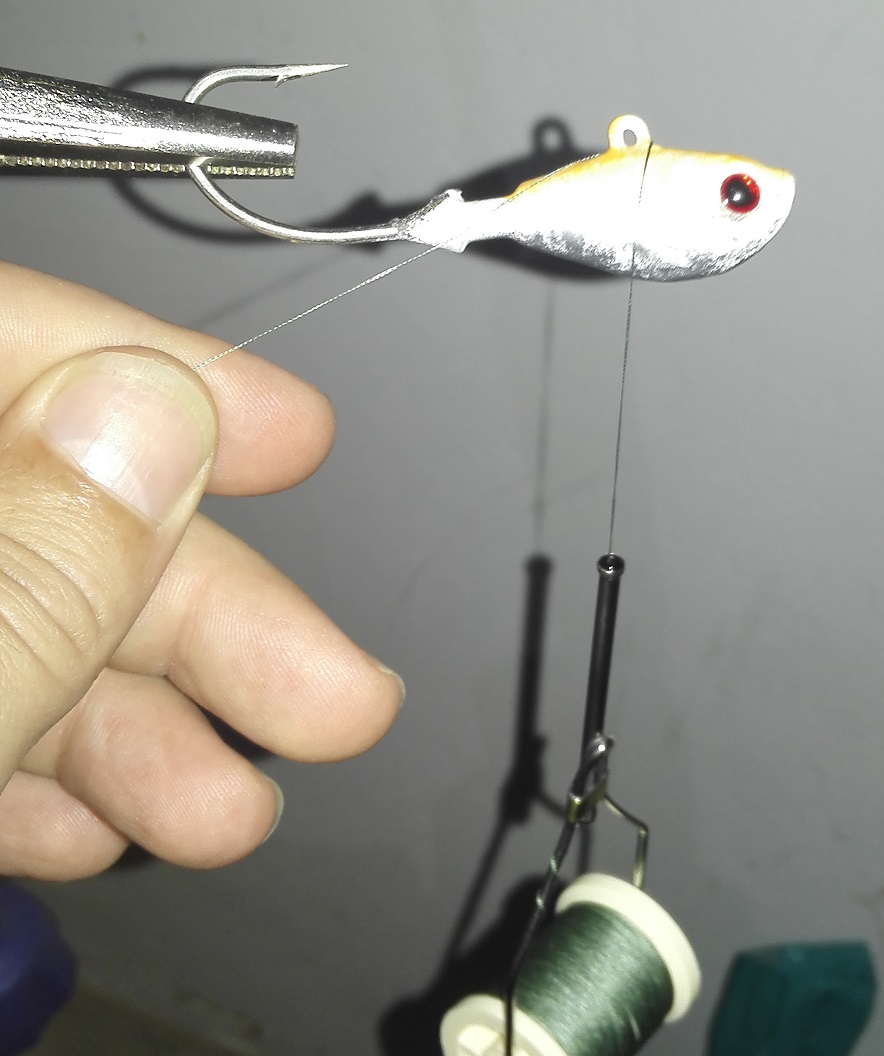
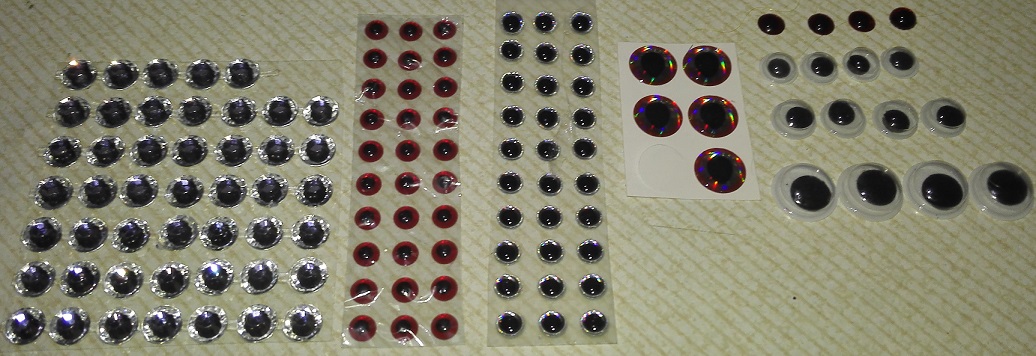
There are some specific tools that you need to make the journey easier, but in most cases I improvise with what I have.

The intention is to have a hobby and to make my own bucktail jigs, not to go bankrupt.

Watch this space it's gonna be fun

Update Notes
  • 5 August 2017
  • 9 August 2017


Just a note, there are many videos on youtube that show you the whole process ...
 

neilg

Sealiner
I bought the following powder coating powder colours :

Silver
Green
Dark Yellow
Black
White

Powder coating powder is not supplied in "testing" quantities, so I had to buy quite a bit of it

I then split it into small containers for me to use
 

Attachments

  • powder coating colours.jpg
    powder coating colours.jpg
    16 KB · Views: 866

neilg

Sealiner
Here is the basic tools needed for the job :
- Fly tying bobbin
- Different thread (I use old thin braid)
- Good scissors
- Heat gun
- Vice to hold jigs

You will also need some glue, used to seal the thread and glue eyes in place
- Superglue
- Epoxy

Paintbrushes used to sprinkle powercoating when you go 2 and 3 tone, and also used with Epoxy
- Buy quality stuff


All that you really need

Bezj6mFC.jpg


nCe5m7SX.jpg


aXtqNFmd.jpg
 

neilg

Sealiner
Here is my improvised tying "machine"

A Dremel hobby bench vice that can swing and turn
A Mastercraft Long Nose Vicegrip to hold the jig
Works like a charm

Proper fly tying vices can cost anything from R200 to R5000 and even more

At this stage I use what I have
 

Attachments

  • IMG_20170630_175232.jpg
    IMG_20170630_175232.jpg
    28.5 KB · Views: 830

neilg

Sealiner
Jigheads
- all the different sizes and shapes that you need (and afford)
- I mostly go for 1/2oz, 1oz, 1.5oz
- I also use some of my old dropshot jigheads


"Bucktail", I mostly use the synthetic stuff, it's cheaper
- Note the cable tie in the middle, helps that I don't pull out more than I need
- I have a few different colours to play with


sgkSQXlf.jpg


MQthzsZr.jpg


QPDBkj6O.jpg
 

neilg

Sealiner
The powder coating process explained
- The powder needs to be in a container that is deeper than the size of the jig, and large enough for the jig to easily fit into
- The lead needs to be warm before you dip it into the powder
- You need to "fluff" the powder, I use a pencil to stir the powder
- If the lead is not warm enough the powder won't stick
- If the lead is not warm enough the powder wont "melt"

If you really want to do it properly you will need a small oven to bake the jigs in for about 30-60 minutes, all excess powder coating will then drip off and the coating will become very very hard

At this stage I don't have a oven, but will get one in the next few months.

When it comes to powder coating jigheads, practice makes perfect, first practice on some old ball sinkers/


The process
- Heat jig up with a heatgun - around 25-30 seconds
- Swirl the jig through the powder coating powder
- Tap jig on the side of jar to get excess powder off
- Heat the jig with the heatgun again, making sure all the powder "melts"
- If you have an oven then bake in oven for 30-60 minuts
- Hang the jig to cool down


Here I've powder coated a few different jigheads


BUmMbK4N.jpg


S1rUlYBe.jpg


OZy2pjJK.jpg


wgsBN54E.jpg
 

neilg

Sealiner
So now it's time to tie on some bucktail in which ever colours you prefer

In the beginning I tried to cut the "bucktail" just long enough so that I don't waste, but that creates other quality control issues
- you will have pieces that stick out
- the bucktail will pull out over time

See the pic below, notice the bucktail sticking out, you have to try to cut this with a blade WITHOUT cutting the thread, not worth the trouble !

OiT5qFBR.jpg


I asked some questions and were given some suggestions that make the process easier and better.

DOUBLE the length of the bucktail, that solves the quality control issues.
- More on what to do later
If the tail is too long after tied just trim to desired length

See below, looks much better

Imdjd4hJ.jpg


OK lets do some tying


i3rXY37C.jpg


HjikUHB8.jpg


i3cnQADw.jpg


RsWQ67ZP.jpg


Rx80VL0U.jpg


VUMljrZL.jpg


8NCSfKlZ.jpg


NOhAVvJi.jpg


lMzAQqOY.jpg


aVpYIV8D.jpg


wl6SLyAd.jpg


xNkcBNVv.jpg


711E4RHh.jpg


yECfczV5.jpg


dZpcWAUZ.jpg


5qHtarW6.jpg


GU6mT9uW.jpg


neilg

Sealiner
In the example above I used a jig that I already attached eyes to it

I try to make about 5-10 jigs before I get to the epoxy coating part, reason
- every time I epoxy I throw away a small artists paintbrush
- the epoxy stays "liquid" long enough to seal the thread and put eyes on about 5 bucktail jigs

I suggest you mix in small quantities
I suggest you first seal the thread and then attach the eyes

Attaching eyes

When I started I did not believe that attaching eyes was worth the trouble, but was convinced otherwise

I have found that eyes are quite hard to find, and expensive aswell.

I bit the bullet and got some, and have to agree it does look good on lures

To attach the eyes :
- superglue (Word of caution, don't use too much, at makes the eyes fade)
- clear epoxy (takes longer but no white eyes)


ZbnMPYwp.jpg
 

Malboer

New member
Hi Neilg

Eyes is very impotant. I know a couple of hardcore lure fisherman that if even his best lure loses a eye he will change it with another or fix it on the spot. You will get away with not putting on eyes but your strike rate will improve drastically with eyes. its a natural response from attacking fish if somethings fishy (already artifisial and no eyes) sometimes they will turn away from the lure. I am no expert maybe someone like Bennie could elaborate more on this.

eyes is easy, do a trip to the crazy store they have all sizes and not expensive at all. make sure you cover them properly with epoxy as they arent water tight. should last a couple of outings and then needs to be replaced.

One sugestion I have when tying your bucktail to the jigs tie them on the wrong way first(tail to the front) then double back and do your final tie. it gives it a nice rounded look where the bucktail meets the jig and the ends thats always a hassle to trim is not there.

Looking good. keep it up

Happy building
Malboer
 

Jacquesdw

Senior Member
Those are looking good!
A nice trick I was shown when tying bucktails with artificial materials, is to use half the width of material and twice the length. You tie down the material in the middle securely, so half of it is facing forward, then fold it over backward, position it and wrap tight. This means the material is anchored very securely and there is no need to trim around the head. Does not work so nice with real bucktail though.
Eyes are good and they are cheap from fly tying shops. Also, some nail polish in clear, glitter is cheap and adds a great finishing touch.

EDIT- Just saw Malboer suggested the same
"One sugestion I have when tying your bucktail to the jigs tie them on the wrong way first(tail to the front) then double back and do your final tie. it gives it a nice rounded look where the bucktail meets the jig and the ends thats always a hassle to trim is not there."
 

neilg

Sealiner
Myself and Ethan went for a quick session in Swartkops using my home made bucktail jigs, I got 3 leeries and Ethan got 2.
 

Attachments

  • Ethan1-13Jul (1).jpg
    Ethan1-13Jul (1).jpg
    54.6 KB · Views: 567
Top