
i've always thought of the shimano tekota series of reels as the blue collar version of the calcutta. the shifting mechanism of the calcutta was always the problem. the tekota design addressed that issue very nicely. here is the schematic
http://fish.shimano.com/media/fishing/techdocs/en/TEK500lc_v1_m56577569830498843.pdf
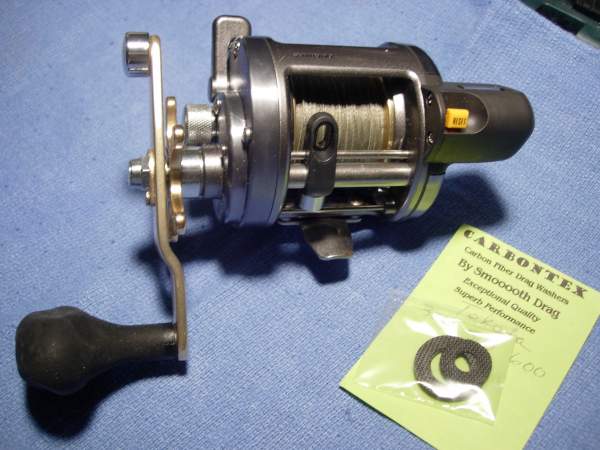
and here is our reel. this particular customer wanted to leave the handle stock, so we will be lubing the bearings and replacing the drag washers.
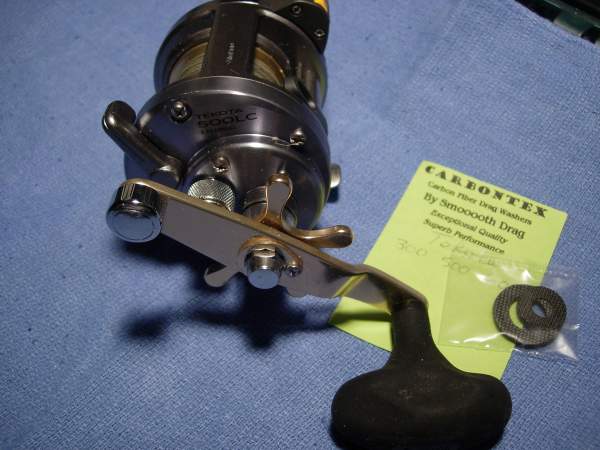
remove the four left side plate seal screws (key #546).
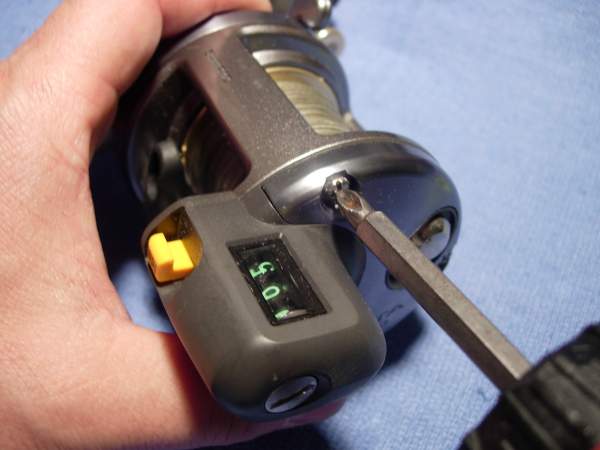
remove the left side plate (key #543) and cover (key #544) as a unit. take a moment now to add a light coat of grease to then inside of the cover and the outside of the left side plate. an old toothbrush works well here.
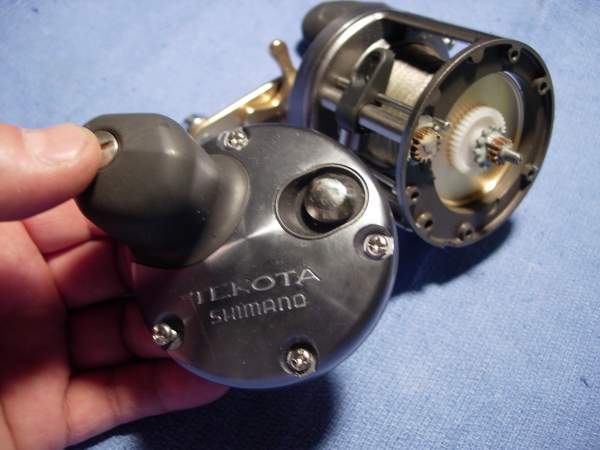
remove, clean and lube the idler gear "B" (key #533).
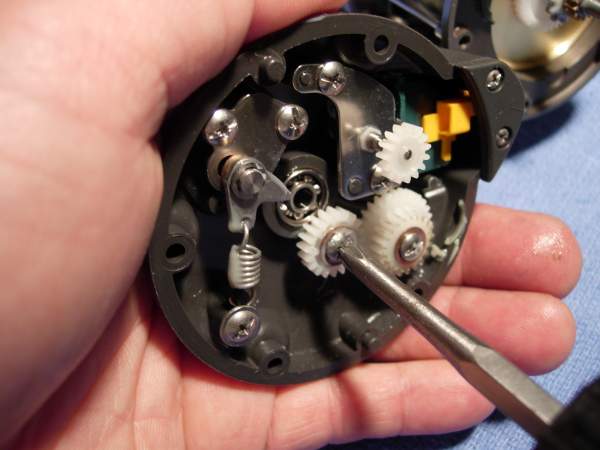
remove the left side plate bearing (key #484). this bearing measures 4 x 11 x 4mm.
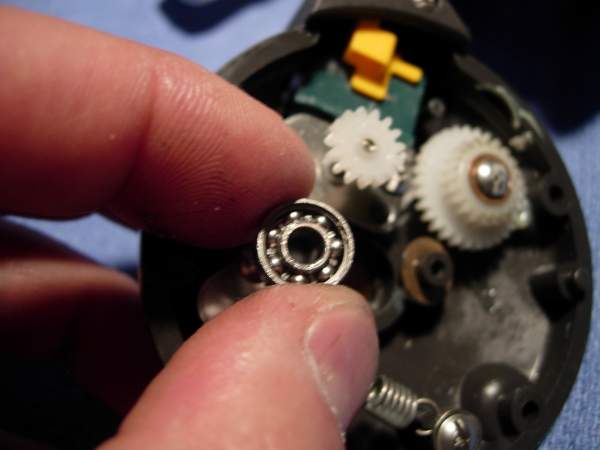
clean this bearing out and lube it with the lube of your choice.
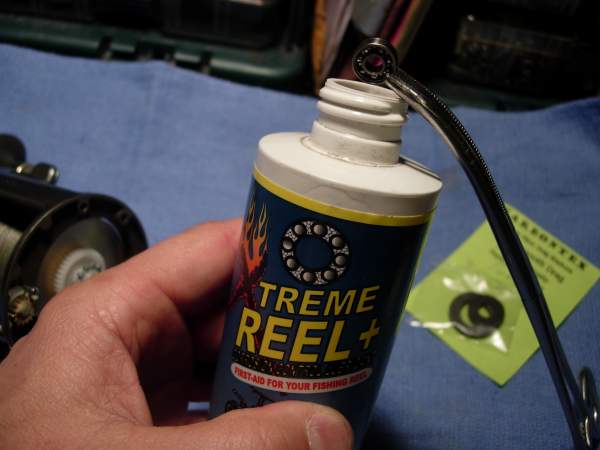
reinstall the left side plate bearing (key #484) and the idler gear "B" (key #533).
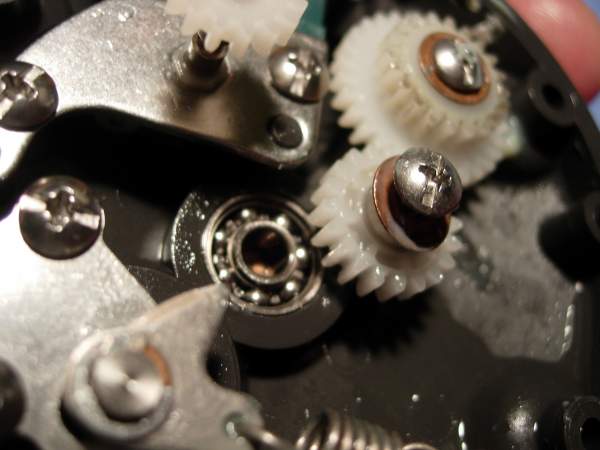
remove, clean, lube and reinstall the idler gear "D" (key #541).
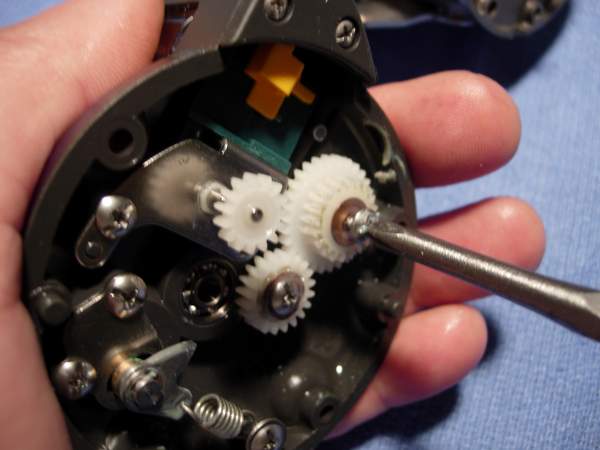
clean off the extra grease from the left spool shaft.
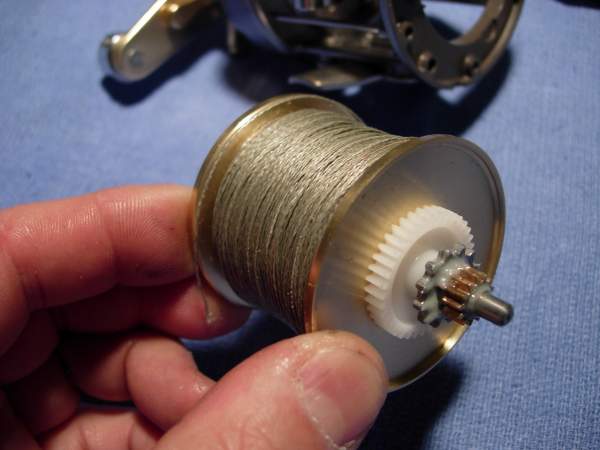
lube the right spool bearing (no key #). this bearing measures 6 x 12 x 4mm. go to http://alantani.com/index.php?topic=13.0 for information on servicing this bearing.
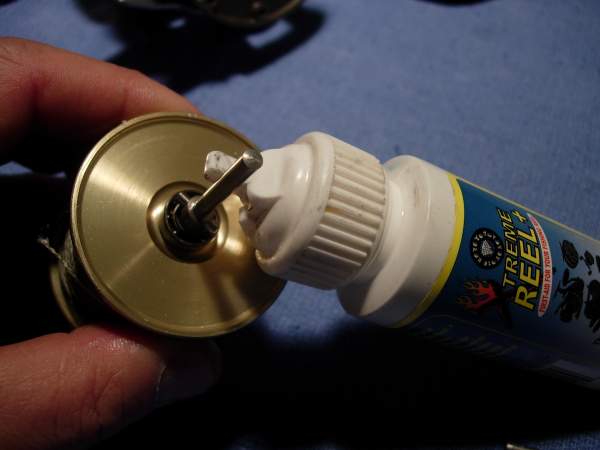
we need to clean and lube the levelwind assembly, including the line guide pawl (key #520).
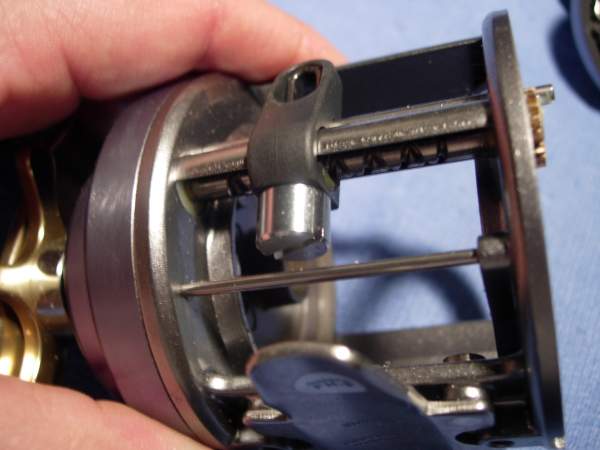
to remove the pawl cap (key #522), you have to remove the stabilizer bar "B" (key #529).
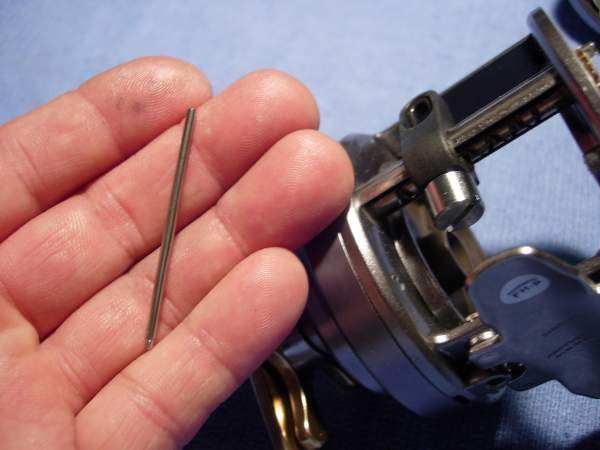
remove the pawl cap (key #522).

clean and lube the line guide pawl (key #520)
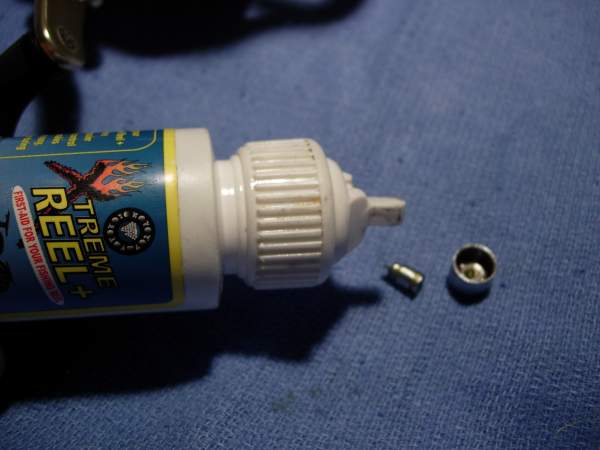
clean the worm shaft (key #530) with carburator cleaner and compressed air, then lube it.
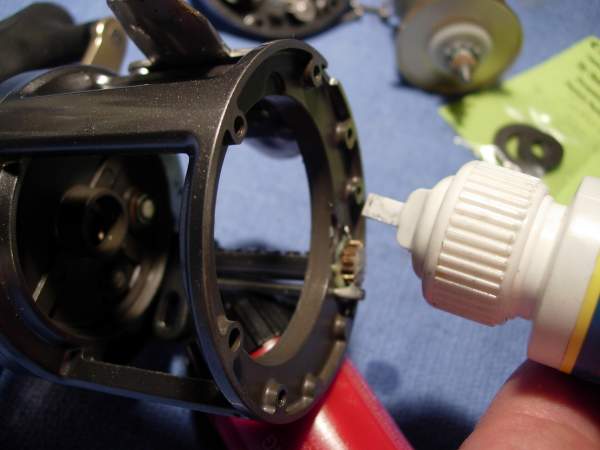
install the line guide pawl (key #520).
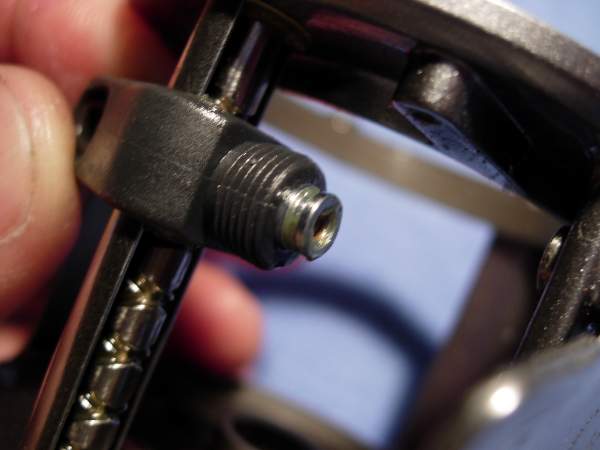
install the spacer (key #521).
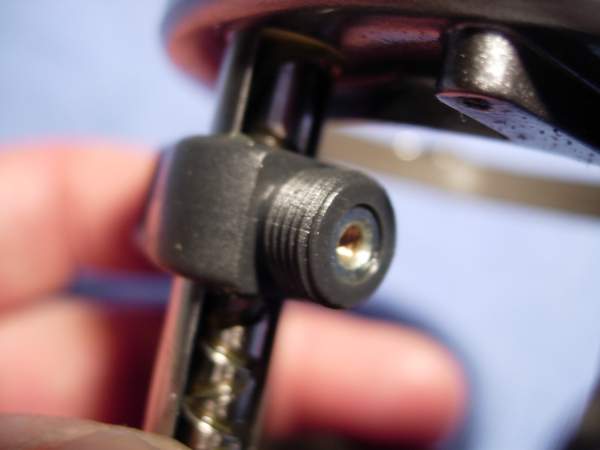
install the pawl cap (key #522).
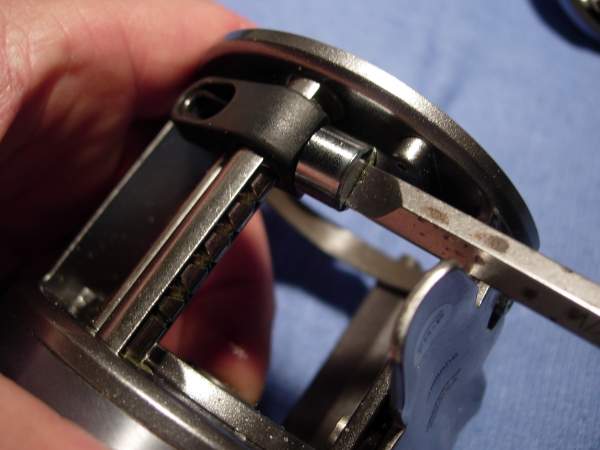
install the stabilizer bar "B" (key #529).
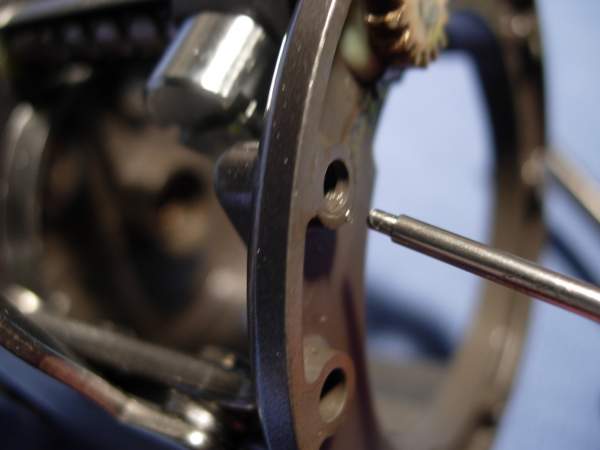
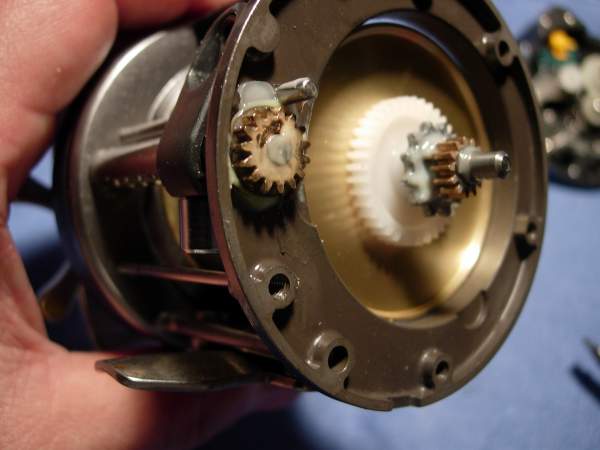
install the left side plate (key #543) and cover (key #544).

add a small bead of grease to the screw holes and small amount of grease around the hole.
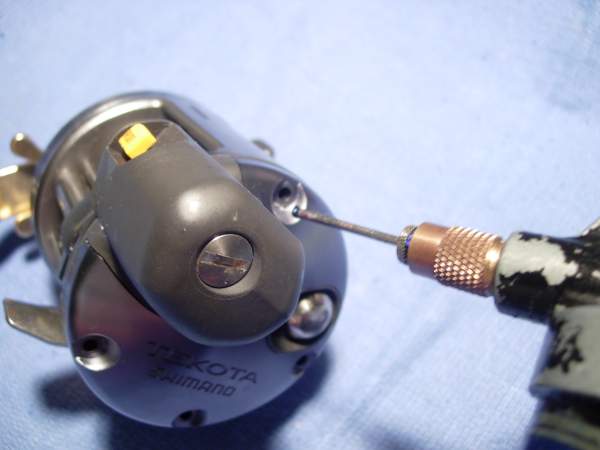
install the four left side plate screws (key #546).

now for the right side of the reel. start by removing the handle nut plate screw (key #128) and handle nut plate (key #261).
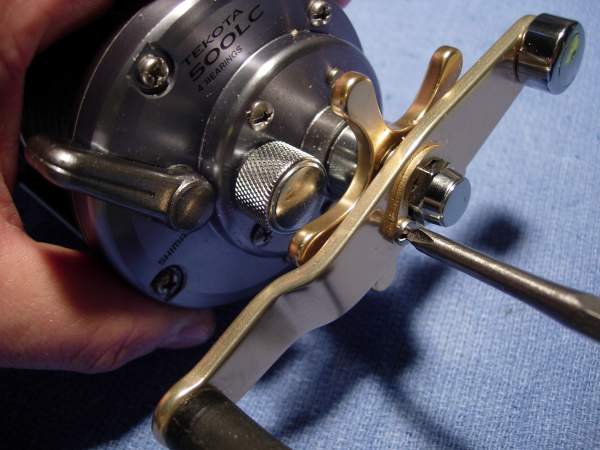
remove the 13mm handle nut. a 7/16ths inch wrench works here as well.
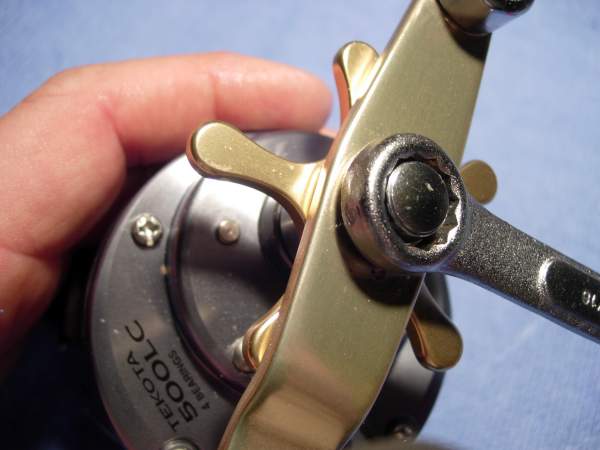
remove the handle assembly (key #504) and the drive shaft shield (key #264) not shown.

remove the star drag (key #357). there is a click pin (key #295) that is going to shoot out from underneath the star drag. it will be coming from the "hole" side of the drive shaft (key #515). point it down and don't worry if you loose it. it is not critical.

ok, the star is off and the pin was pointed down.

there's the pin (key #295).
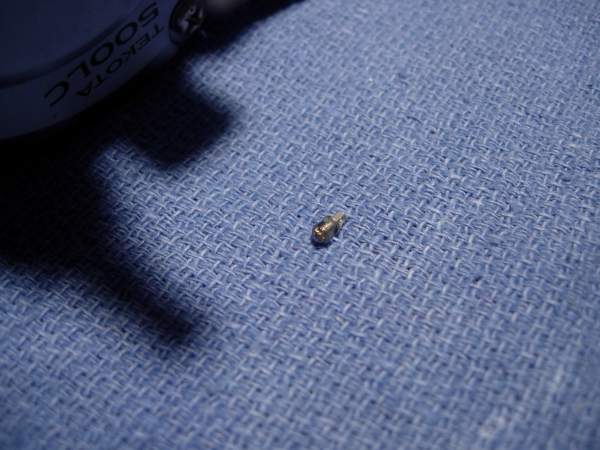
remove the two drag spring washers (key #358) and star drag washer (key #250).

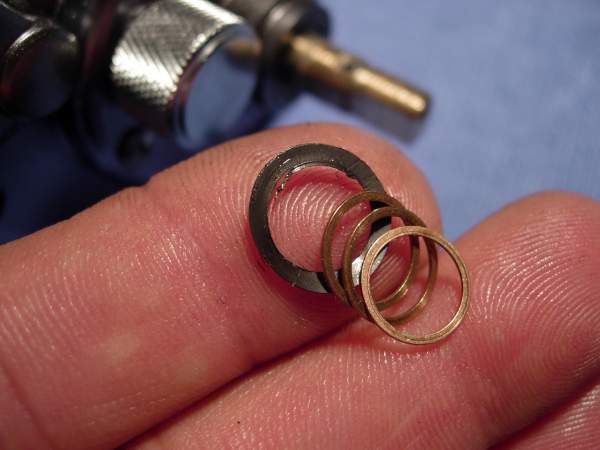
remove the bearing seal (key #360) and (in this case) the three bearing thrust washers (key #359).
remove the pair of right side plate screws "B" (key #506).
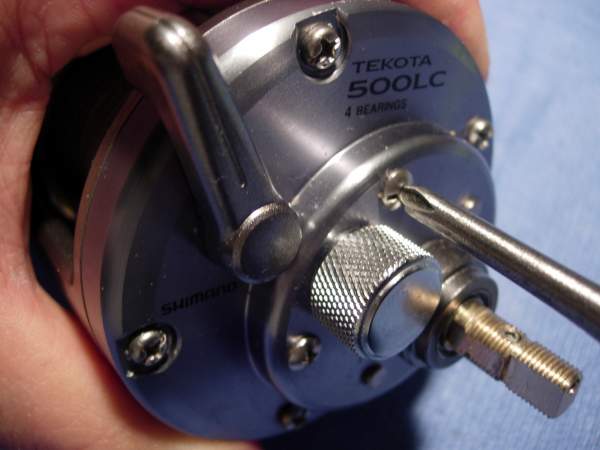
remove the pair of shorter right side plate screws "A" (key #505) and the pair of longer right side plate screws "C" (key #523).
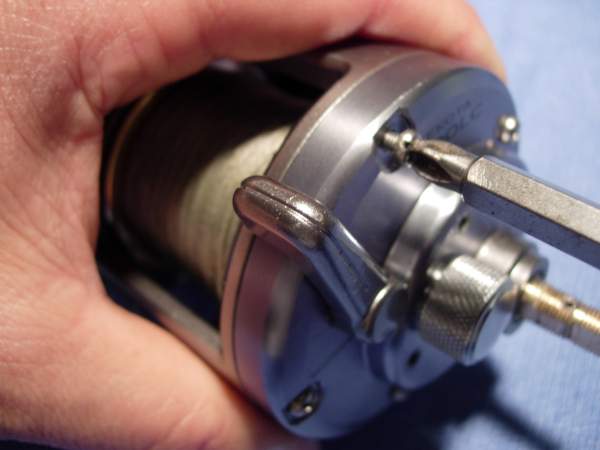
keep everything lined up.
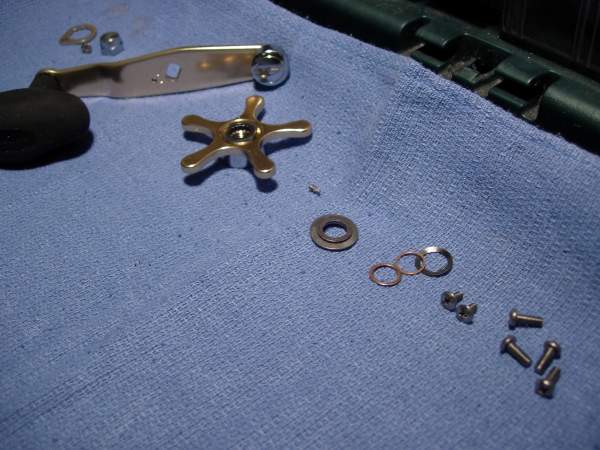
remove the right side plate (key #507). several pieces with stay with the side plate when you pull it out. first, remove the handle bearing (key #487)
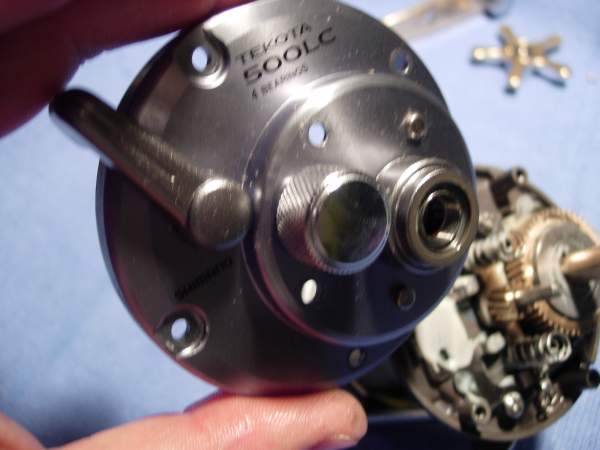
remove the roller clutch inner tube (key #489).
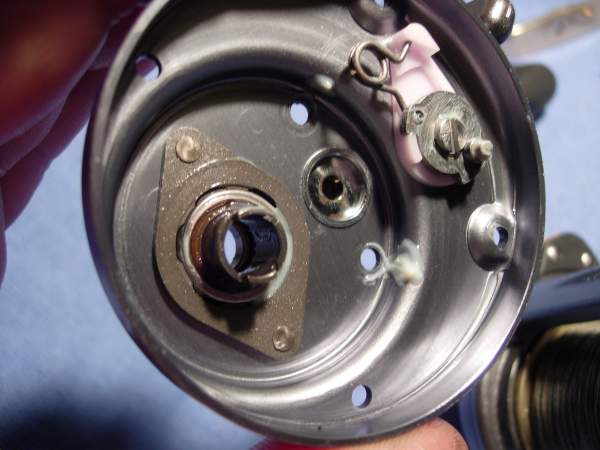
take a moment to survey the landscape.
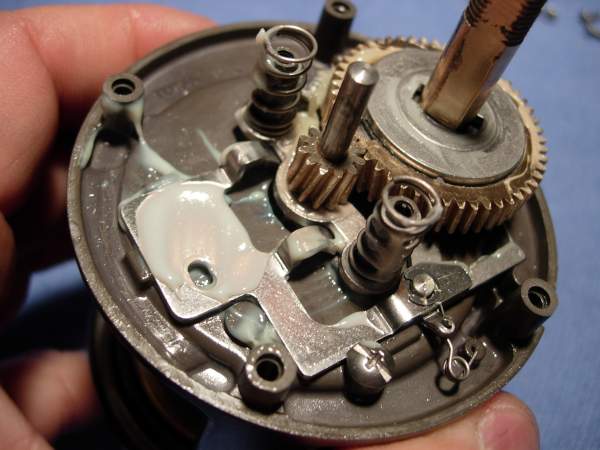
remove the main gear (key #512) entire drag stack.
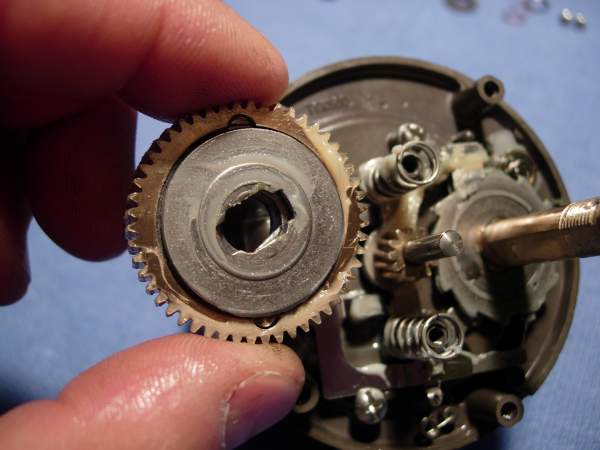
don't loose track of the drag washer "A" (key #513) hidden underneath.
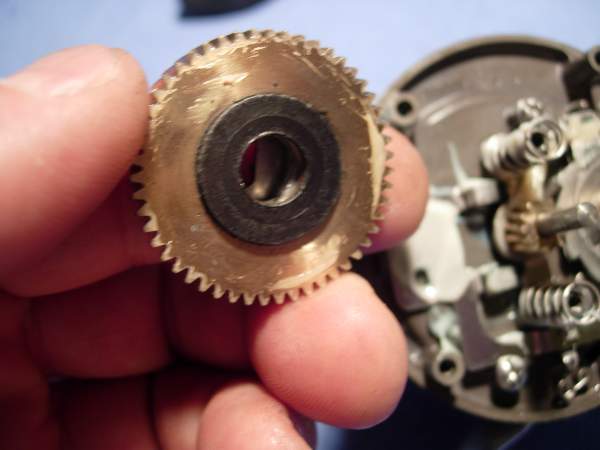
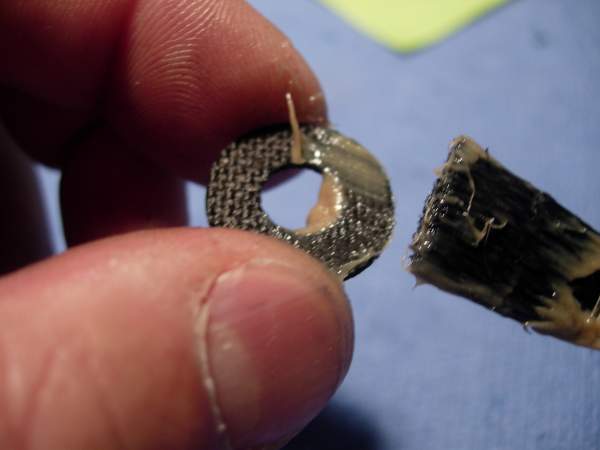
i've cleaned up the main gear (key #512) and washers (key #'s 509, 510, 511 and 513), then set them out in order. below are the carbontex washers that are going to replace them.

slap a thick coat of grease on the new carbontex drag washers. it is more important to not miss any spots. don't worry about the excess. it will just squeeze out the sides.
check the anti-reverse pawl (key #382). make sure it is grabbing properly.

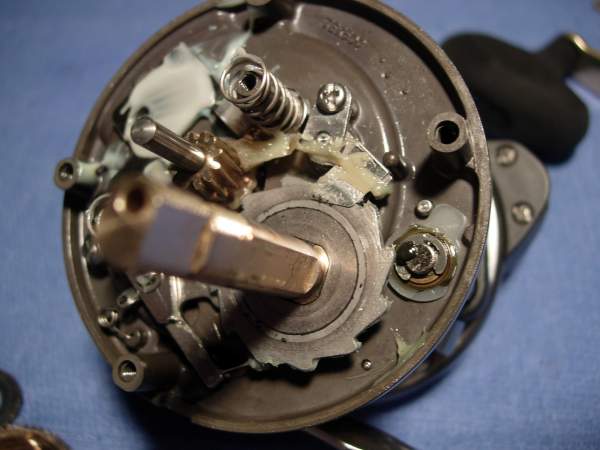
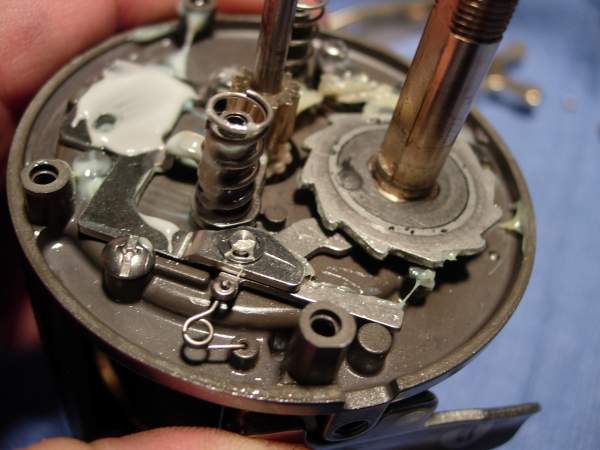
rebuild the drag stack.
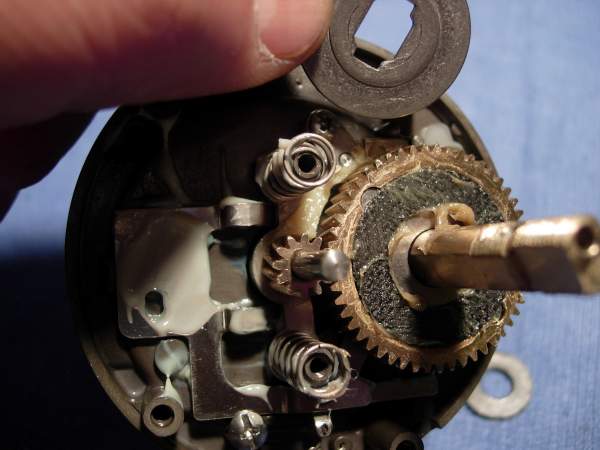
install the roller clutch inner tube (key #489).
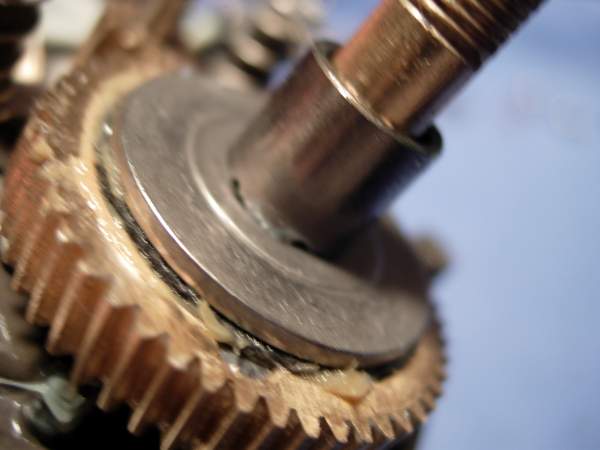
take a moment to brush a light coat of grease inside the right side plate (key #507).
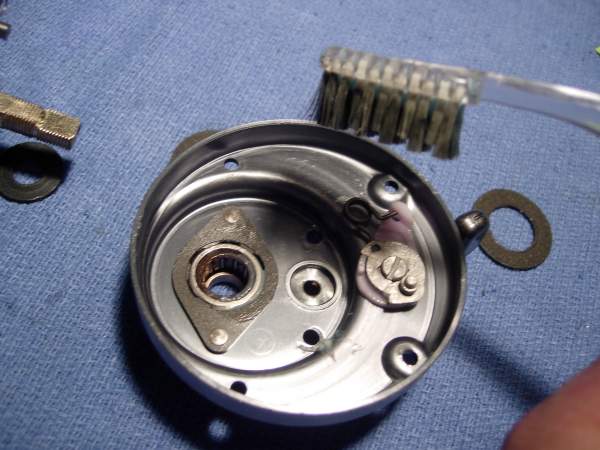
make sure the yoke plate (key #381) is in the "up" position.
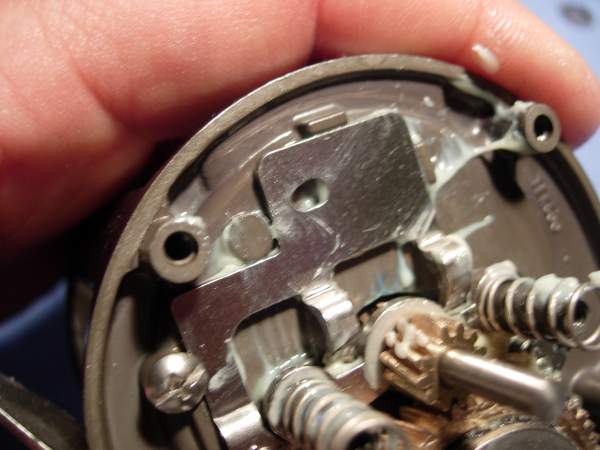
push the clutch lever (key #508) forward to the "in gear" position.
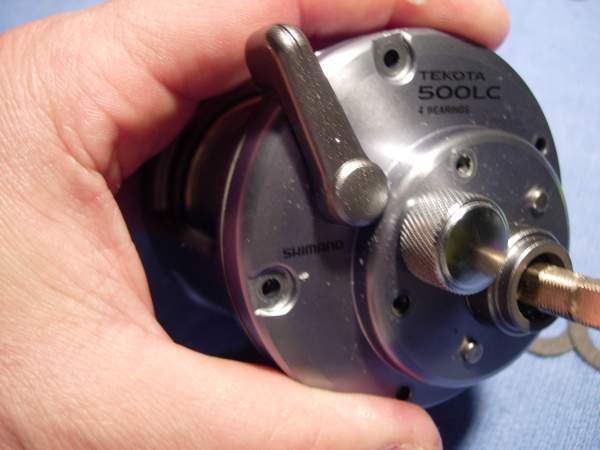
put a bead of grease in all the screw holes.

install the right side plate screws "A" (key #505) and "C" (key #523).
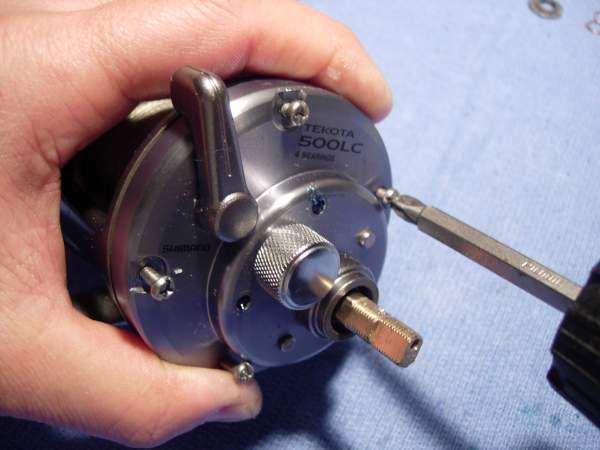
install the right side plate screws "B" (key #506).
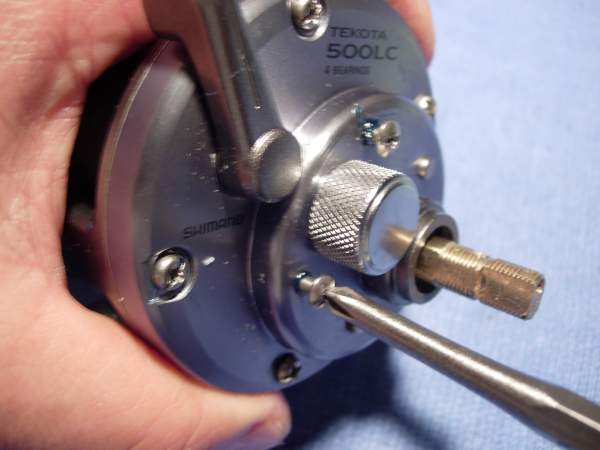
check the function of the clutch lever (key #508) and make sure the reel goes in and out of freespool.
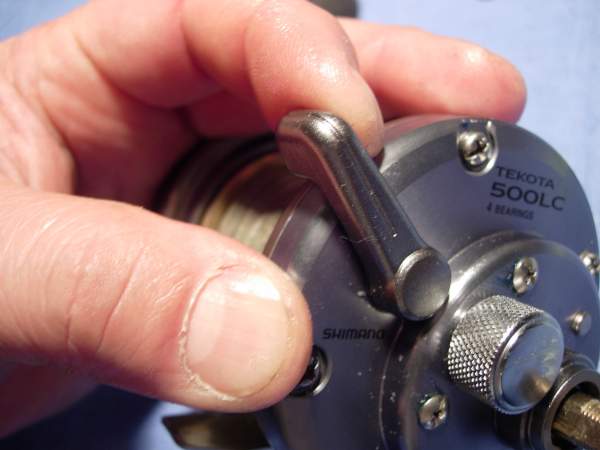
pack the handle bearing (key #487) with grease. this bearing measures 8 x 12 x 3.5mm.

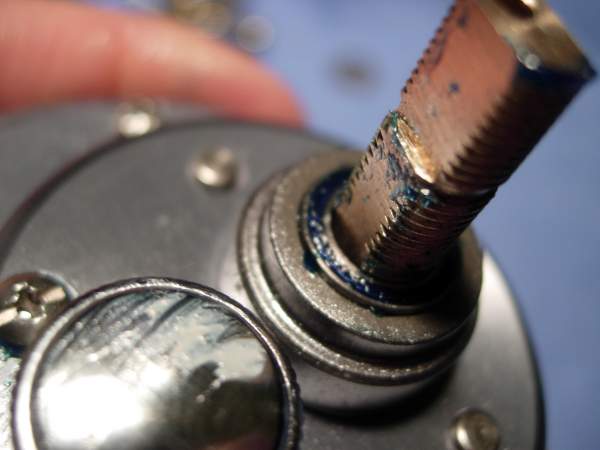
install the bearing seal (key #360).
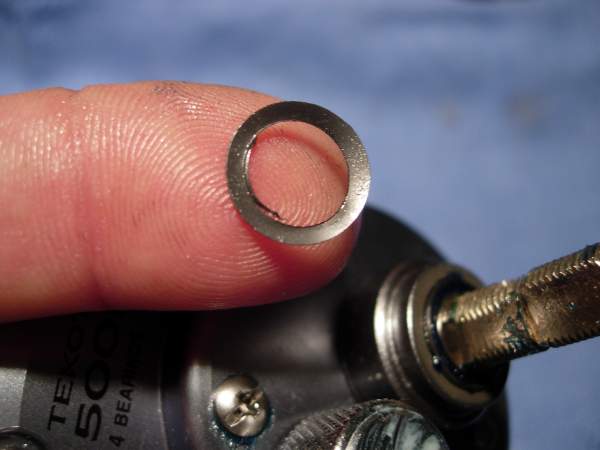
install the bearing thrust washers (key #359).
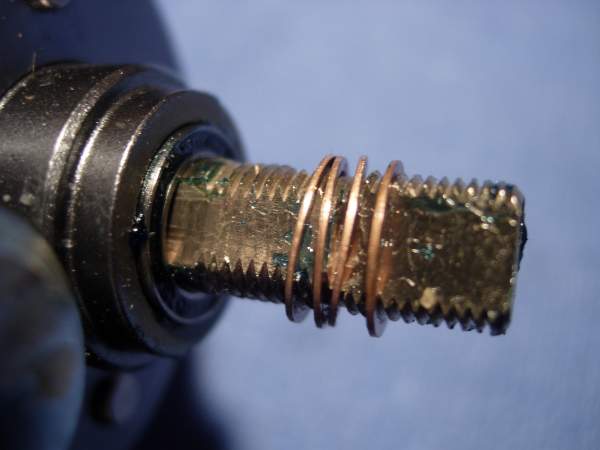
install the drag spring washers (key #358) in a "()" configuration, followed by the star drag washer (key #250).

install the click pin (key #295). the click spring (key #296) should have stayed put during the entire rebuild.
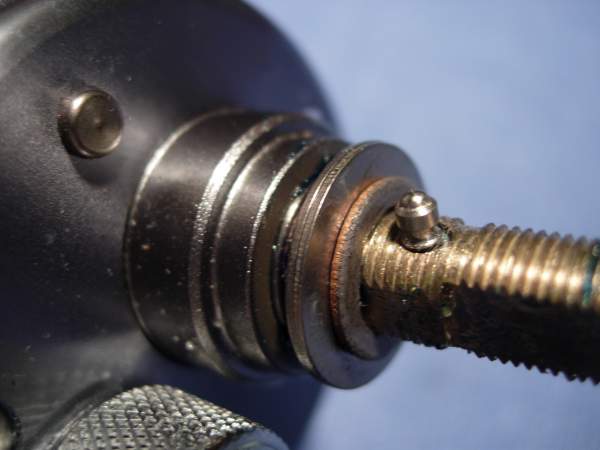
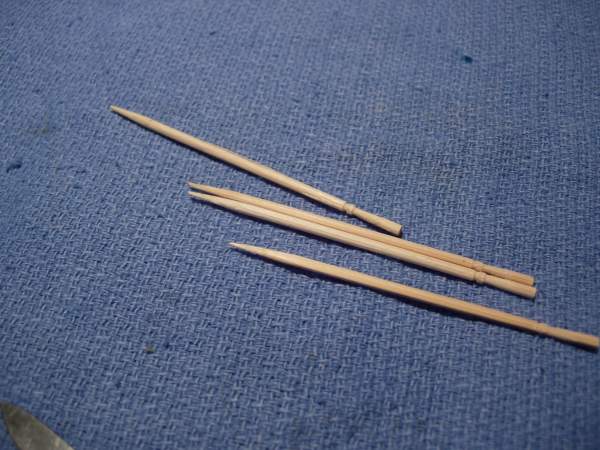
grab a toothpick.
push the click pin (key #295) down as far as it will go and shove a toothpick down into the drive shaft (key #515). the tooth pick should hold the click pin in place. just in case it slips, point the click pin off in a direction that won't launch it into never never land.
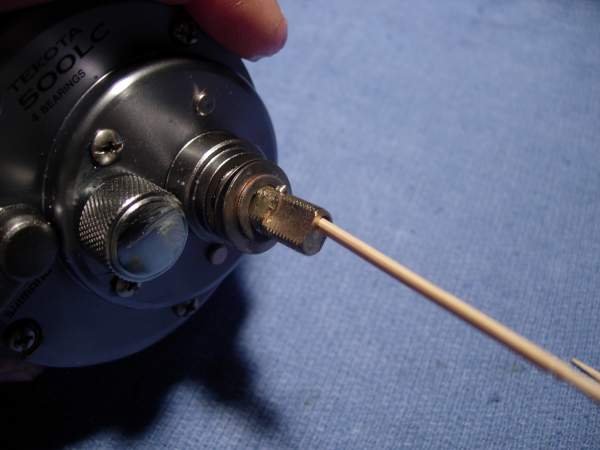
install the drag star (key #357).
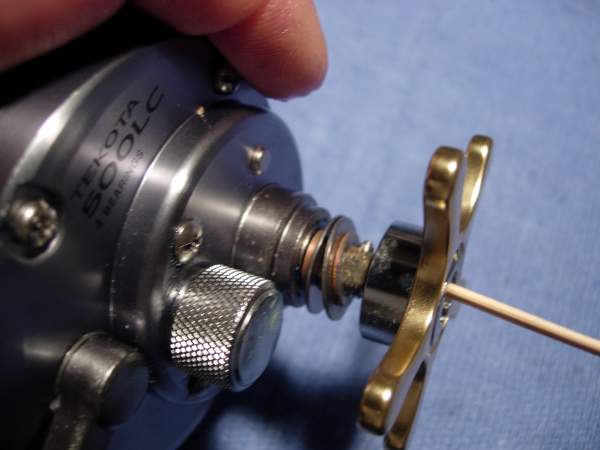
turn the drag star (key #357) down until it clears the shoulders of the drive shaft (key #515).
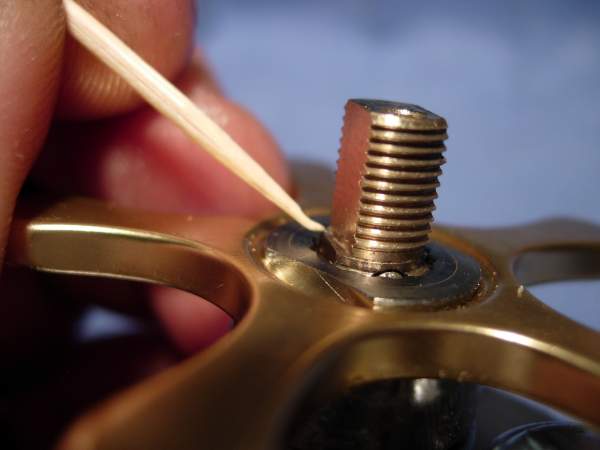
install the drive shaft shield (key #264).
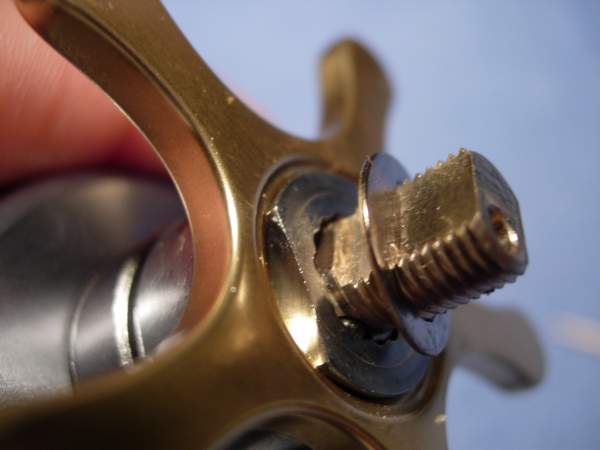
install the handle assembly (key #504).
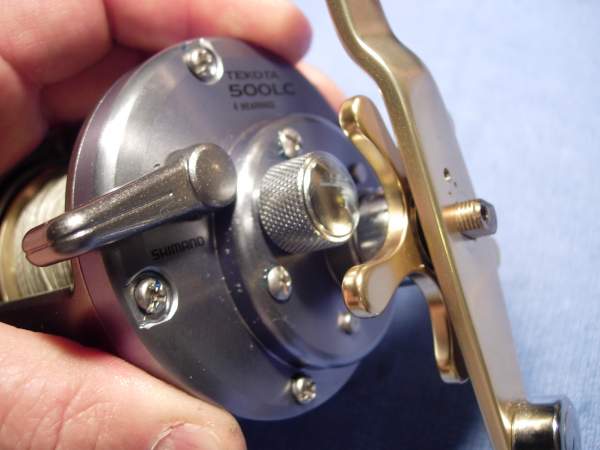
install the handle nut (key #262).

install the handle nut plate (key #261) and add a bead of grease to the screw hole.
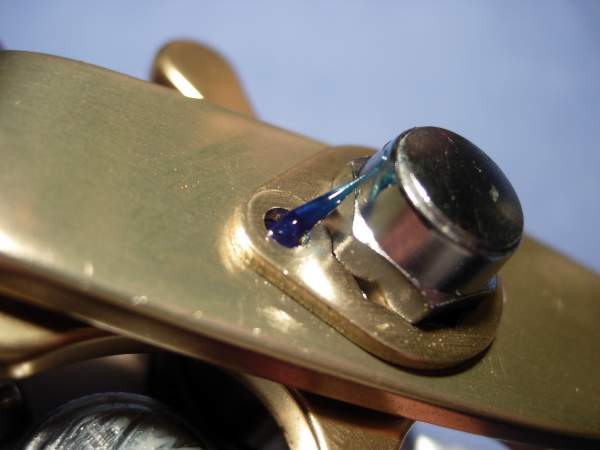
install the handle nut plate screw (key #128).
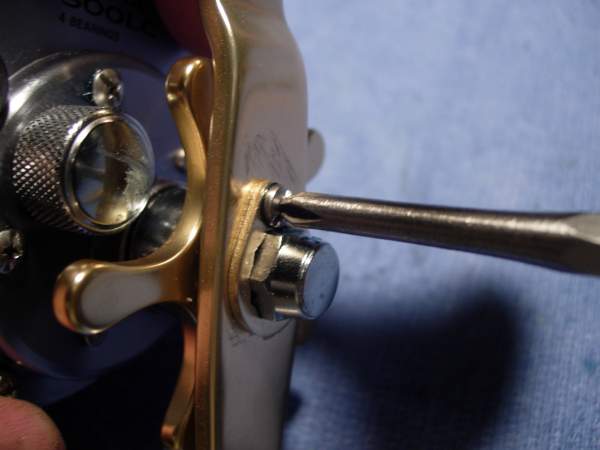
and you're done!

now for a couple of comments. i really like this reel. i hate the drag washers and i hate the handle grip, but otherwise i really like the reel. salt tends to accumulate inside these reels so you need to spread the grease around inside. shimano's open bearings are more resistant to rust because water does not tend to settle inside of them. the levelwind mechanism is much more sturdy than the levelwind assembly in the penn gt series. once you change out the drag washers, change the handle grip and grease everything up, you've got a great reel. i personally have a full set of penn 320 gt2's, but, if you don't mind the increased price, the shimano tekota is an excellent choice.
http://fish.shimano.com/media/fishing/techdocs/en/TEK500lc_v1_m56577569830498843.pdf
and here is our reel. this particular customer wanted to leave the handle stock, so we will be lubing the bearings and replacing the drag washers.
remove the four left side plate seal screws (key #546).
remove the left side plate (key #543) and cover (key #544) as a unit. take a moment now to add a light coat of grease to then inside of the cover and the outside of the left side plate. an old toothbrush works well here.
remove, clean and lube the idler gear "B" (key #533).
remove the left side plate bearing (key #484). this bearing measures 4 x 11 x 4mm.
clean this bearing out and lube it with the lube of your choice.
reinstall the left side plate bearing (key #484) and the idler gear "B" (key #533).
remove, clean, lube and reinstall the idler gear "D" (key #541).
clean off the extra grease from the left spool shaft.
lube the right spool bearing (no key #). this bearing measures 6 x 12 x 4mm. go to http://alantani.com/index.php?topic=13.0 for information on servicing this bearing.
we need to clean and lube the levelwind assembly, including the line guide pawl (key #520).
to remove the pawl cap (key #522), you have to remove the stabilizer bar "B" (key #529).
remove the pawl cap (key #522).
clean and lube the line guide pawl (key #520)
clean the worm shaft (key #530) with carburator cleaner and compressed air, then lube it.
install the line guide pawl (key #520).
install the spacer (key #521).
install the pawl cap (key #522).
install the stabilizer bar "B" (key #529).
install the left side plate (key #543) and cover (key #544).
add a small bead of grease to the screw holes and small amount of grease around the hole.
install the four left side plate screws (key #546).
now for the right side of the reel. start by removing the handle nut plate screw (key #128) and handle nut plate (key #261).
remove the 13mm handle nut. a 7/16ths inch wrench works here as well.
remove the handle assembly (key #504) and the drive shaft shield (key #264) not shown.
remove the star drag (key #357). there is a click pin (key #295) that is going to shoot out from underneath the star drag. it will be coming from the "hole" side of the drive shaft (key #515). point it down and don't worry if you loose it. it is not critical.
ok, the star is off and the pin was pointed down.
there's the pin (key #295).
remove the two drag spring washers (key #358) and star drag washer (key #250).
remove the bearing seal (key #360) and (in this case) the three bearing thrust washers (key #359).
remove the pair of right side plate screws "B" (key #506).
remove the pair of shorter right side plate screws "A" (key #505) and the pair of longer right side plate screws "C" (key #523).
keep everything lined up.
remove the right side plate (key #507). several pieces with stay with the side plate when you pull it out. first, remove the handle bearing (key #487)
remove the roller clutch inner tube (key #489).
take a moment to survey the landscape.
remove the main gear (key #512) entire drag stack.
don't loose track of the drag washer "A" (key #513) hidden underneath.
i've cleaned up the main gear (key #512) and washers (key #'s 509, 510, 511 and 513), then set them out in order. below are the carbontex washers that are going to replace them.
slap a thick coat of grease on the new carbontex drag washers. it is more important to not miss any spots. don't worry about the excess. it will just squeeze out the sides.
check the anti-reverse pawl (key #382). make sure it is grabbing properly.
rebuild the drag stack.
install the roller clutch inner tube (key #489).
take a moment to brush a light coat of grease inside the right side plate (key #507).
make sure the yoke plate (key #381) is in the "up" position.
push the clutch lever (key #508) forward to the "in gear" position.
put a bead of grease in all the screw holes.
install the right side plate screws "A" (key #505) and "C" (key #523).
install the right side plate screws "B" (key #506).
check the function of the clutch lever (key #508) and make sure the reel goes in and out of freespool.
pack the handle bearing (key #487) with grease. this bearing measures 8 x 12 x 3.5mm.
install the bearing seal (key #360).
install the bearing thrust washers (key #359).
install the drag spring washers (key #358) in a "()" configuration, followed by the star drag washer (key #250).
install the click pin (key #295). the click spring (key #296) should have stayed put during the entire rebuild.
grab a toothpick.
push the click pin (key #295) down as far as it will go and shove a toothpick down into the drive shaft (key #515). the tooth pick should hold the click pin in place. just in case it slips, point the click pin off in a direction that won't launch it into never never land.
install the drag star (key #357).
turn the drag star (key #357) down until it clears the shoulders of the drive shaft (key #515).
install the drive shaft shield (key #264).
install the handle assembly (key #504).
install the handle nut (key #262).
install the handle nut plate (key #261) and add a bead of grease to the screw hole.
install the handle nut plate screw (key #128).
and you're done!
now for a couple of comments. i really like this reel. i hate the drag washers and i hate the handle grip, but otherwise i really like the reel. salt tends to accumulate inside these reels so you need to spread the grease around inside. shimano's open bearings are more resistant to rust because water does not tend to settle inside of them. the levelwind mechanism is much more sturdy than the levelwind assembly in the penn gt series. once you change out the drag washers, change the handle grip and grease everything up, you've got a great reel. i personally have a full set of penn 320 gt2's, but, if you don't mind the increased price, the shimano tekota is an excellent choice.