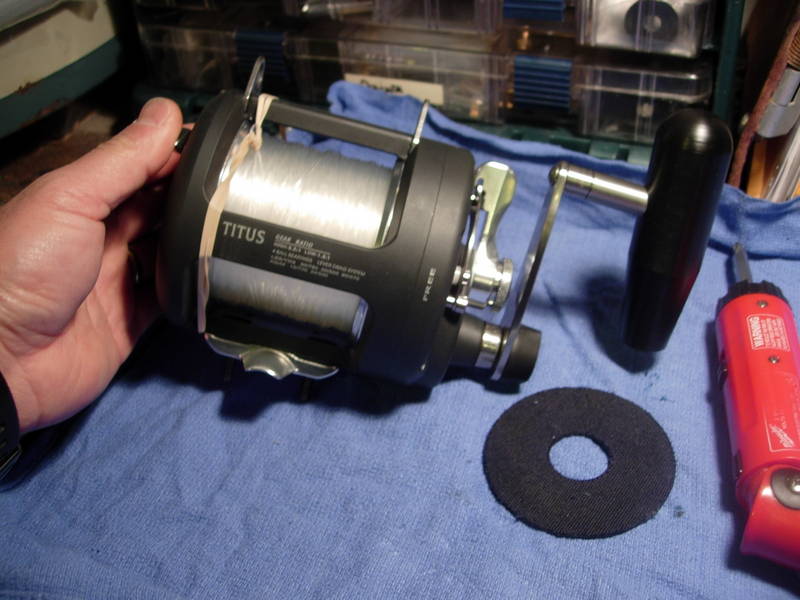
a friend brought over a half dozen fresh dungeoness crab a few weeks ago, then asked if i could take a look at a reel. hey, no problem! he sheepishly pulled out this reel and practially apologized. he said he got a good deal on it and was hoping that i could work a little magic. well here is the reel. hmmm, a graphite 50. it should hold up well enough......
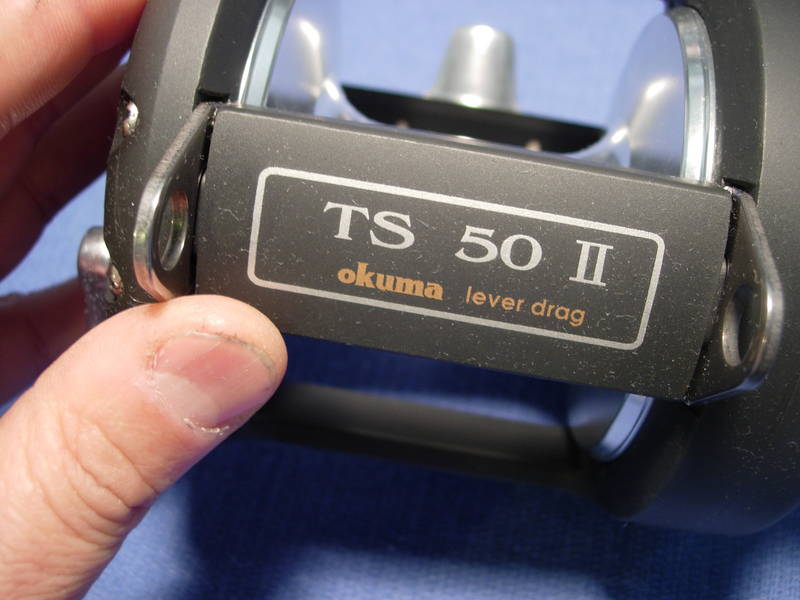
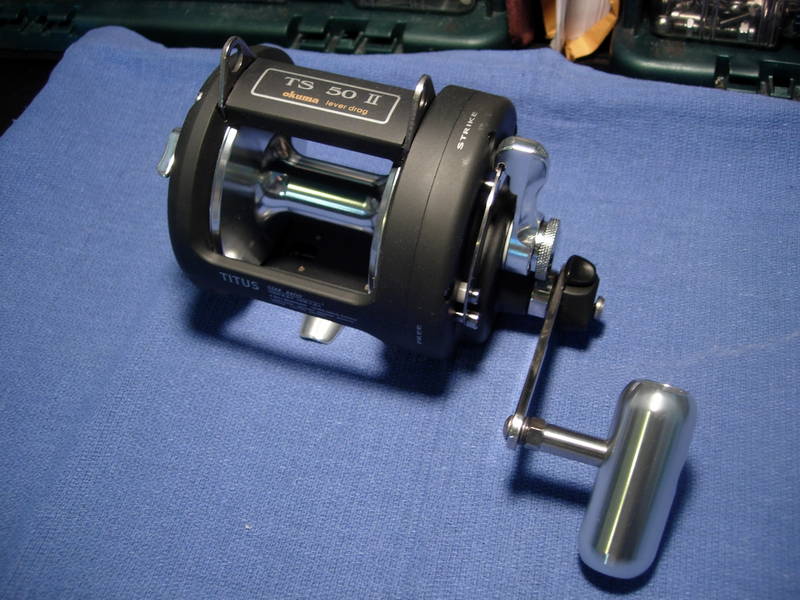
here's a link to the schematics.
http://mikesreelrepair.com/schematics/schematic.php?url=Okuma/Okuma%20TS%2050%202sp.pdf
http://www.okumafishing.com/support/25/schematics/ts50-2.pdf
we will start be removing the drag knob (key #600 ) and compression spring (key #601).
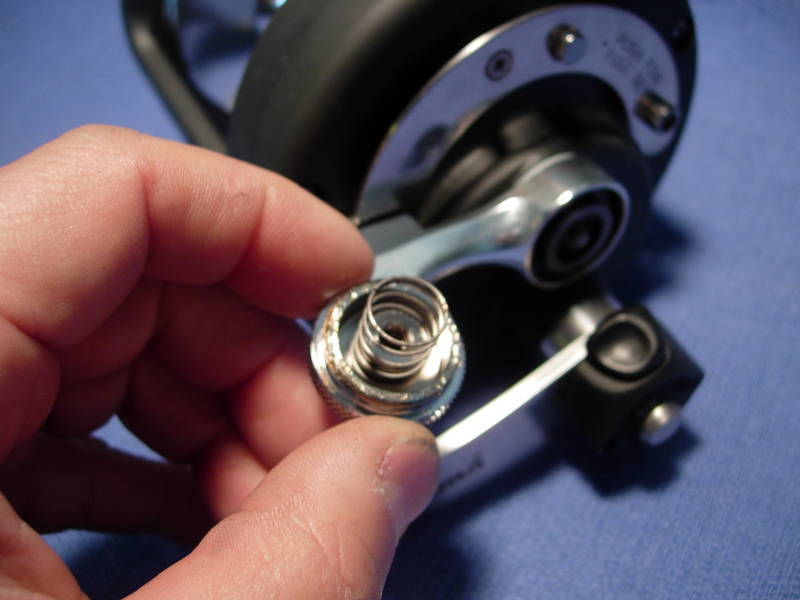
remove the adjust block (key #602).
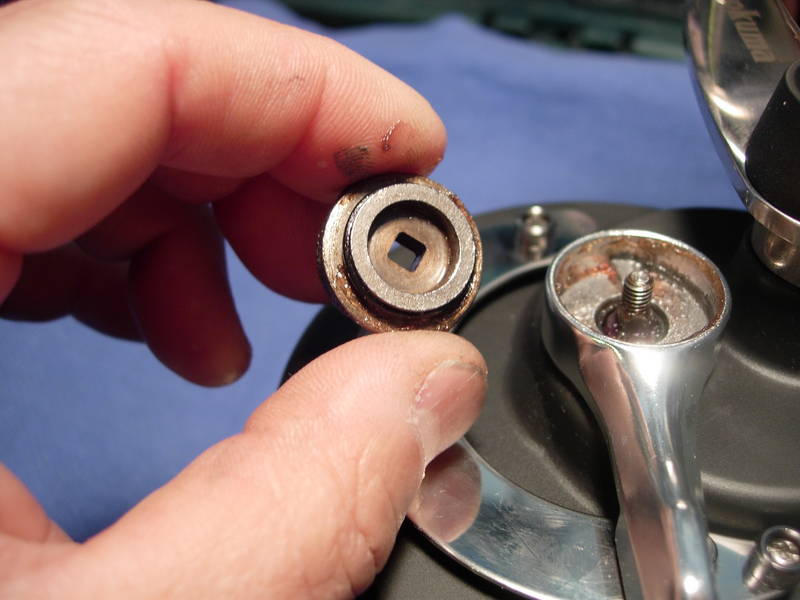
remove the drag lever (key #605).
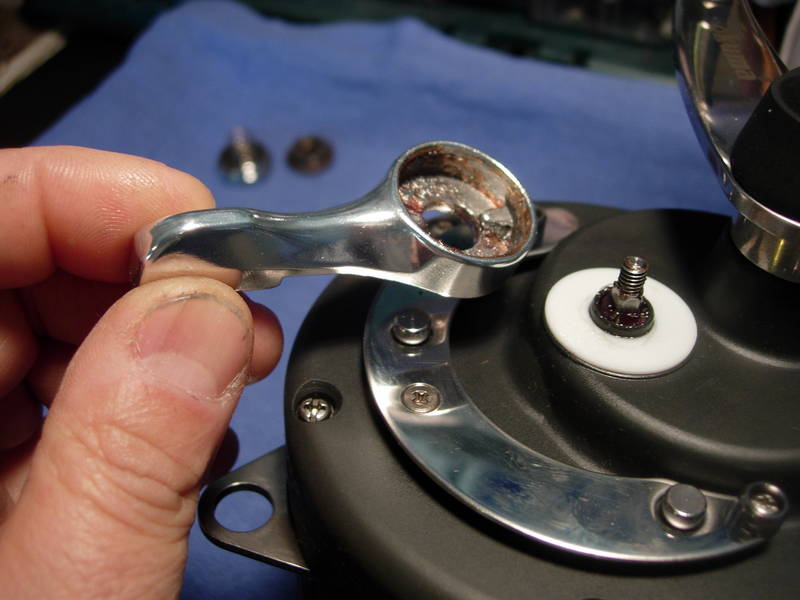
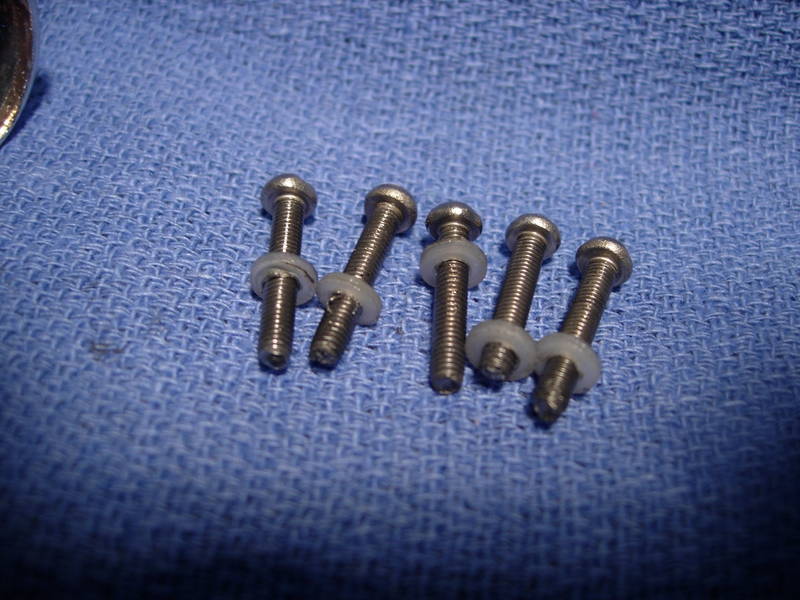
remove the 5 right side plate screws (key #9301) with their washers (key #9215).
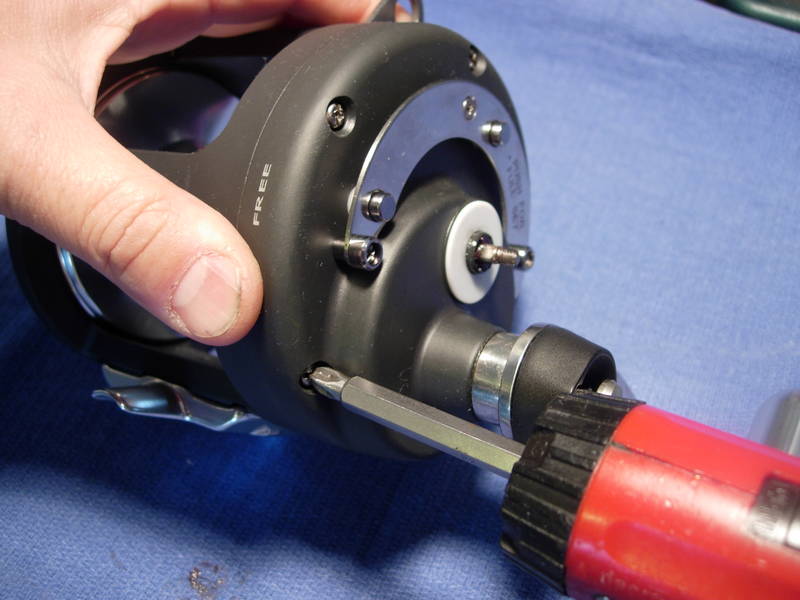
now that's odd. why in the world is okuma using machine screws in a graphite frame?????? the answer is simple. it's not graphite, it's aluminum!!!!!!!!!!!!!!!!! this changes things dramatically. note also that the screws have a thin clear grease on them. 2 points for okuma.
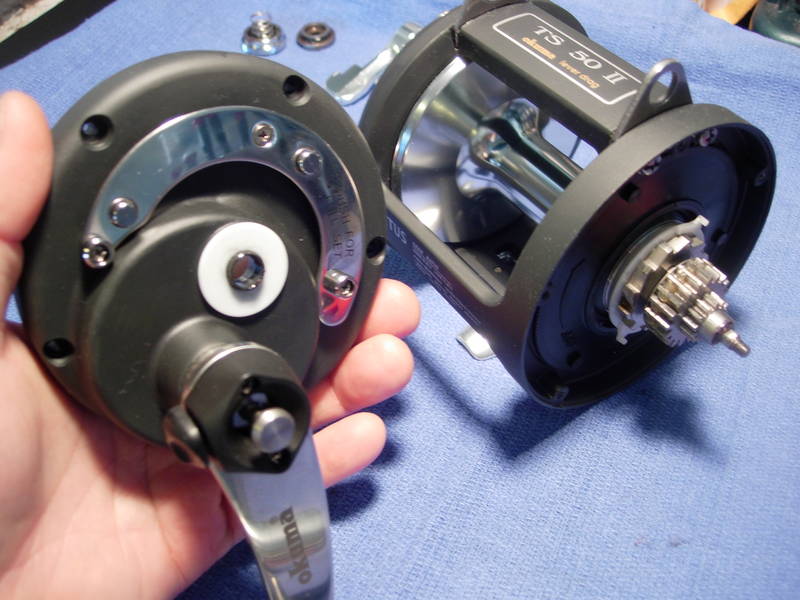
remove the right side plate assembly (key #200) as a unit.
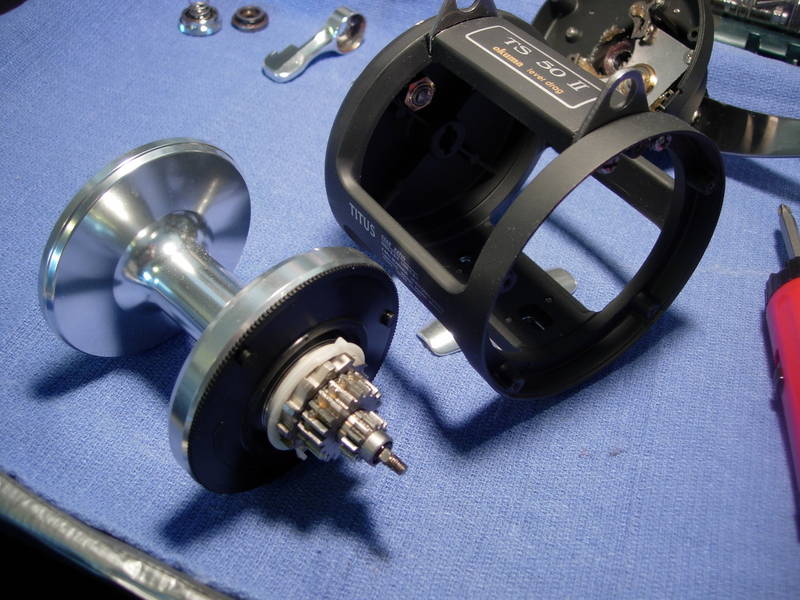
remove the spool assembly (key #400) as a unit.
back out the two right side hangar screws (key #9309) one at a time, grease them and reinstall them.

back out the two left side plate hangar screws (key #9309) one at a time, grease them and reinstall them.
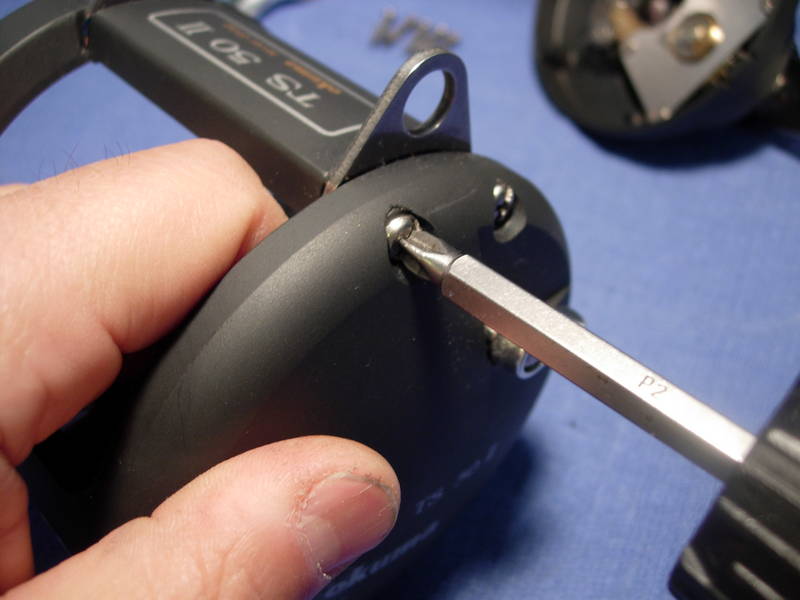
there has been some discussion regarding the pros and cons of greasing the body foot seat screws (key #9310). it is my belief that corrosion anywhere is basically bad for a reel. greasing the body foot (key #102) and screws (key #9310) will certainly prevent corrosion, but will also require dilligence on the part of the owner. if you choose to grease these screws, you will then be required to check them on a regular basis to make sure they do not loosen on you. let's go for it.
use a 3mm hex head bit and remove the four reel seat screws (key #9310) and their washers (key #9218). hmmm, screw #4 was already loose.
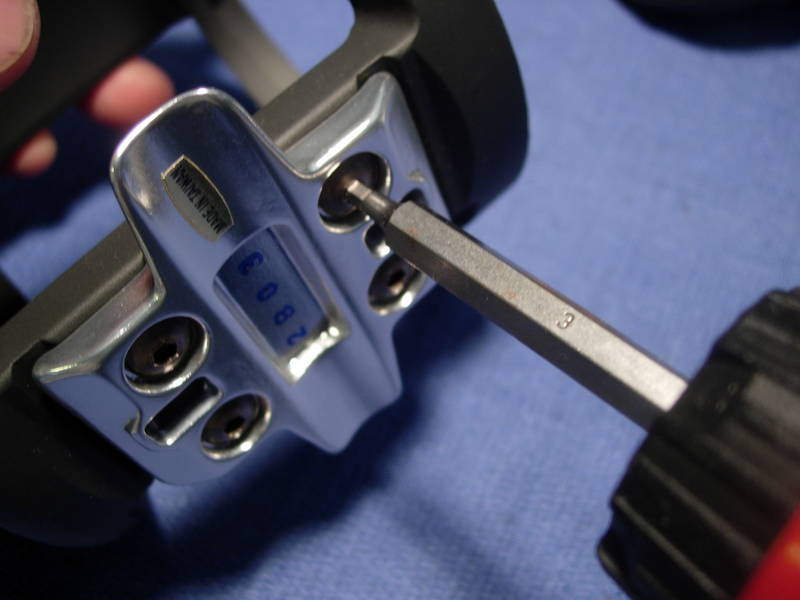
brush a light coat of grease on the base of the main body (key #100) and the mating surface of the body foot (key #102).
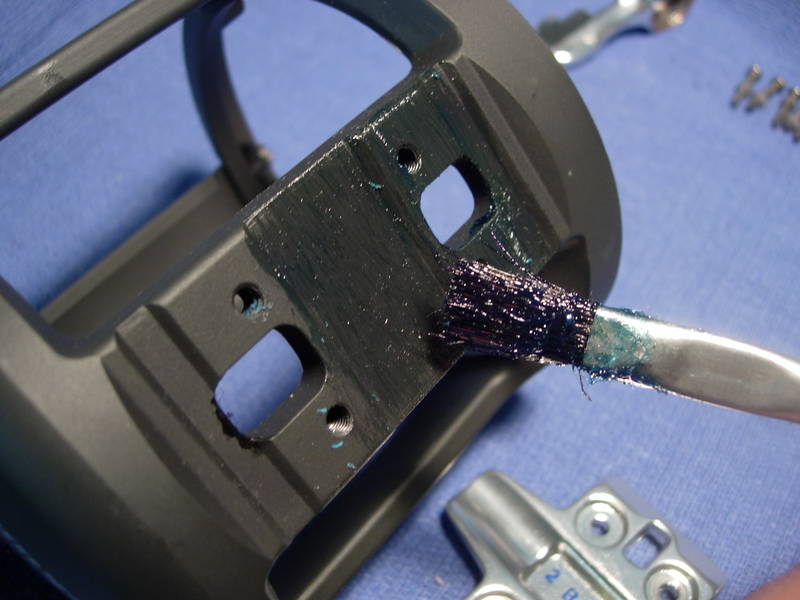
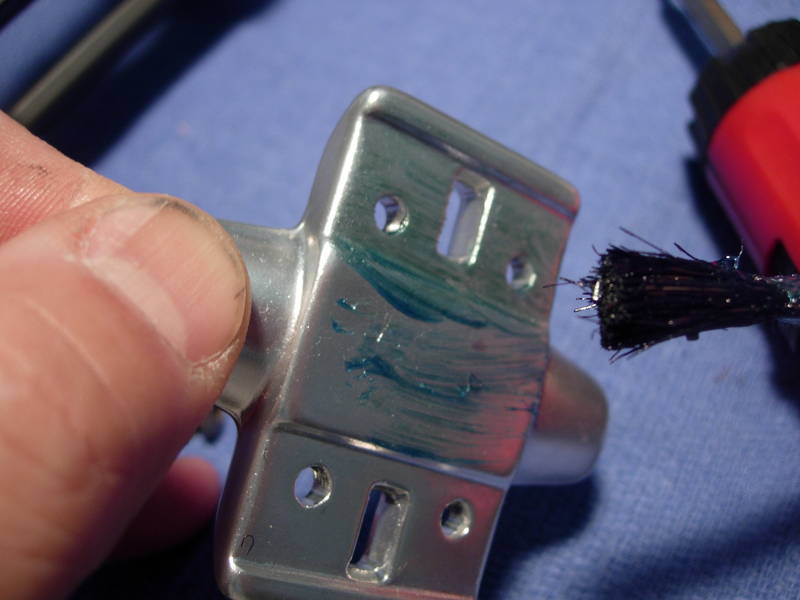
grease the screw holes and reinstall the screws (key #9310) and washers (key #9218).
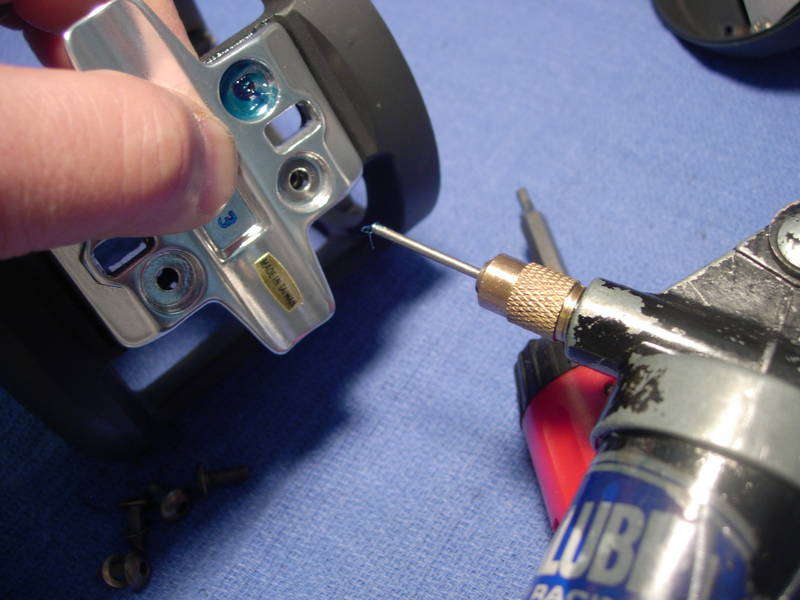
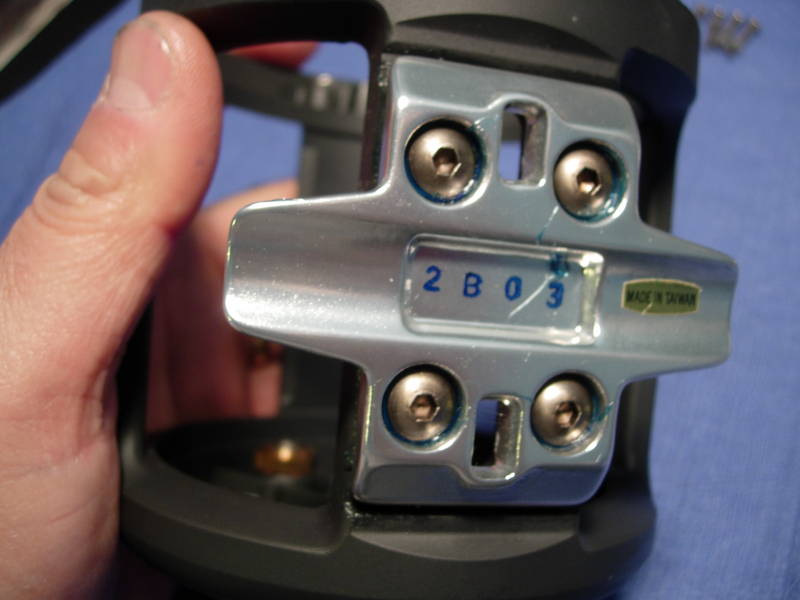
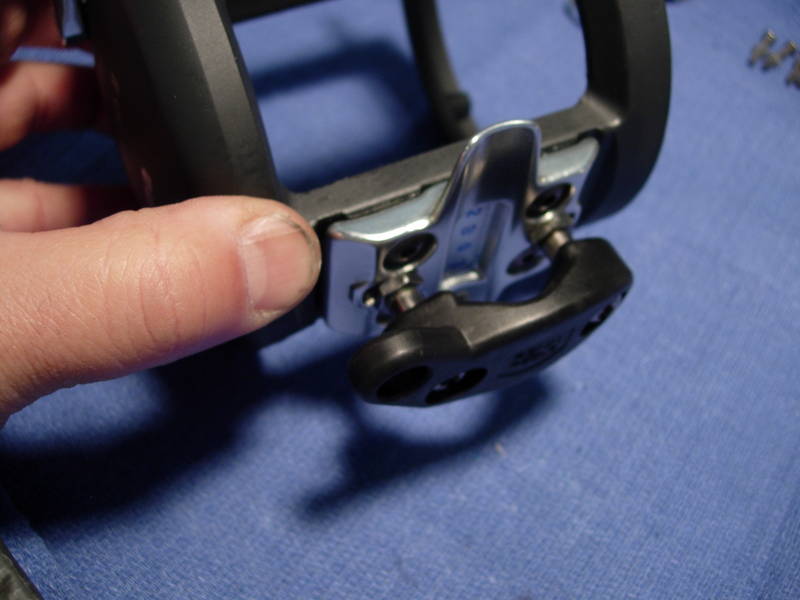
for some reason, this reel did not come with a clamp. i'm sure a simple omission. a spare penn clamp solves that problem.
since this is an aluminum frame, it will be necessary to brush a light coat of grease on all the non-exposed surfaces.
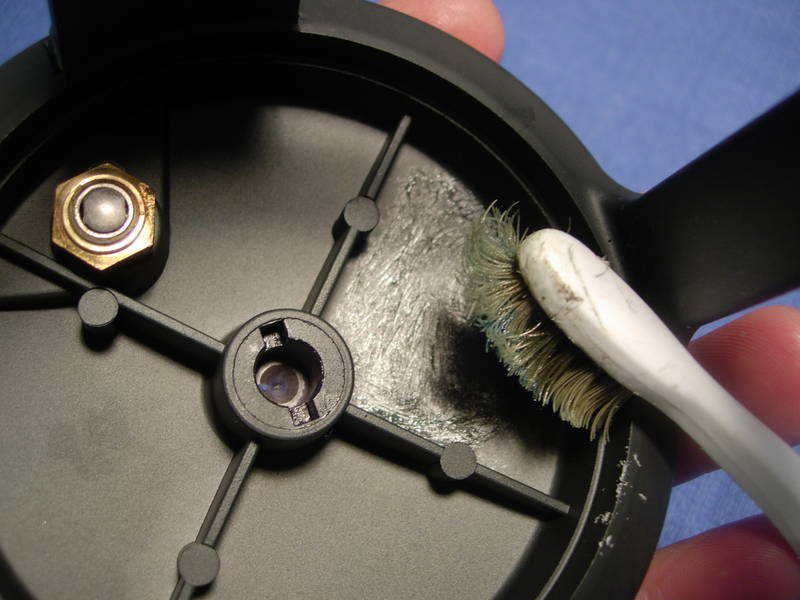
there! the frame is done. now for the spool. remove both the high speed pinion gear (key #702) and the low speed pinion gear (key #702-1) as a unit. note that a washer (no key #) will be stuck to the bottom of the gears.
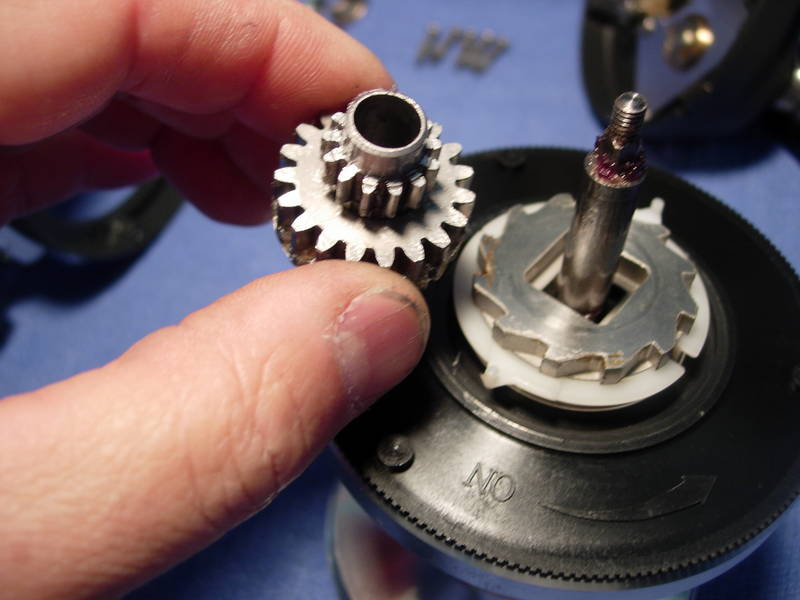
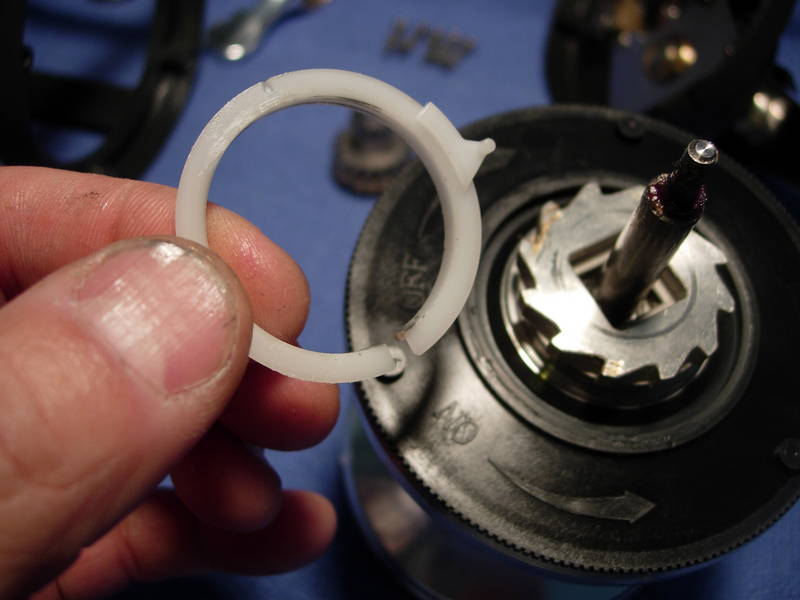
carefully spread and remove the white nylon silent spring (key #723).
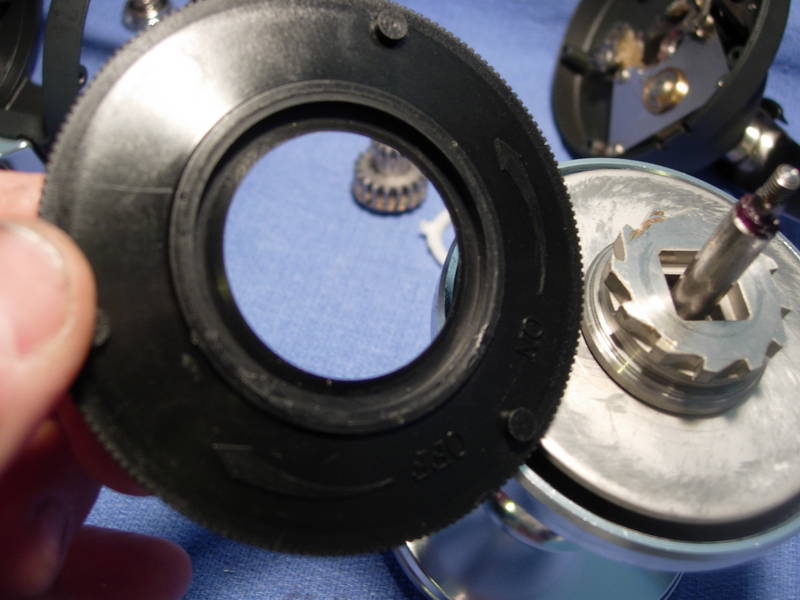
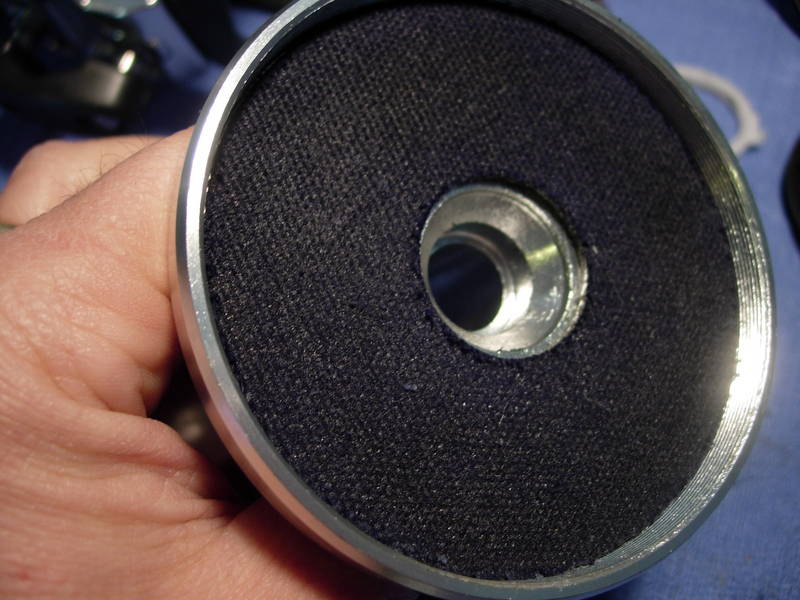
remove the spool cover (key #405). note the left hand threads.okuma may have a special wrench for this cap, but most likely it will not be needed.
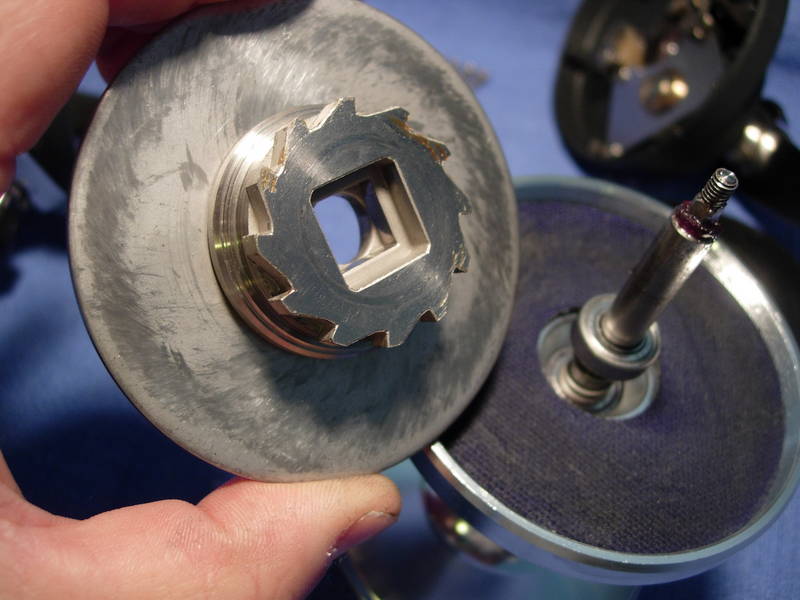
remove the key washer (drag pressure plate) assembly (key #612) as a unit.
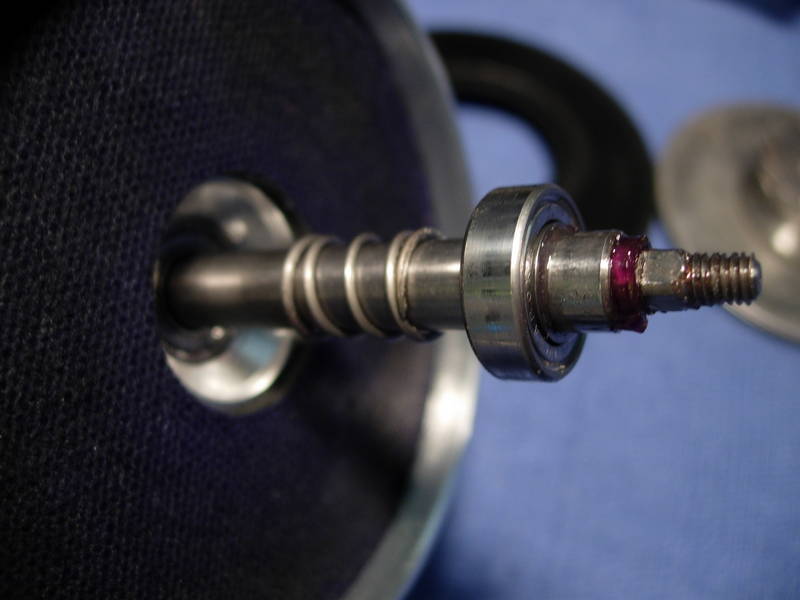
remove the pressure plate bearing (key #9105) and compression spring (key #613).
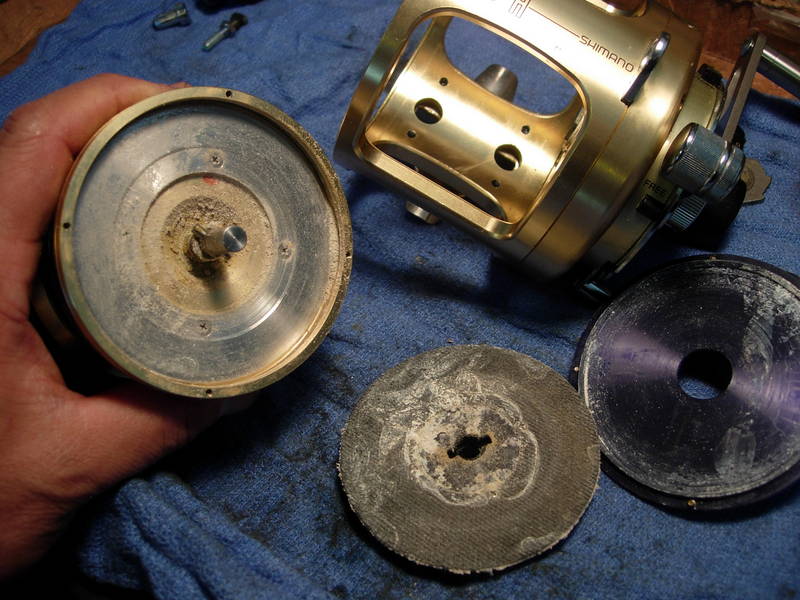
note the uneven application of drag grease. this is a moderate concern, but in all fairness, this uneven application of drag grease to a washer has been seen in penn and shimano reels as well.
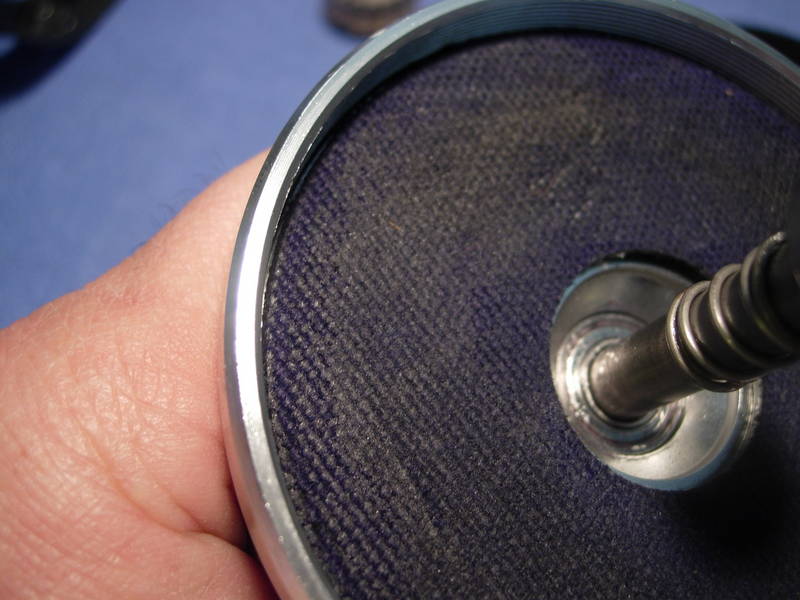
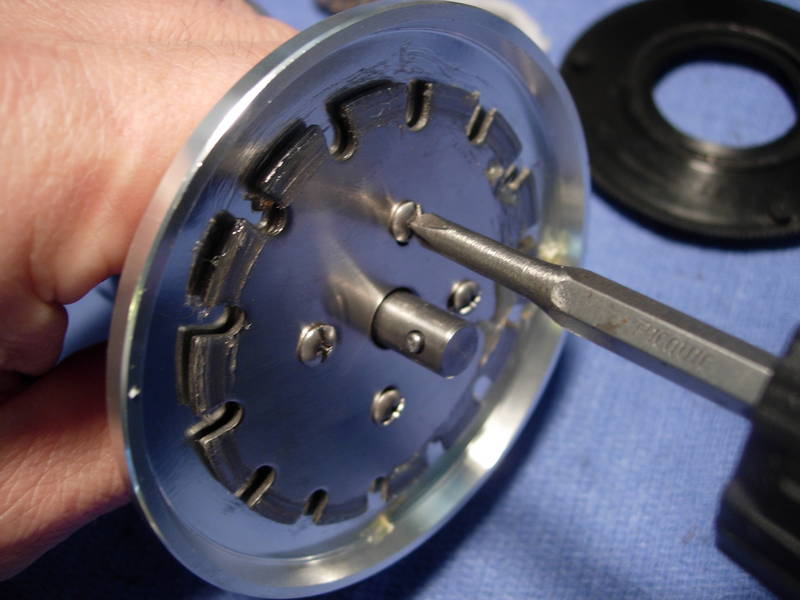
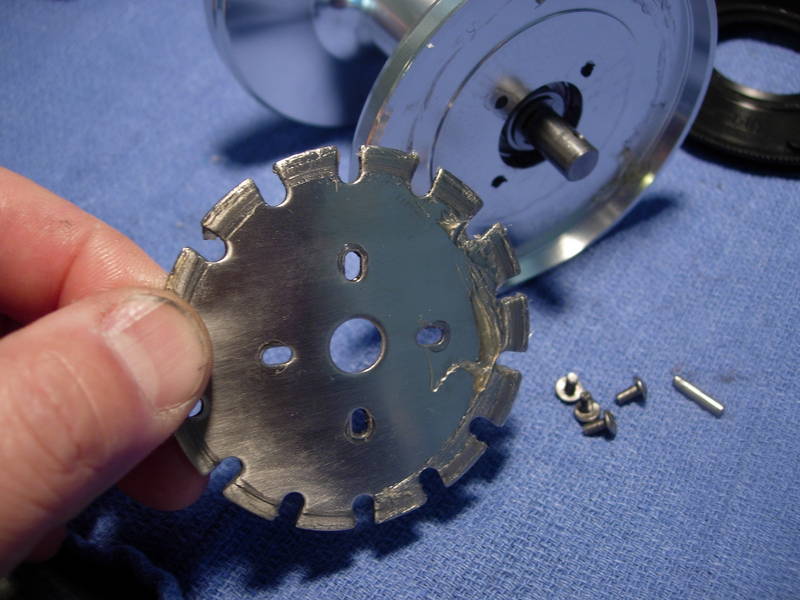
remove the click pawl (key #304) and click pawl screws (key #9314).
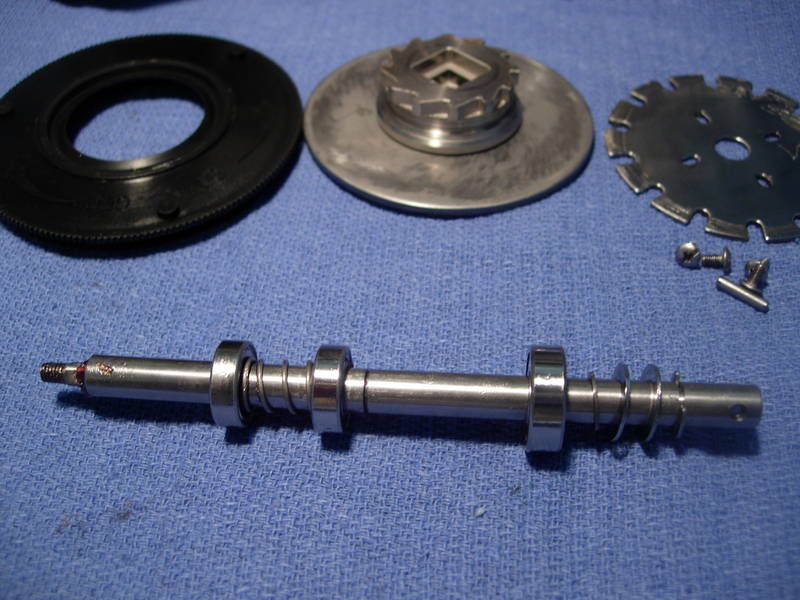
the main shaft assembly (key #718) has been removed and reassembled to show you the proper orientation and order of the various parts. from left to right are the pressure plate bearing (key #9105), the compression spring (key #613), the right spool bearing (key #9105), the left spool bearing (key #9104), a thrust washer (key #9203), two spring (belleville) washers (key #609) oriented "()", and an e-clip (key #9402)
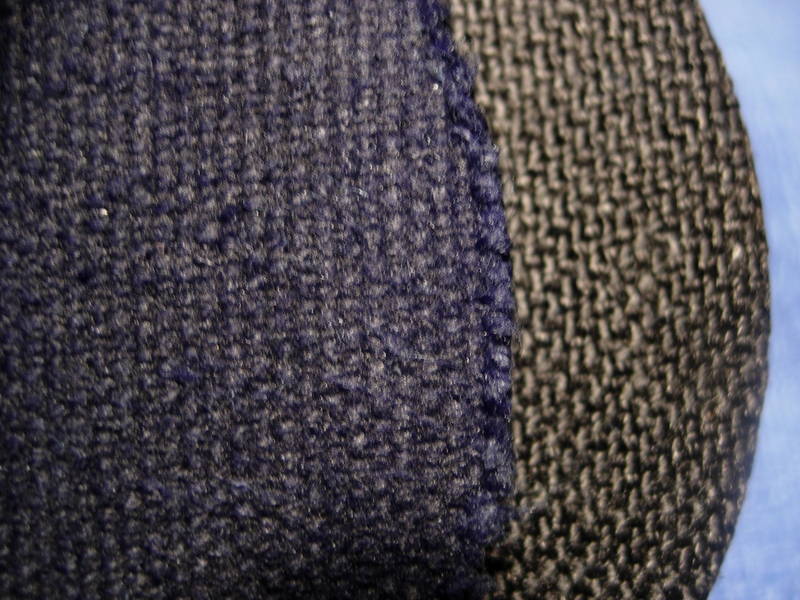
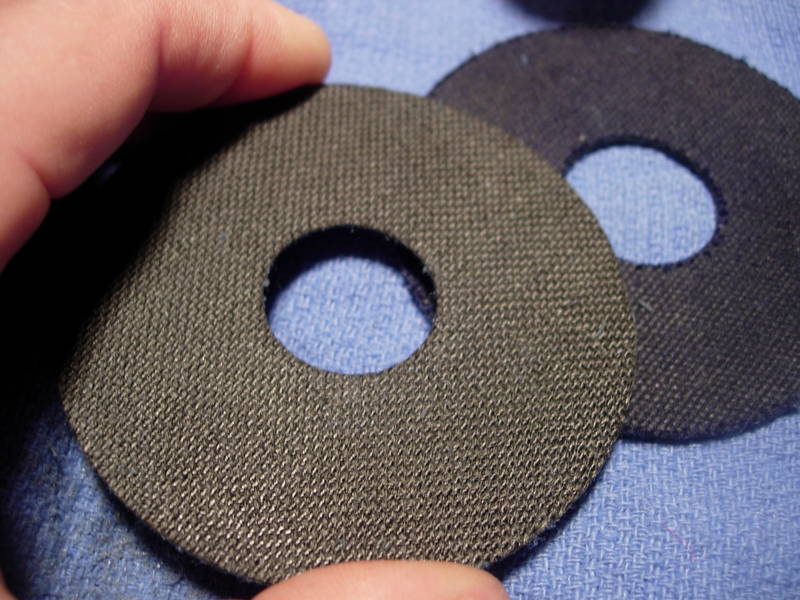
last out is the drag washer (key #611). note the stainless steel backing plate.
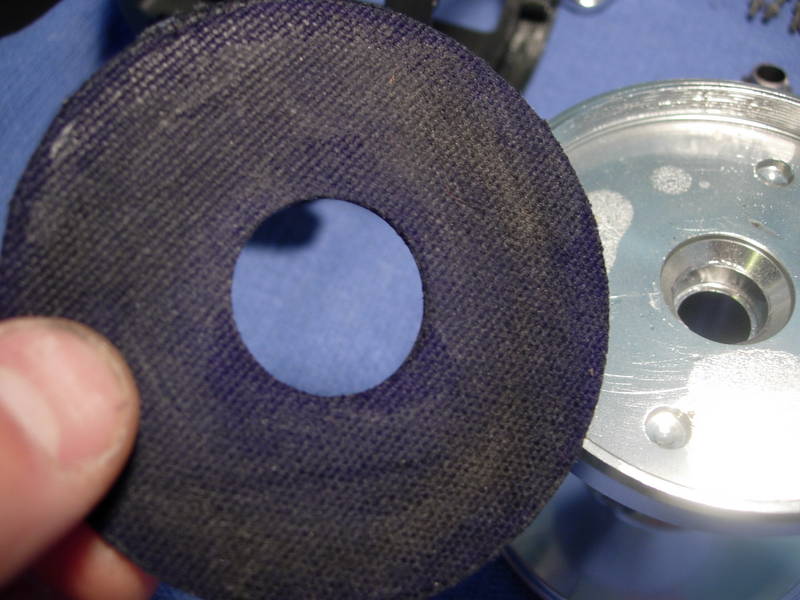
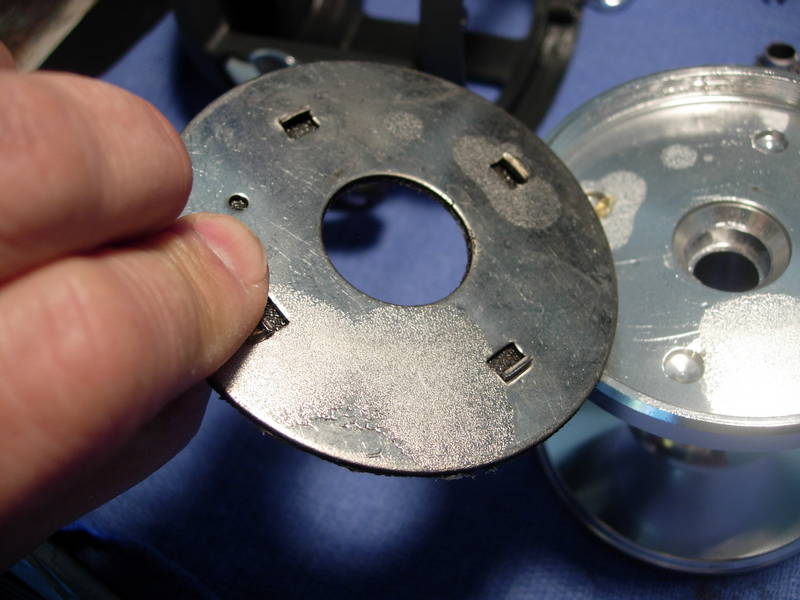
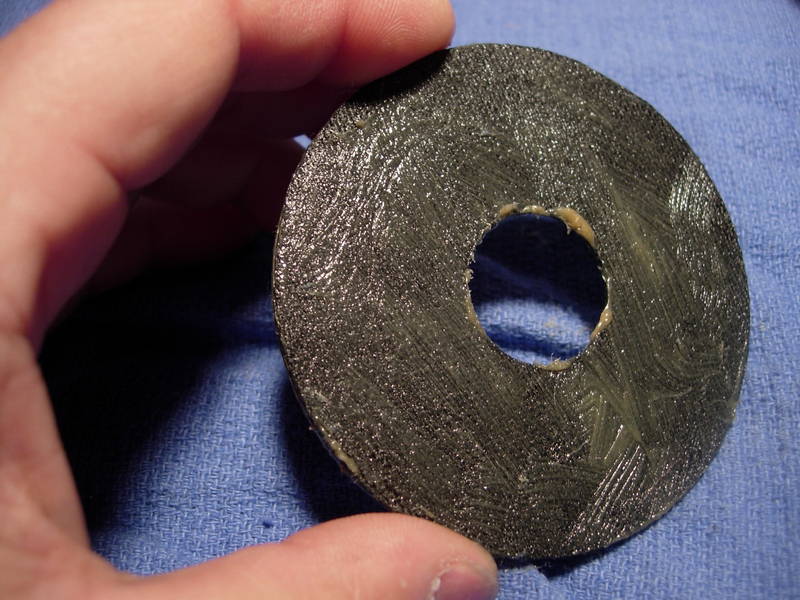
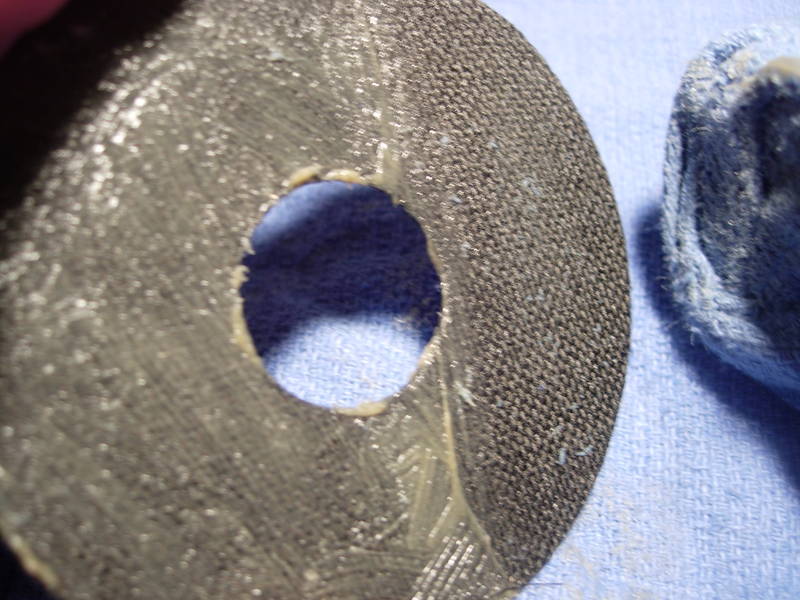
slap on a thick coat of cal's drag grease and make sure you get the inside and outside edges.
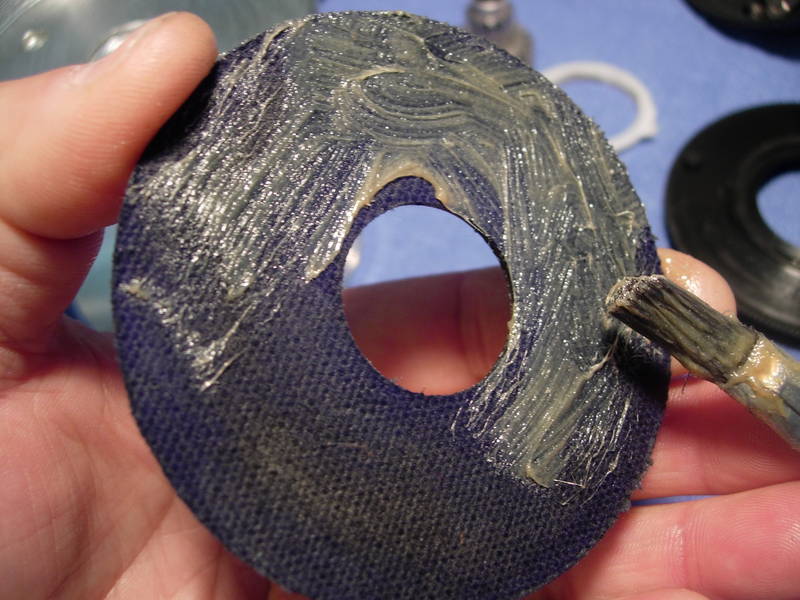
now carefully wipe away all of the excess.
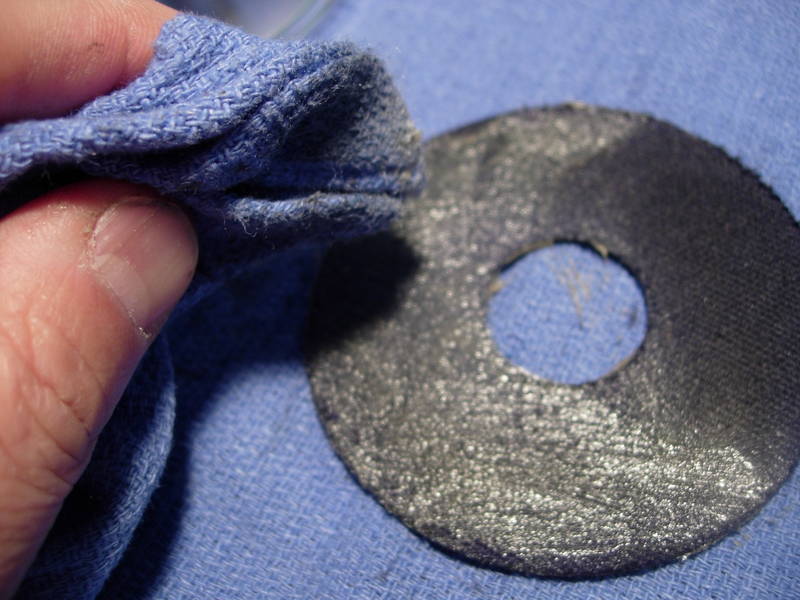
apply a thin coat of grease to the back of the stainless steel backing plate and to the mating surface of the spool, then install the drag washer. looks alot better, doesn't it! and it will probably function better as well.
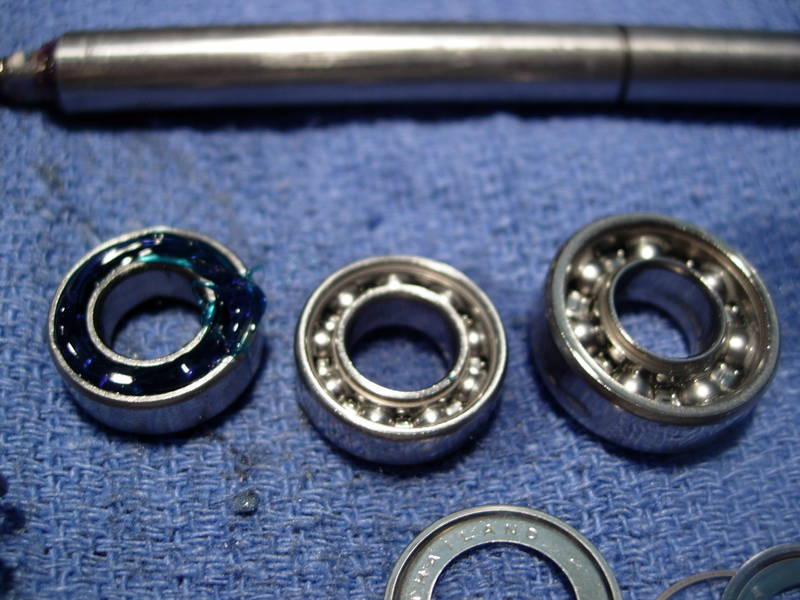
now for the bearings. if you are not familiar with bearing service procedures, do a search on this site for key word "bearings" and author "alantani" for a review. the drag pressure plate bearing (key #9105) on the left was cleaned and packed with yamaha engine grease. it will be re-installed open because the shields were damaged in the removal process. the right spool bearing (key #9105) in the center and the left spool bearing (key #9104) on the right were cleaned, lubed with corrosion x and will be re-installed open.
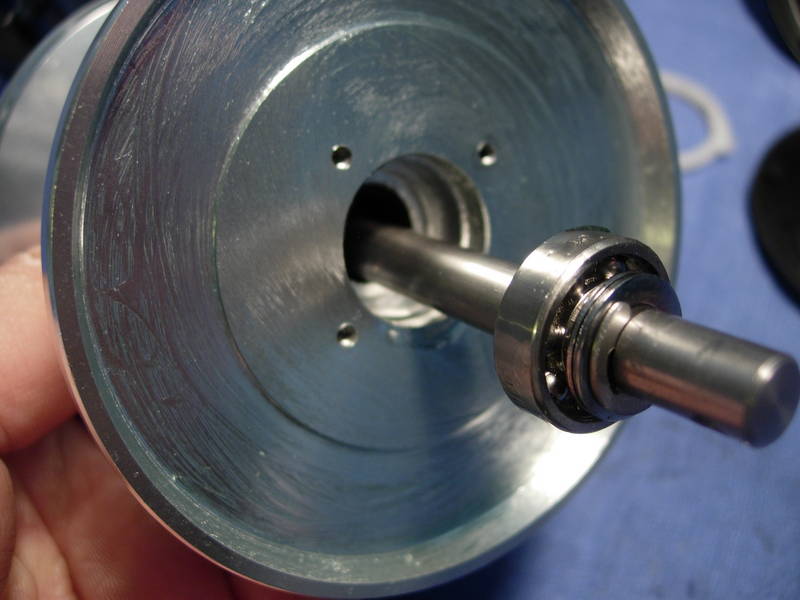
apply a light coat of grease to the left side of the spool (key #400)and install the spool shaft assembly (key #718) with the left spool bearing (key #9104).
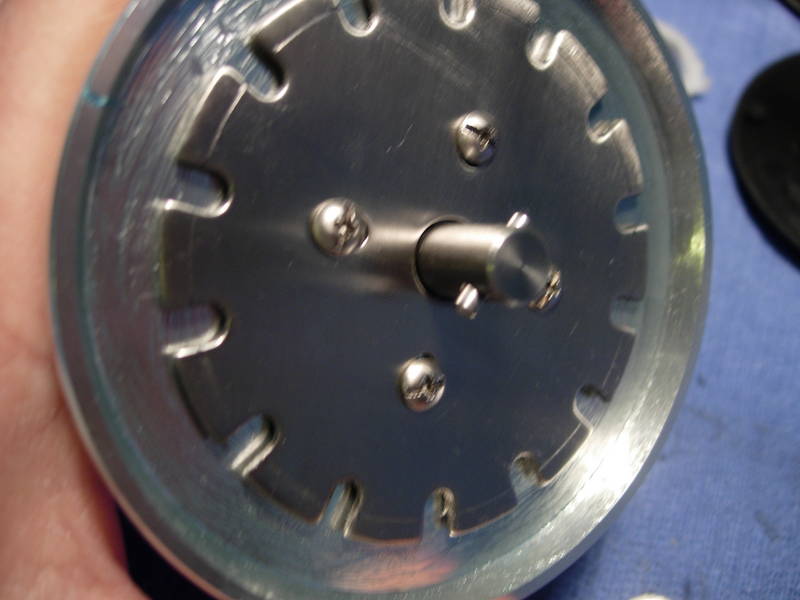
install the click pawl (key #304), screws (key #9314) and stopper pin (key #717).
install the right spool bearing (key #9105) and compression spring (key #613).
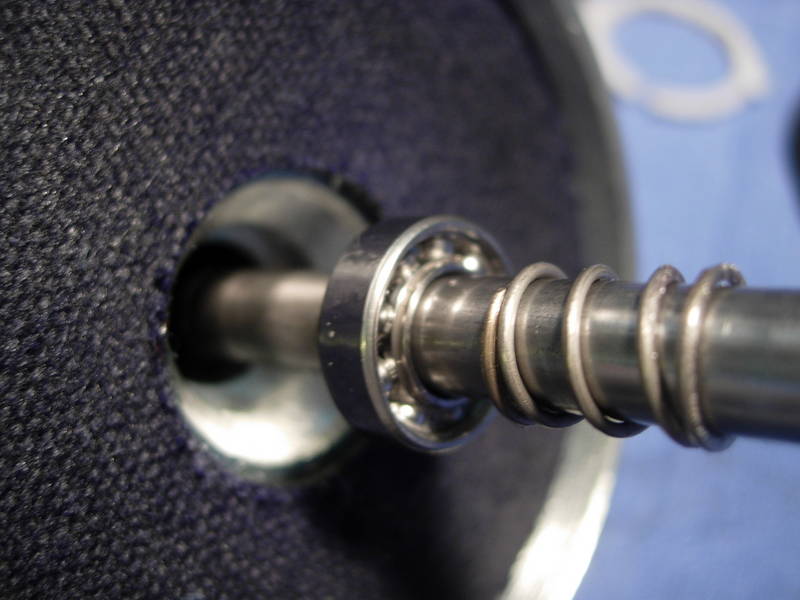
install the drag pressure plate bearing (key #9105) into the key washer (drag pressure plate) assembly (key #612).
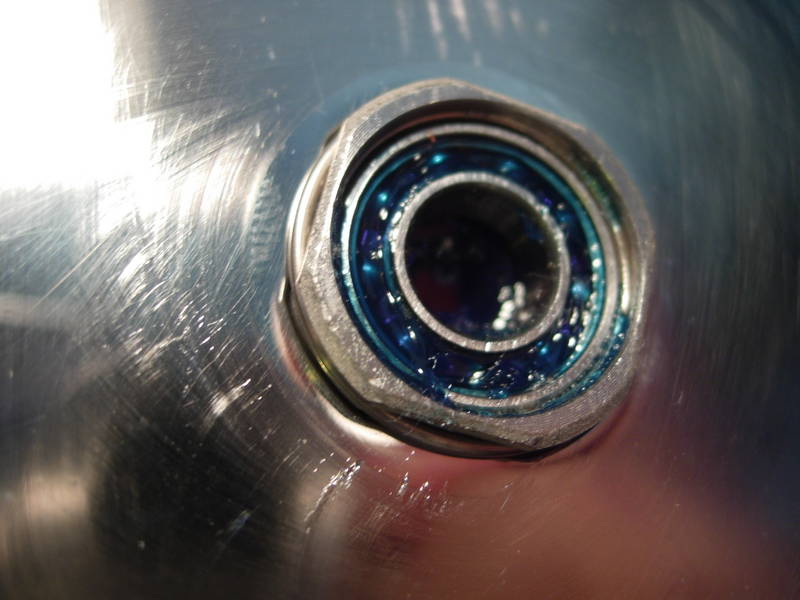
install the key washer (drag pressure plate) assembly (key #612).
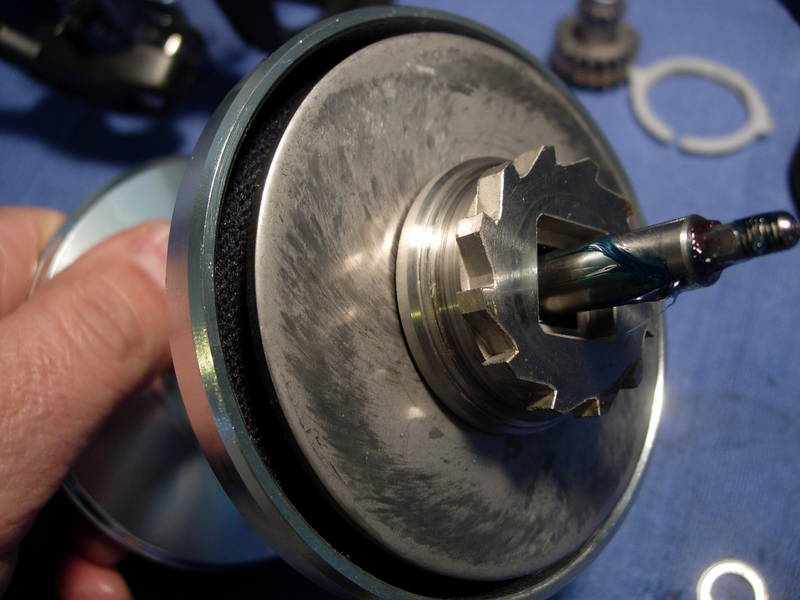
install the spool cover (key #405) and tighten firmly by hand.
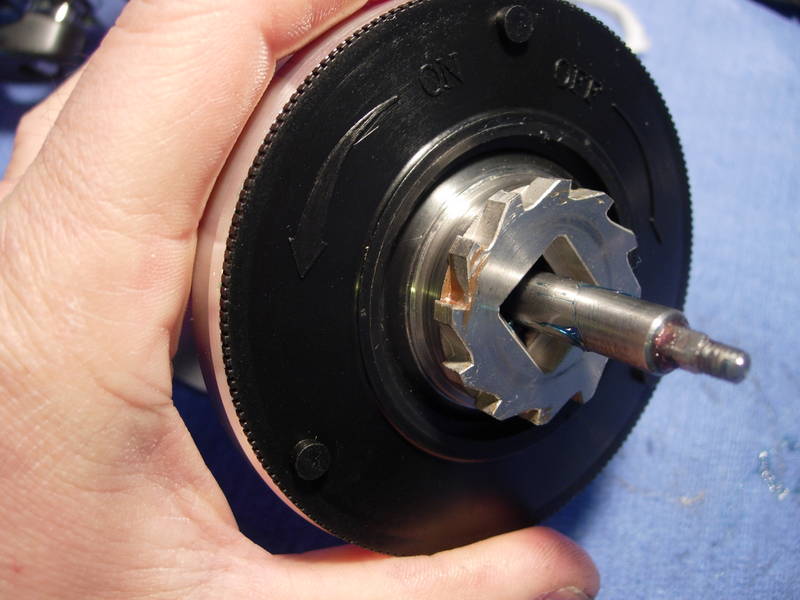
install the silent spring (key #723).
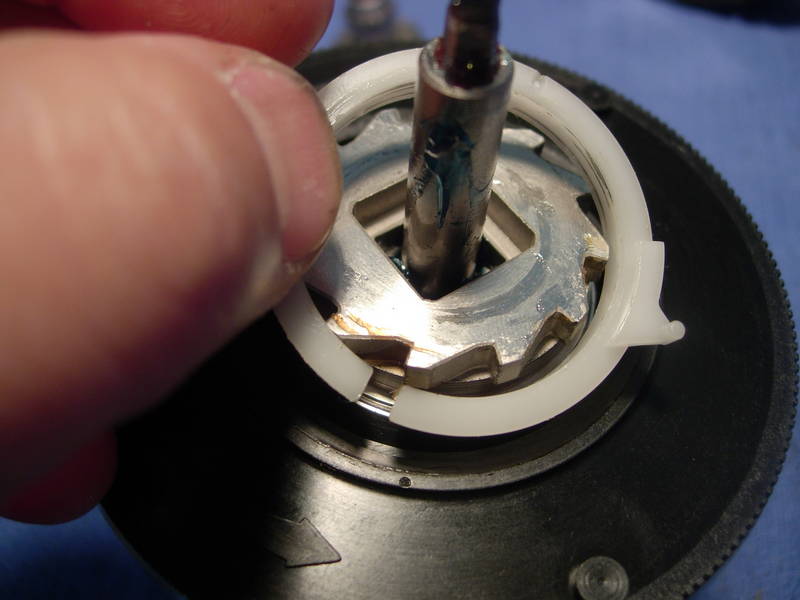
install the high speed pinion gear (key #702), the low speed pinion gear (key #702-1) and the thrust washer (no key #) as a unit.
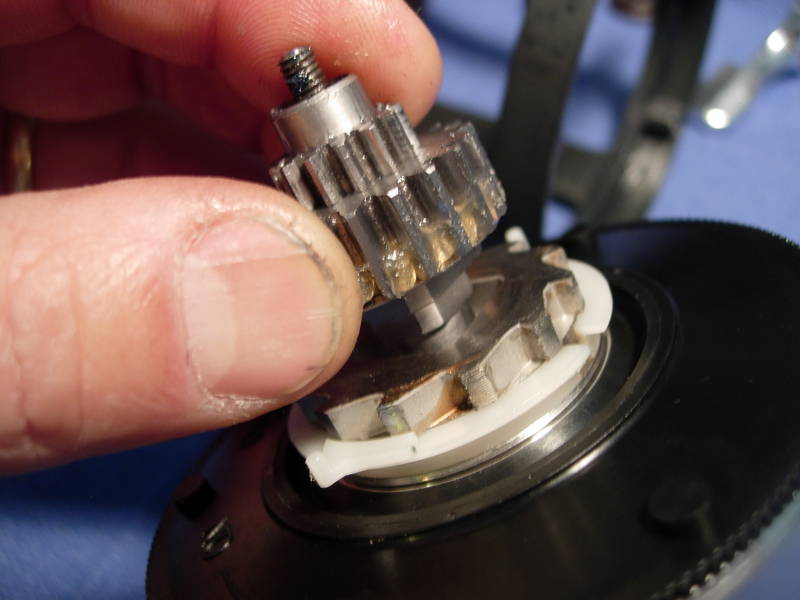
and the spool is done.
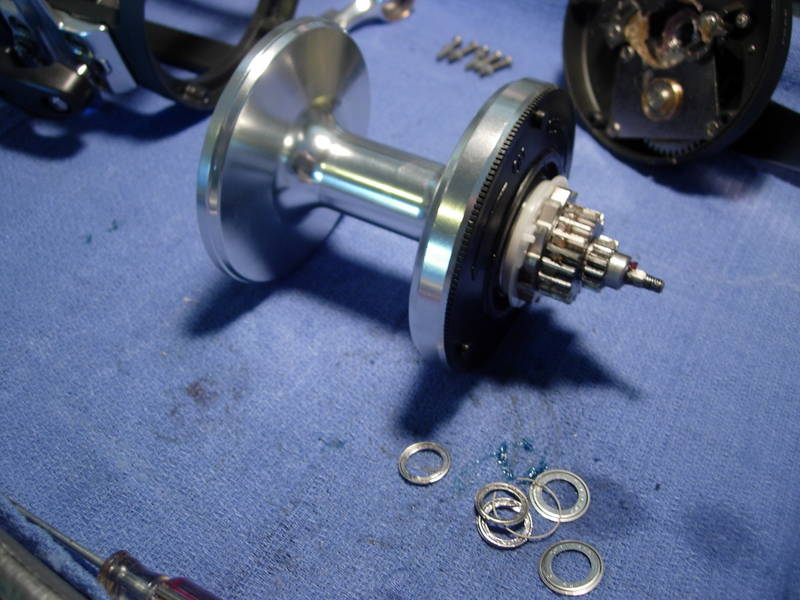
install the spool assembly (key #400) into the the main body (key #100) and set both aside.
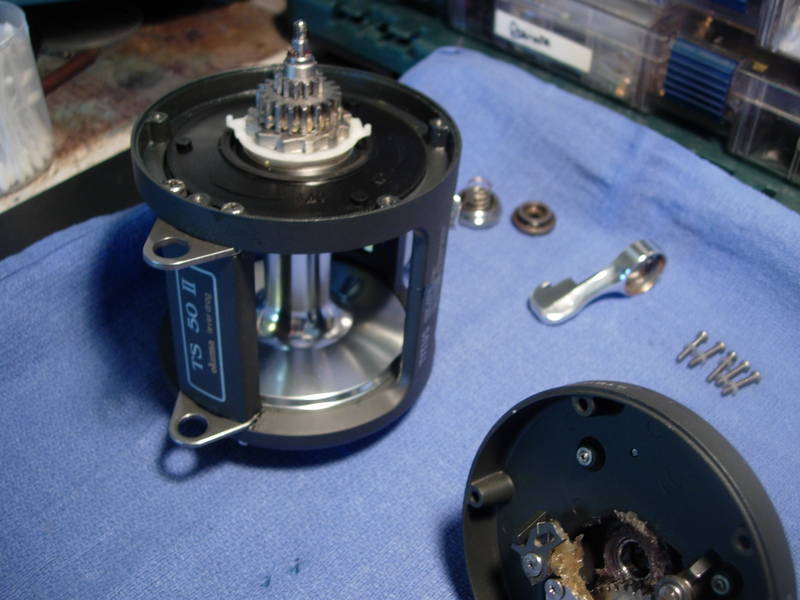
now for the right side plate assembly (key #200). we need to pull out the right main side plate bearing (key #9101) and pack it with grease.
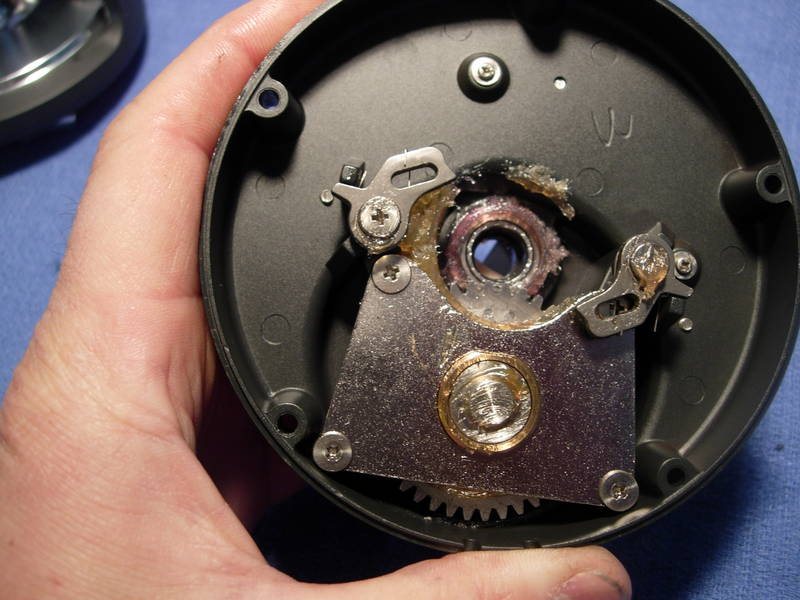
remove the anti-reverse pawls (key #201), the hold plate screws(key #9302) and anti-reverse pawl springs (key #217). note their orientation and function carefully. they will have to be re-installed in exactly the same way. and you would not want these to fail in the middle of a fight.
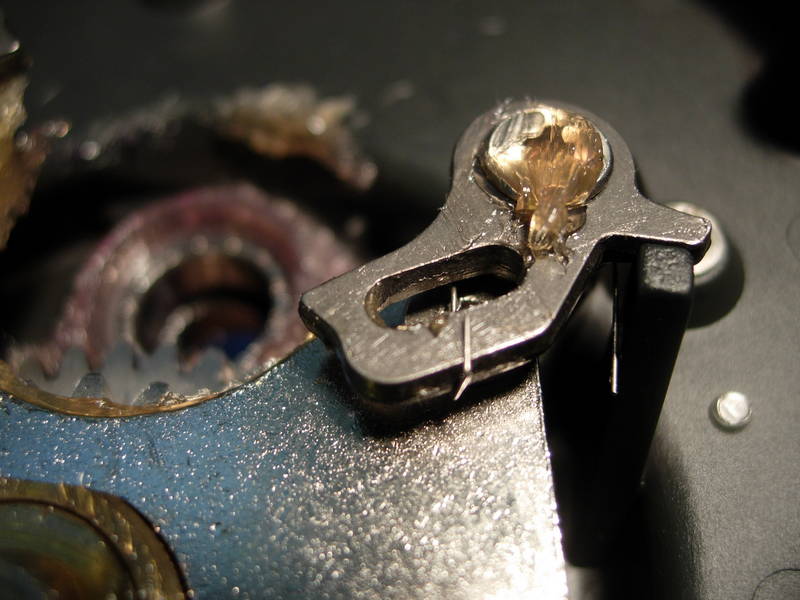
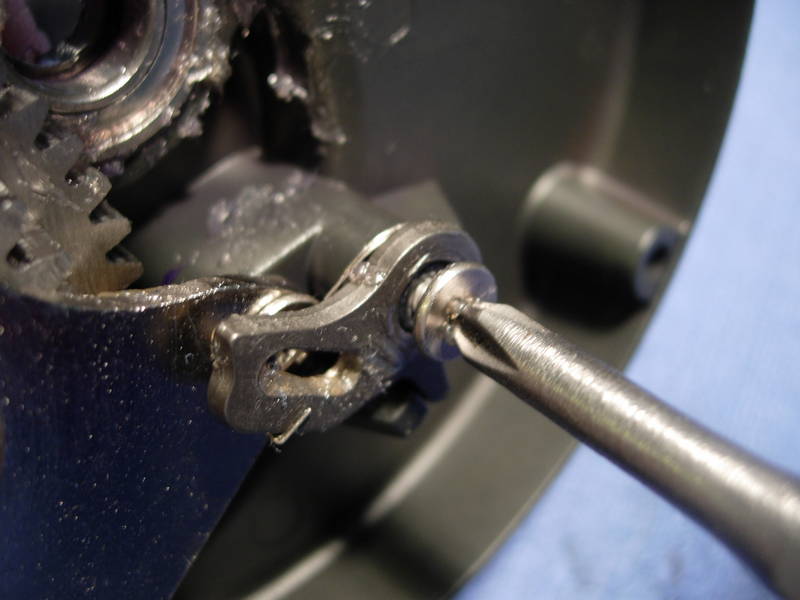
remove all four hold plate screws (key #9302).
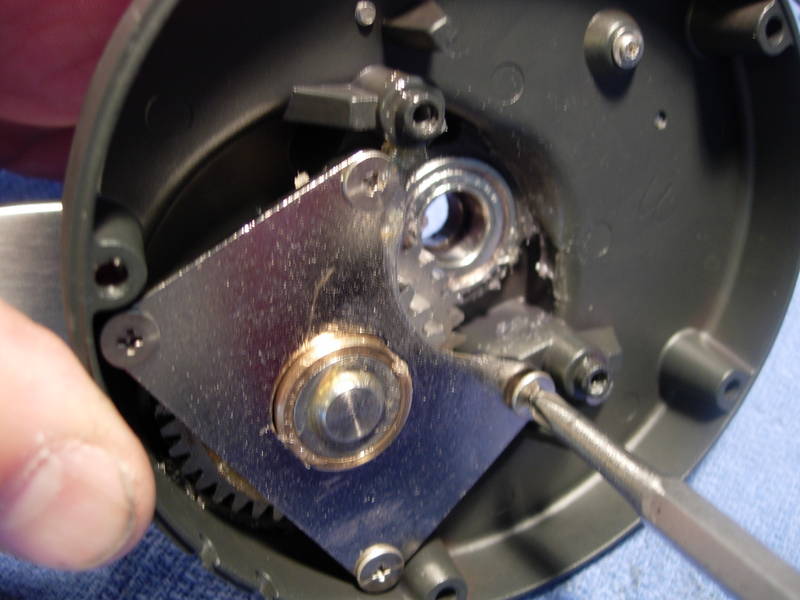
remove the hold plate (key #207).
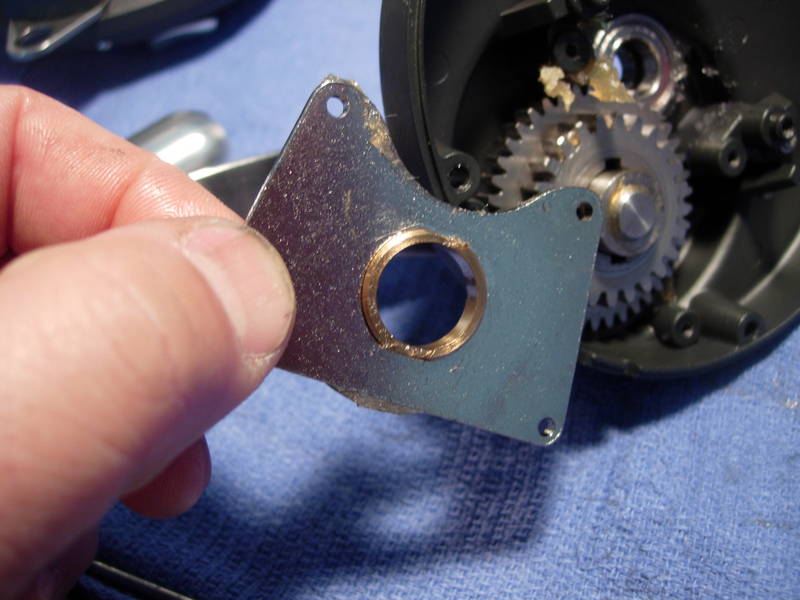
remove the low speed drive gear (key #700-1). there is a washer (key #9217) underneath that is not shown.
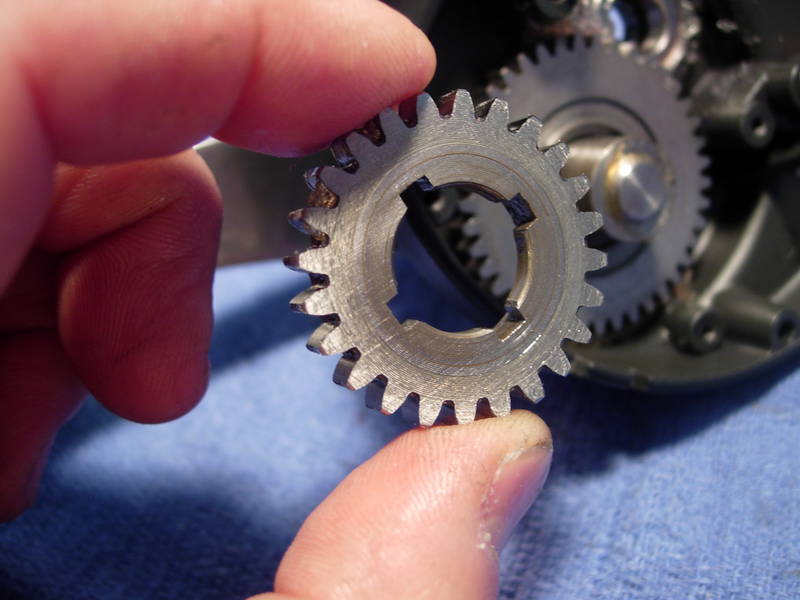
remove the high speed drive gear (key #700).
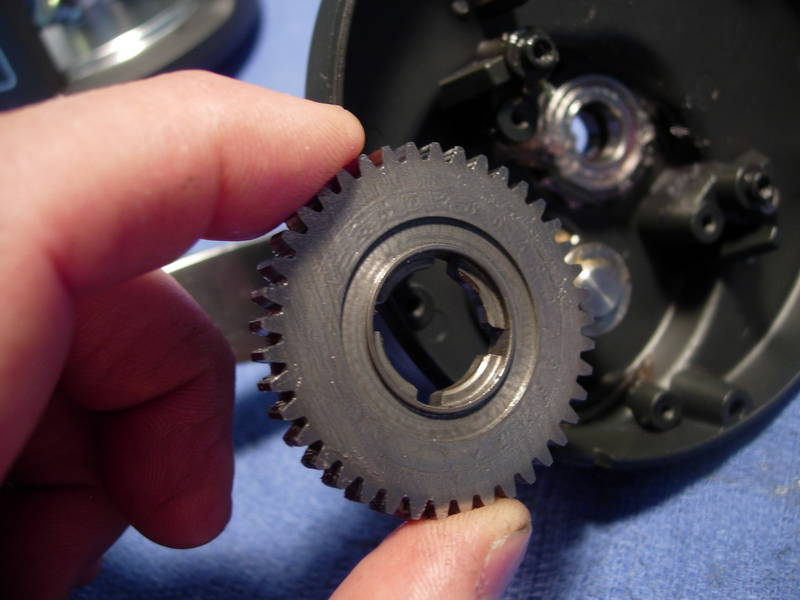
remove the right side plate bearing (key #9101).
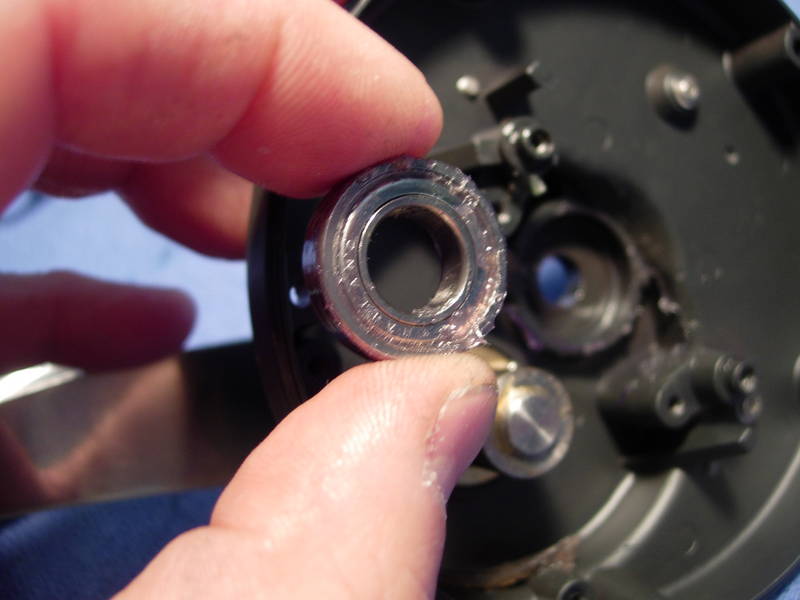
since we have an aluminum side plate, let's take an old toothbrush and spread the grease around a little.

open up the bearing. this one had a shield held in by a retaining ring. again, note the gaps in grease. .
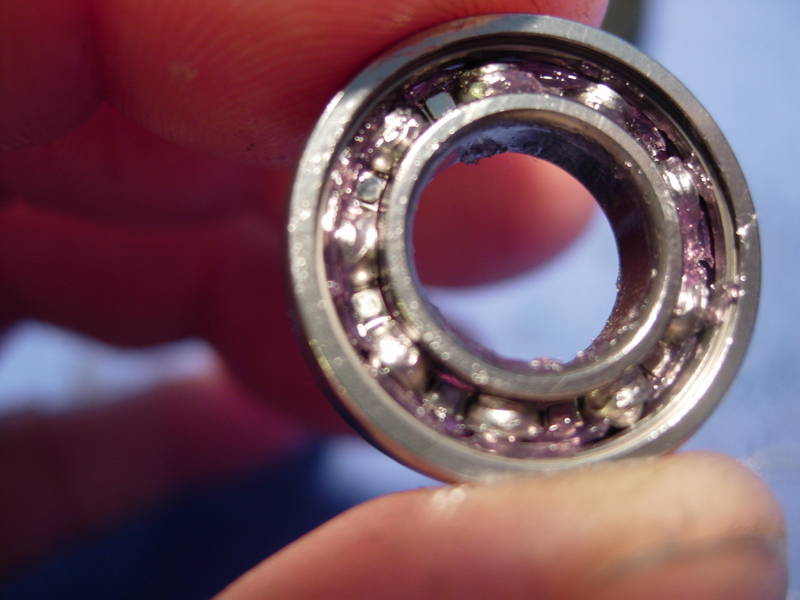
the mini-grease gun (see "tools of the trade") makes it easy to pack the bearing with grease.
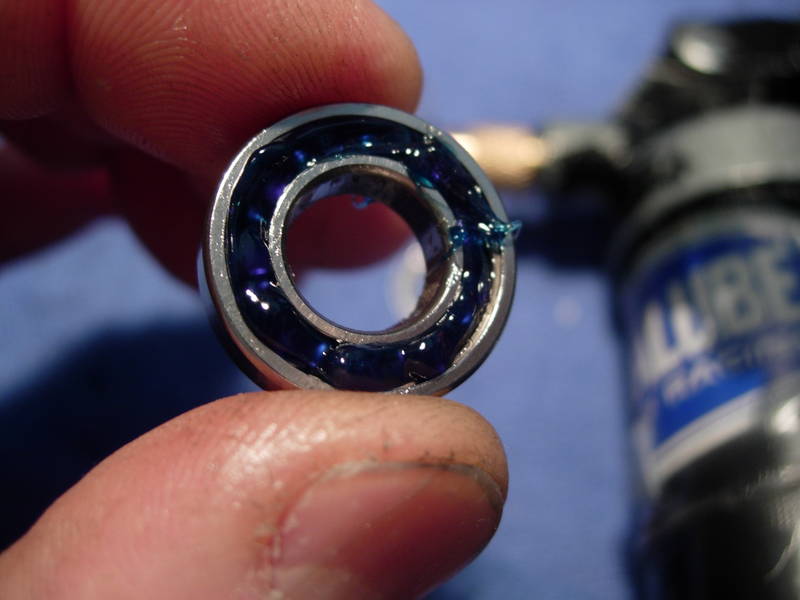
re-install the shields.
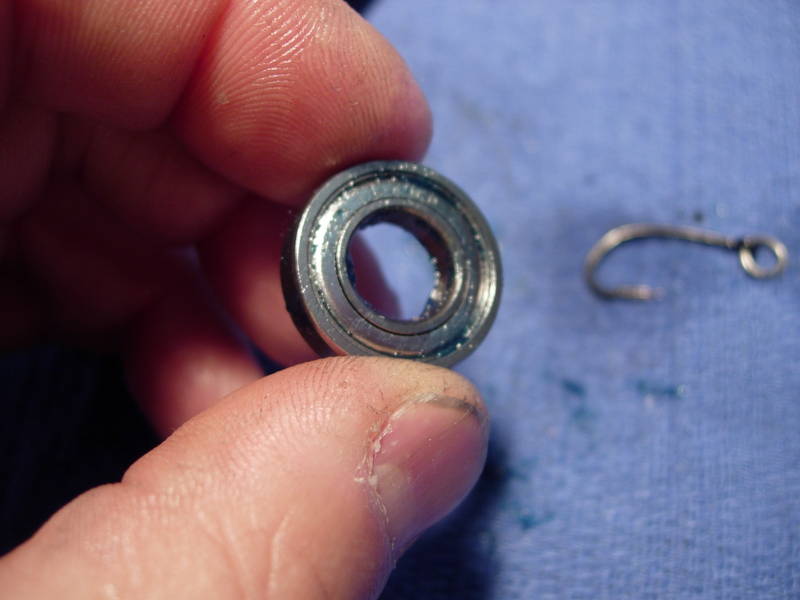
because the risks to this bearing are so high, i'm going to pack a little grease into the side plate. this right main side plate bearing is always the first bearing to fail in ANY lever drag reel.
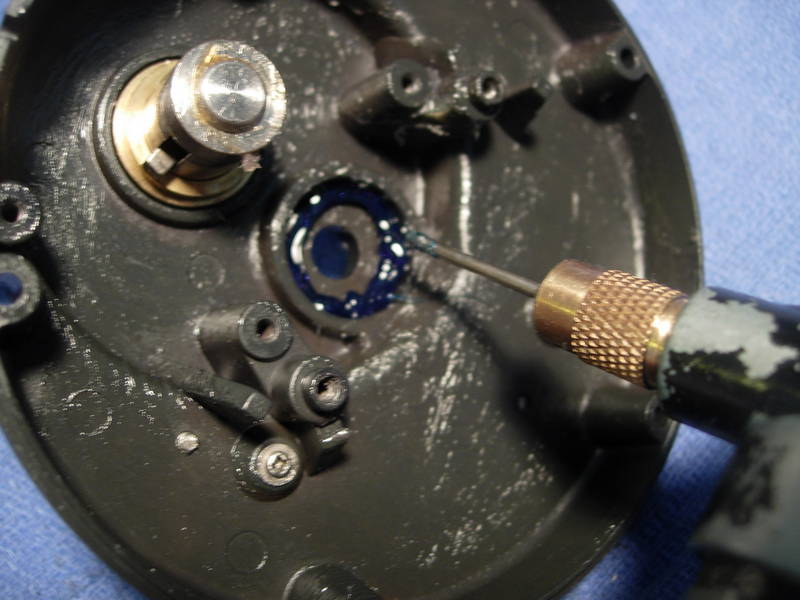
install the right main side plate bearing (key #9101).
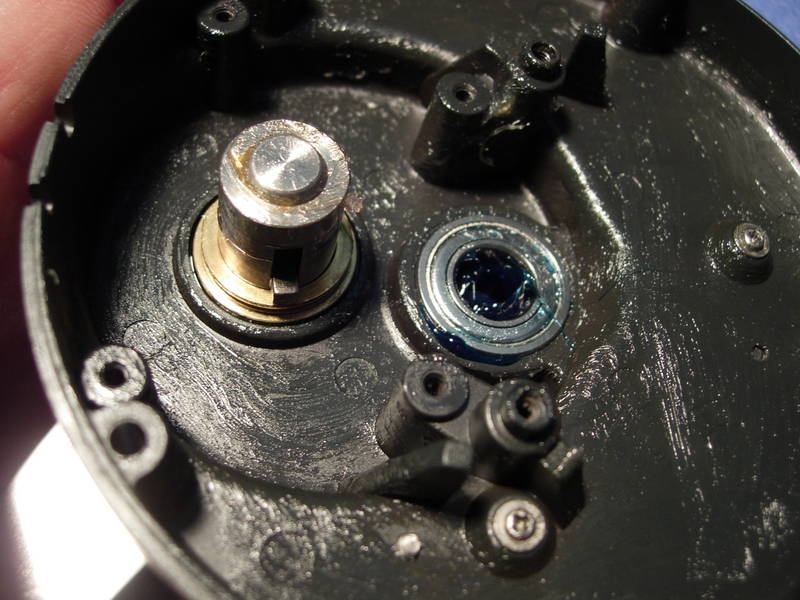
install the high speed drive gear (key #700), the washer (key #9217) and the low speed drive gear (key #700-1).
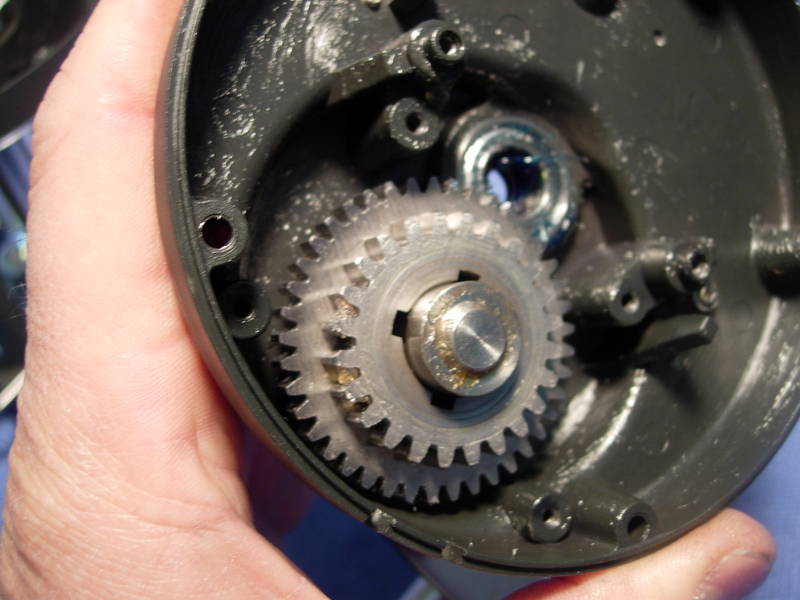
install the hold plate (key #207) and screws (key #9302).
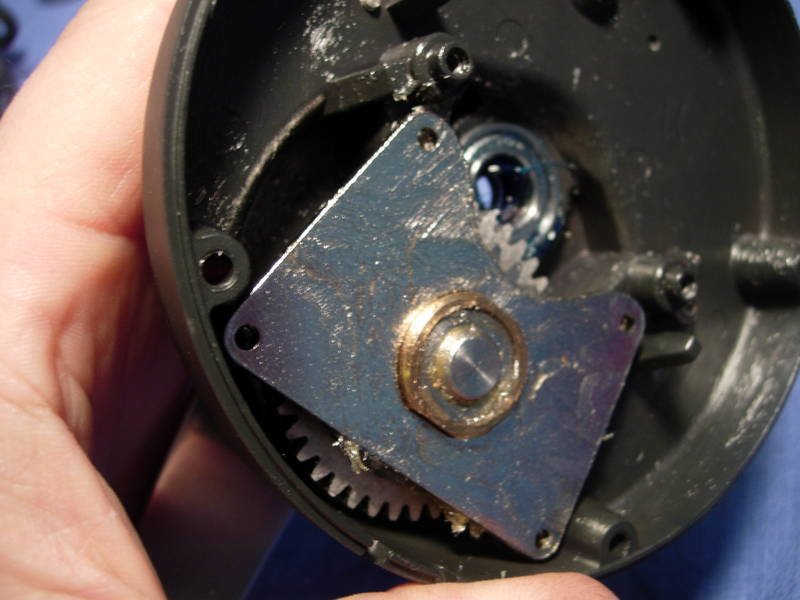
install the anti-reverse pawls (key #201), springs (key #217) and screws (key #9302). check for proper orientation and function. ok, the side plate is done. note that there are no bearings along the drive shaft (key #701) of this reel to service (or to fail).
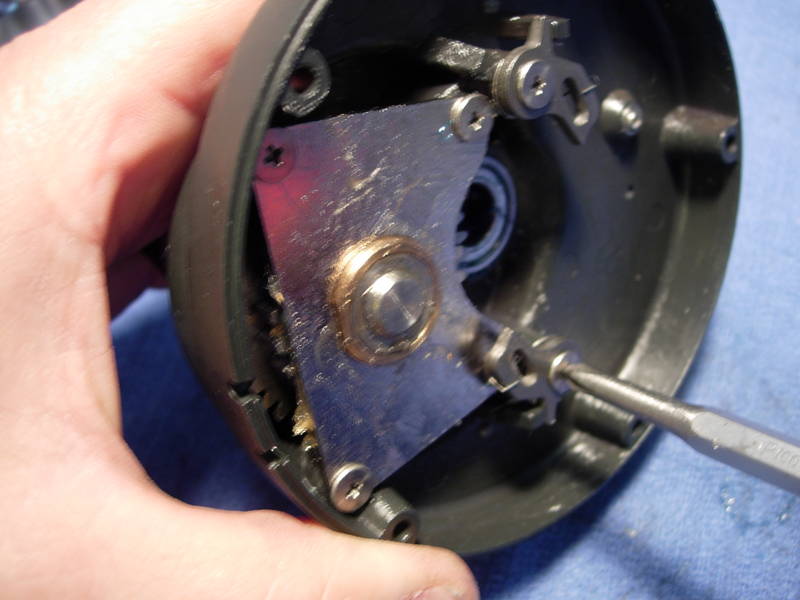
let's put this reel back together. put a small bead of grease in each frame screw hole.
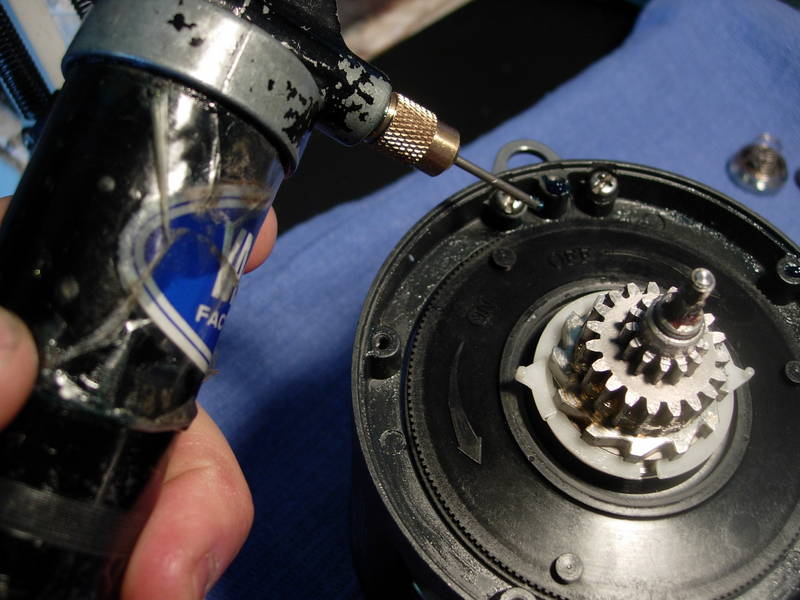
add grease to the outside of the screw hole. this is a common area for corrosion, though it is a cosmetic problem only.
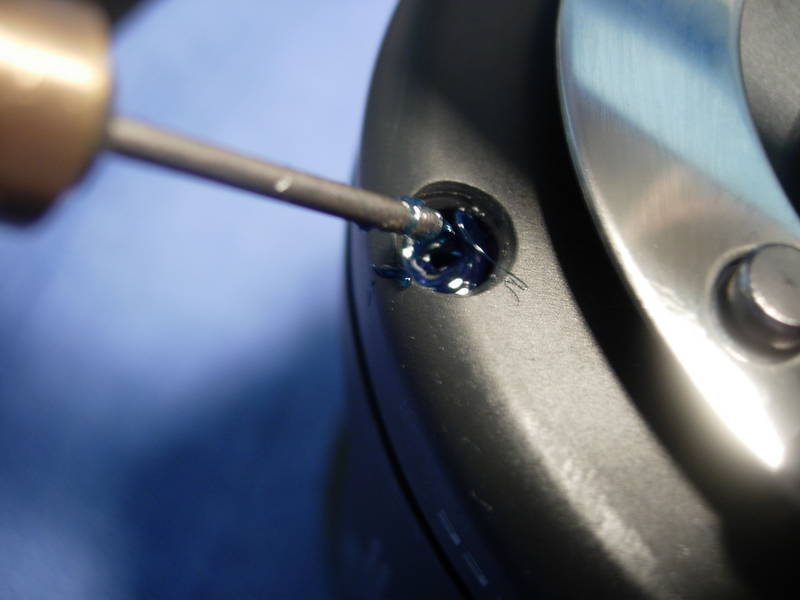
install the right side plate screws (key #9301) and washers (key #9215).
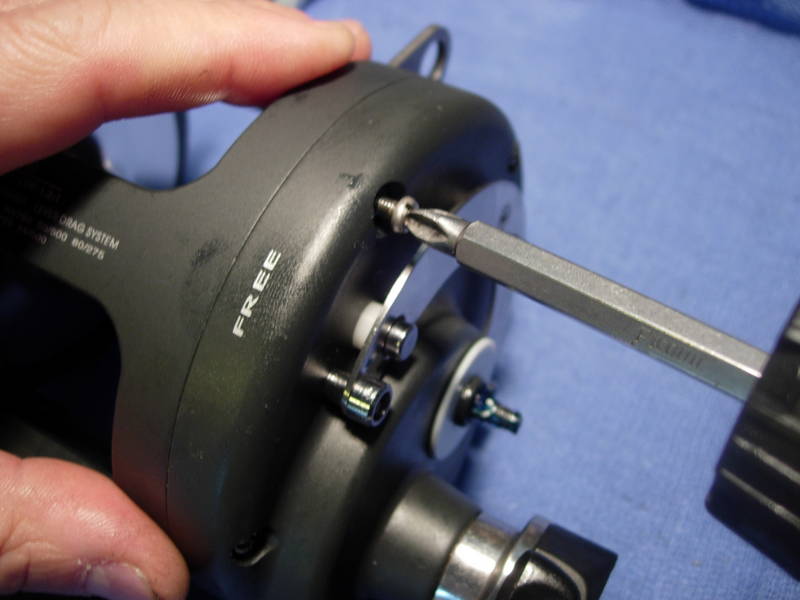
the decoration plate (key #205) is held in by three screws (key #'s 9305 and 9306). remove them one at a time and grease each screw hole.
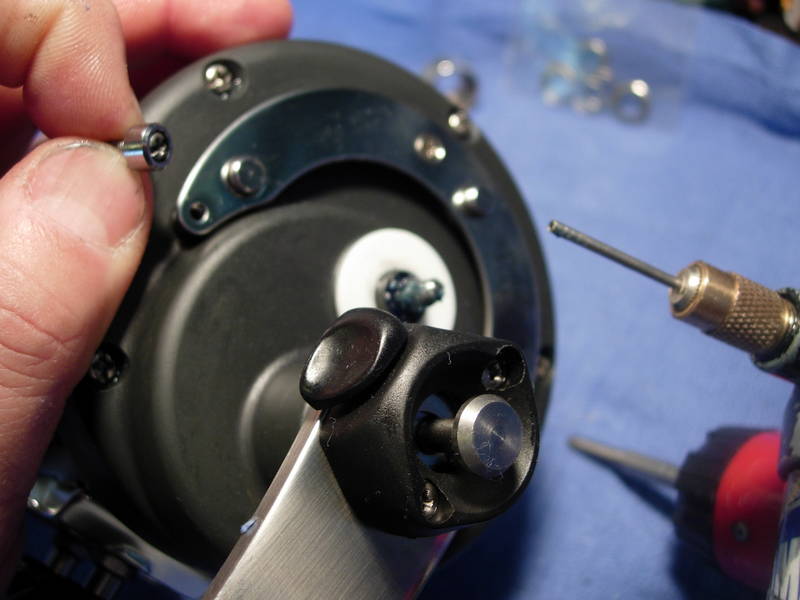
install the drag lever (key #605).
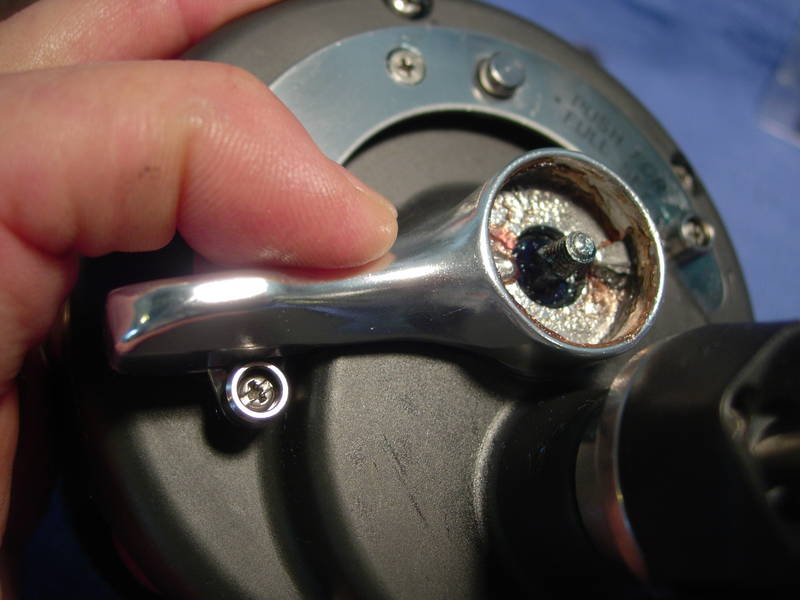
install the adjust block (key #602).
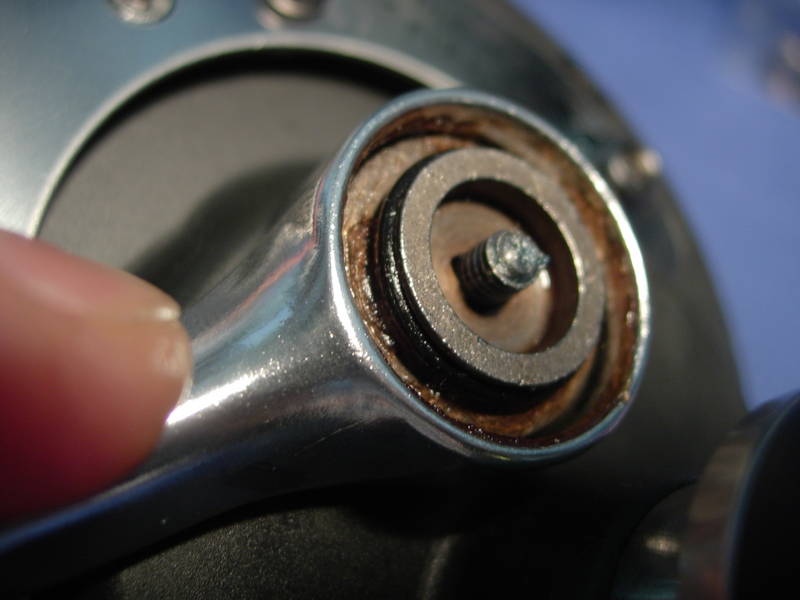
install the compression spring (key #601) and drag knob (key #600).
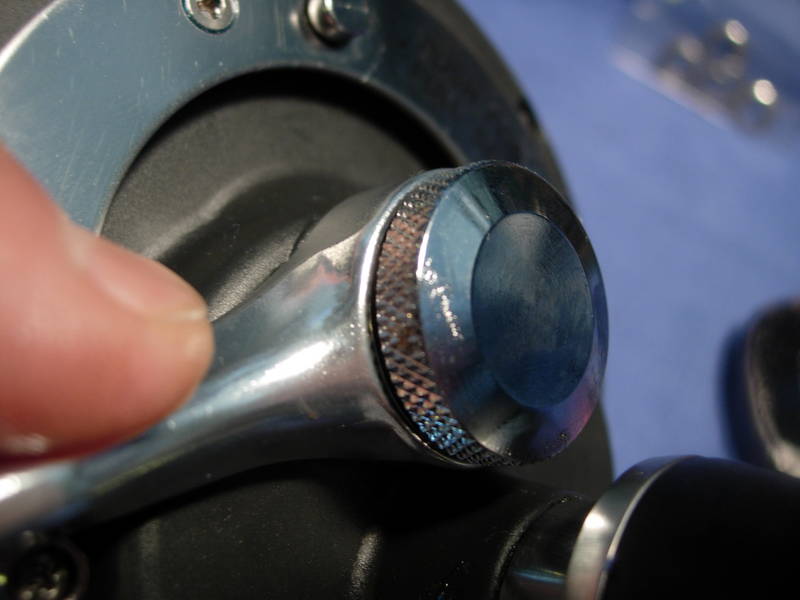
remove the stock handle grip (key #500) with a 3mm hex bit and note the reverse threads on the screw (no key #).
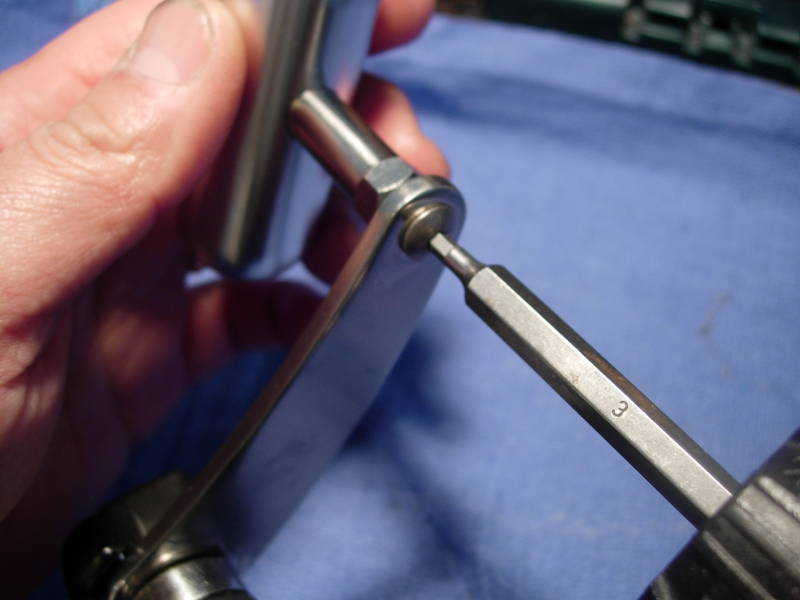
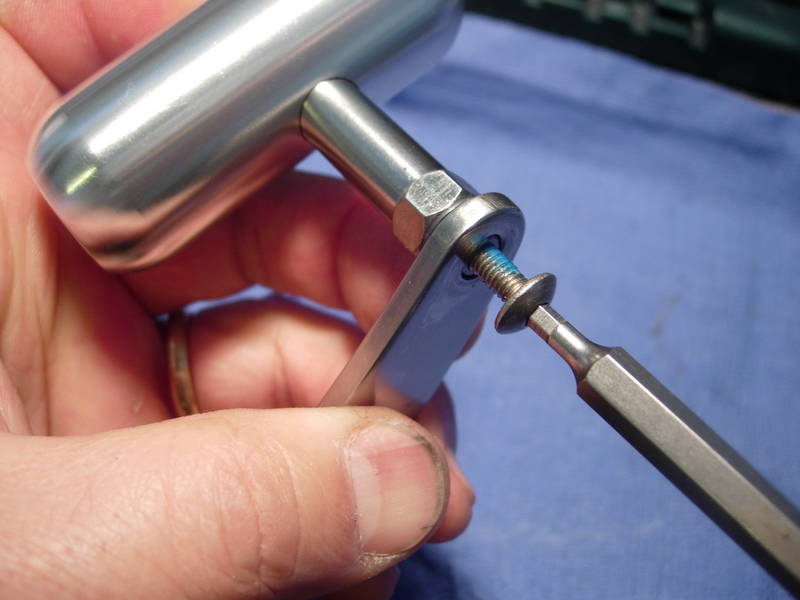
i had my local machine shop make several dozen new handle grips. these are even larger than before.
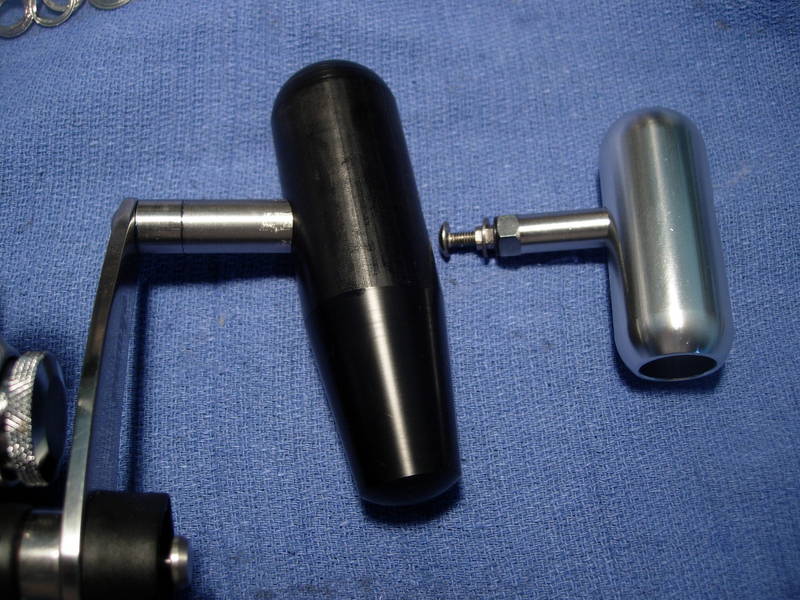
and done!
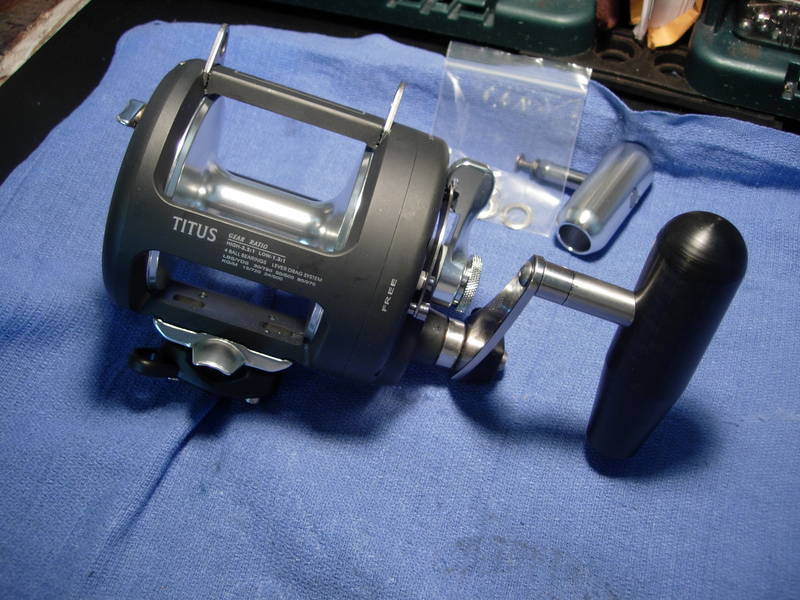
i dropped this reel off at my local tackle shop. the manager and i are good friends. he packed it with spectra and ran the reel through it's paces. he told me that the initial freespool was great and the drag was buttery smooth. when he check the maximum drag at strike, he told me that this reel bottomed out his 50# scale and still had great freespool and smooth drag. that's correct. this reel delivered 50#'s at strike and still did not loose freespool. he was shocked. and then he said that he was going to have to order a few.
those of you that have been following my posts over the years know that there are certain things that i am looking for in a lever drag reel. i am looking for a greased carbon fiber drag washer, side plate and handle bearings that are packed with grease, spool bearings that are open and lubed with corrosion x, grease in the screw holes, grease on all of the non-exposed metal surfaces, a high enough drag range to take full advantage of the new hollow core spectras, a frame that is strong enough to hold up under these newer extreme drag pressures, and a full-sized offset handle grip. in my opinion, this reel meets or exceeds all of these requirements.
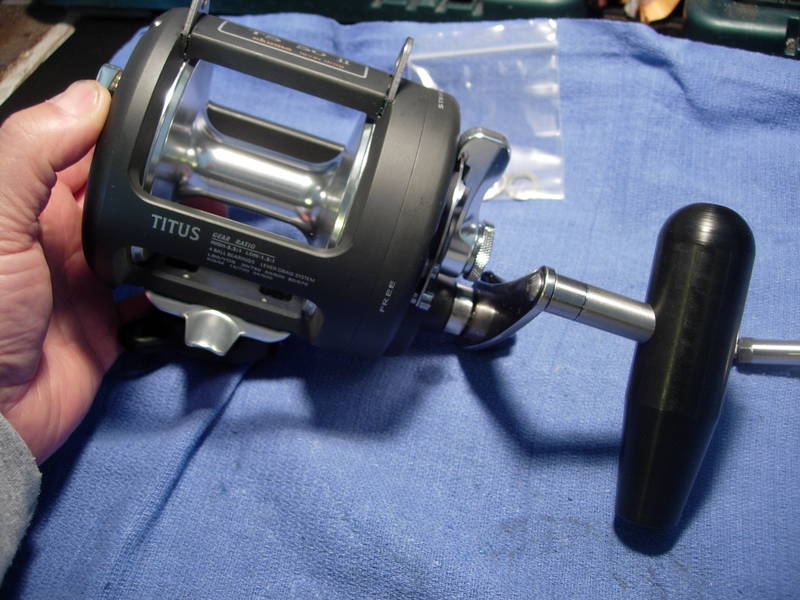
but, um, this reel does not.
so let's go through our newfound friend again. remember the stainless steel backing plate on the drag washer? most drag washers of this type have an aluminum backing plate that is more prone to corrosion than stainless steel. remember the uneven application of grease? without an even layer of grease, water can get into and underneath the drag washer and cause the metal underneath to corrode. salt can also stick to and build up on the carbon fiber itself. you have all seen many examples of this in past rebuild posts. admittedly, a stainless steel backing plate is less prone to corrosion, but the potential exists. with water intrusion into the drag chamber and a spool cover to hold the water in place, even this stainless steel backing plate will corrode. an even layer of grease is critical to the long term survival of a drag washer. i would slap on a thick coat of cal's drag grease and make sure you get the inside and outside edges. this will provide protection against water intrusion and reduce "start-up." by then carefully wiping all of the excess grease, you will allow the pressure plate to get closer to the drag washer without sticking to the excess grease and decreasing freespool. if this were my personal reel, i might even leave the spool cover off and turn the reel into an avet.
now for the bearings. here's the left spool bearing (key #9104) with the shields pried out. note that the bearing is greased on one side.....
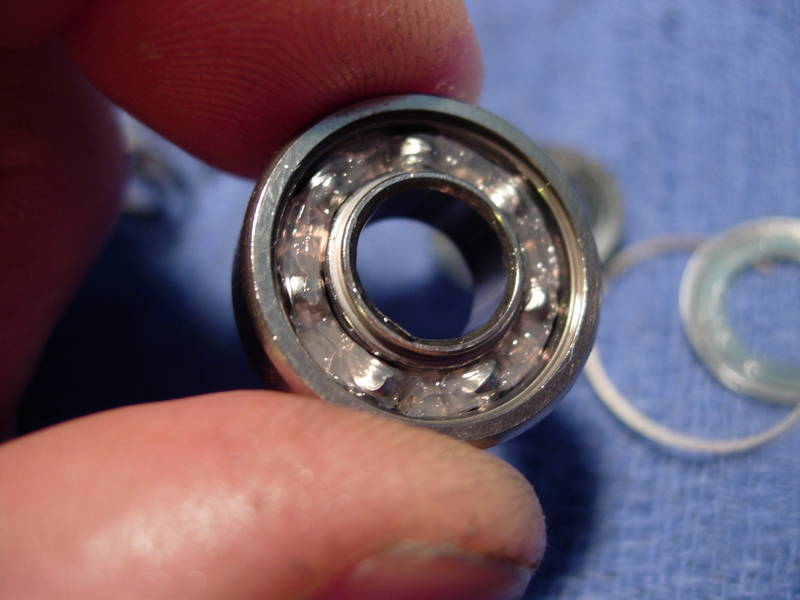
..... and dry on the other.
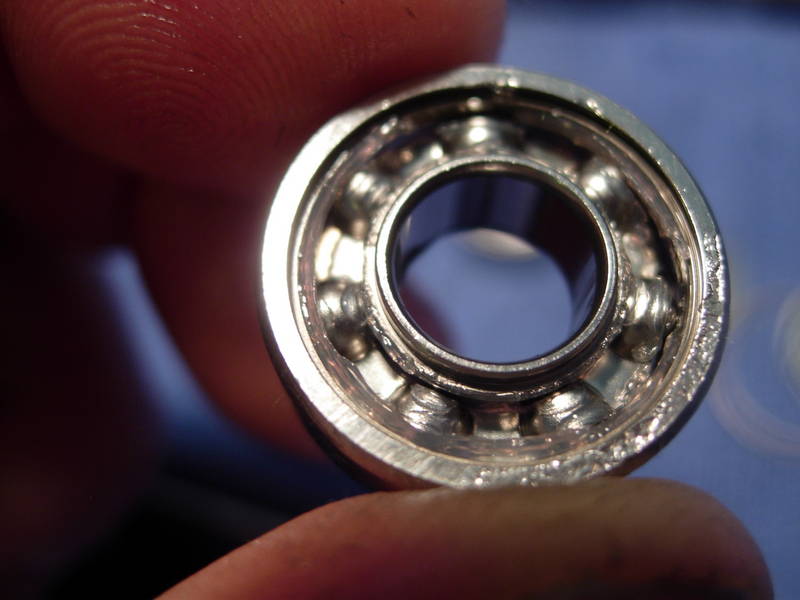
and it's not just okuma bearings. i commonly find "greased" bearings in all makes of reels that are greased on one side and dry on the other. it's like being half pregnant. a shielded bearing that is dry on one side may as well be dry on both sides. it will fail as soon as it get's water inside. for some reels, that happens after the first trip.
note to okuma: if you are ordering these bearings from your suppliers as greased, you are getting ripped off!
but okuma must be aware that there is an issue. in all of the lever drag reels that i have ever worked on, it is always the right main side plate bearing that is the first to go. note that an attempt was made to protect the bearing by slapping on a thick layer of grease. as the bearing spins, a gap is created between the inner race and the shield. this will allow water to enter, the shields then will hold the water in, the gaps in grease and dry spots inside the bearing will be attacked by the salt and the bearing will fail. every frickin' time! grease on the outside of a bearing does nothing to protect it. service records from any reel service center should confirm this contention. for a bearing to survive forever, i believe that it must be packed with grease.
all of this is fine for drive shaft and side plate bearings. what about spool bearings? if you pack them with heavy grease, the spool will not spin freely. if all you do is troll, that may not be an issue. for the best freespool, the bearings will have to lightly lubed. i believe that an open and lubed bearing has a far better chance of survival then a shielded or sealed bearing. with an open bearing, water will get in, but water will also get out. for routine service, it will be necessary to clean and relube these spool bearings on a regular basis. at least no additional service to this reel should ever be required.
so this is our new best buddy. i believe i could pit this modified reel against any other and win or draw. and at the price, how can you beat it? it could be the perfect entry level reel. it was pointed out to me a while back that not all of us are rich. point well (and humbly) taken. as for the rebuild proceedure itself, there are those that consider the average fisherman to be incapable of this level of work. perhaps i've just developed a higher opinion of all of you over all these years. but just think. wouldn't it be funny as hell if okuma made these types of changes to all of their reels at the factory? don't laugh, think about it for a minute. greased carbon fiber drag washers, lubed or greased bearing, grease in the screw holes and all the non-exposed metal surfaces, and offset oversized grips. if they could realize a zero percentage 5 year failure rate on their reels, they could transform the market. and in one fell swoop. it really would be simple. it would be the same type of work that i do, only i have to do this one reel at a time........... alan