
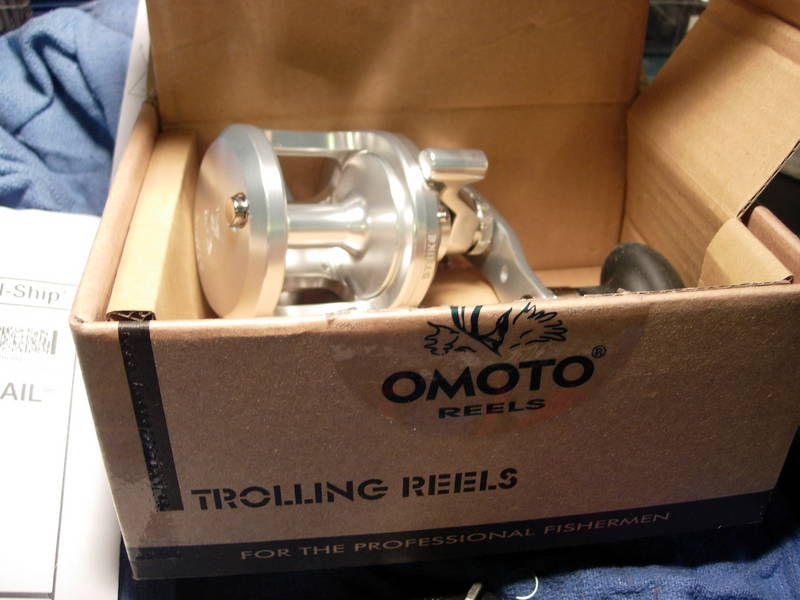
this arrived in the mail last week. it's new from omoto http://www.fishing-tackle.com.tw/trolling.htm and is being sold by alan chui, owner of prochallenger http://www.prochallenger.com/cgi-bin/cp-app.cgi in florida. alan has sent out a couple of reels for me to look at. as i get caught up, i hope to be able to go through the entire line.
here's our new reel.
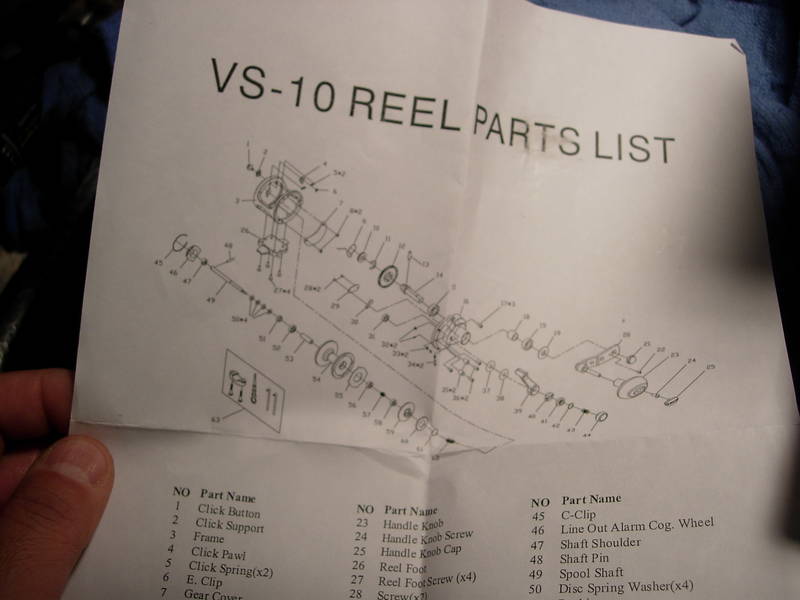
i've got a paper copy of the schematics, but was not able to locate one online. alan chui says that the websites have not been updated yet.
let's take a look around.
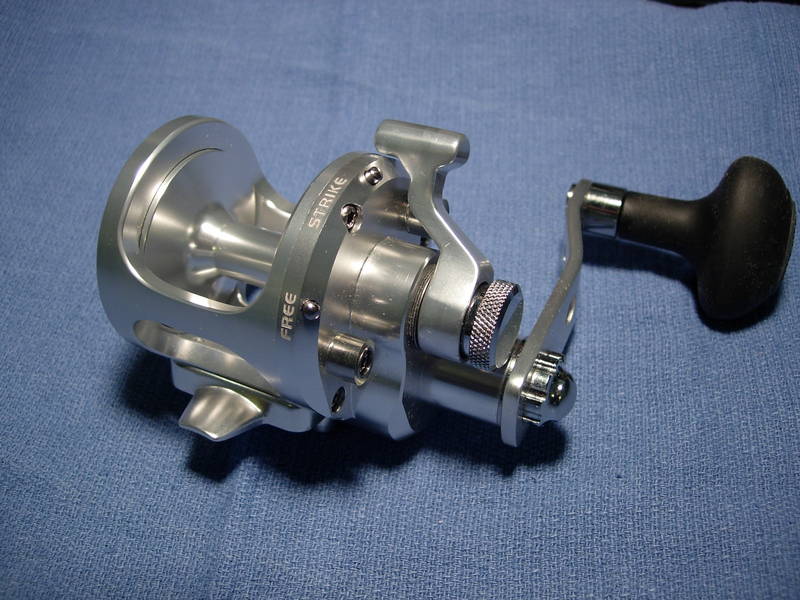
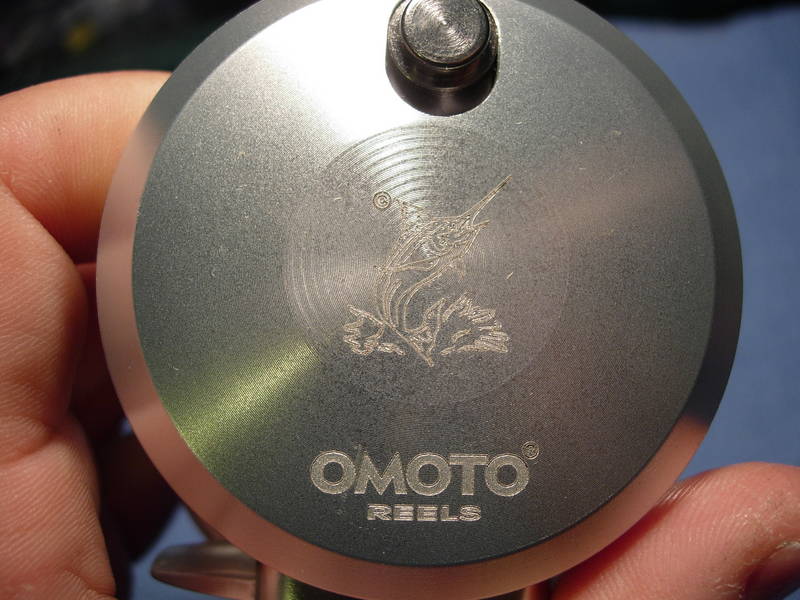
it looks like everything is engraved rather than etched.
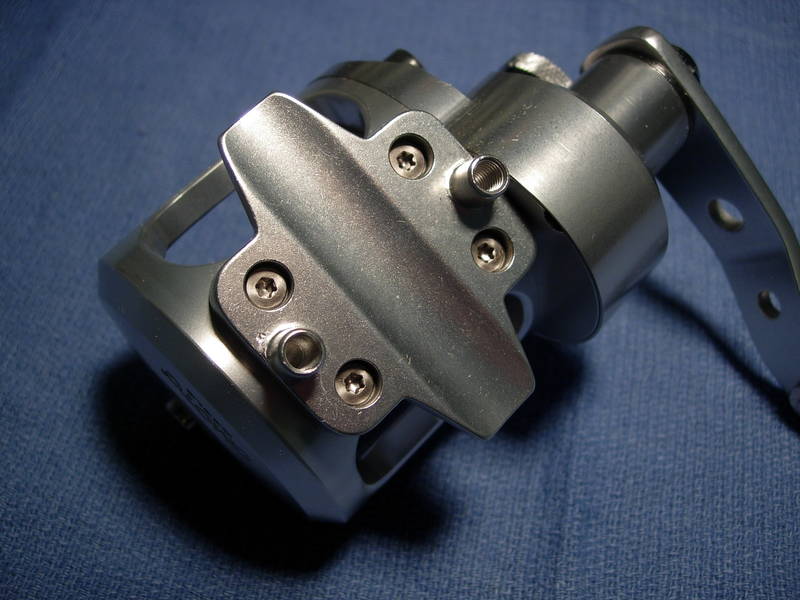
they apparently took the lessons from avet and bolted down the reel seat with 4 screws. avet started with two screws and had trouble, then switched to 6. the four screws holding the omoto reel foot in place should be adequate.
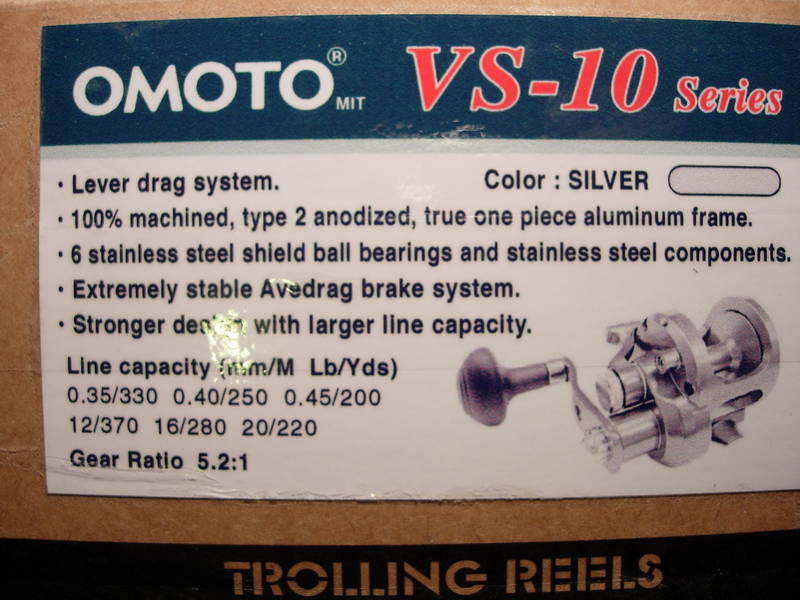
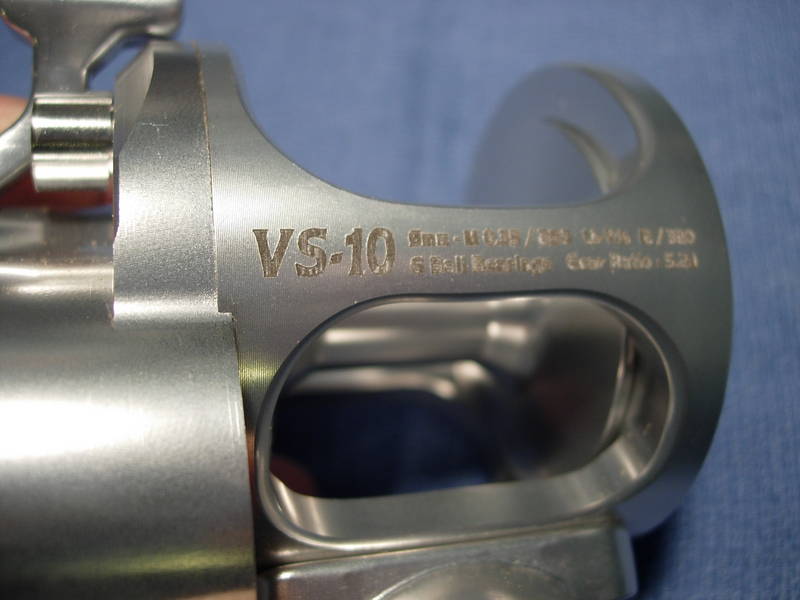
a 5.2 to 1 gear ratio and 220 yards of 20# mono make this reel nearly the exact match to the avet sx.
using a no 15 torx bit, back out all three right side plate screws (key #17).
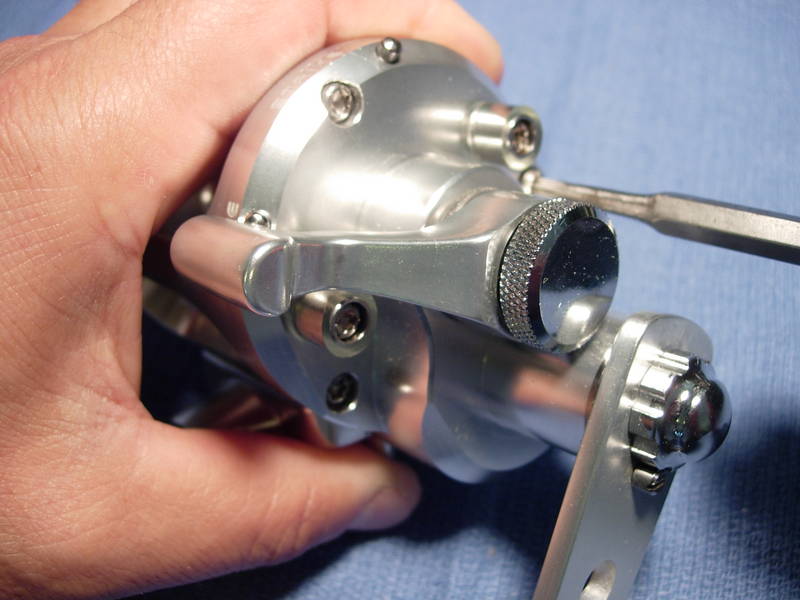
the right side plate and spool cleanly separate from the frame assembly.
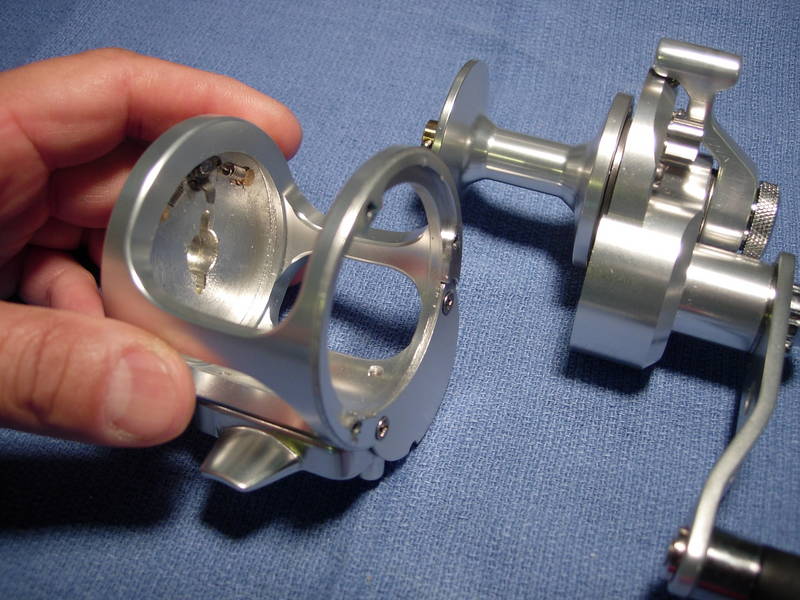
the screw holes appear to have a small amount of blue loctite. we'll have to grease these.
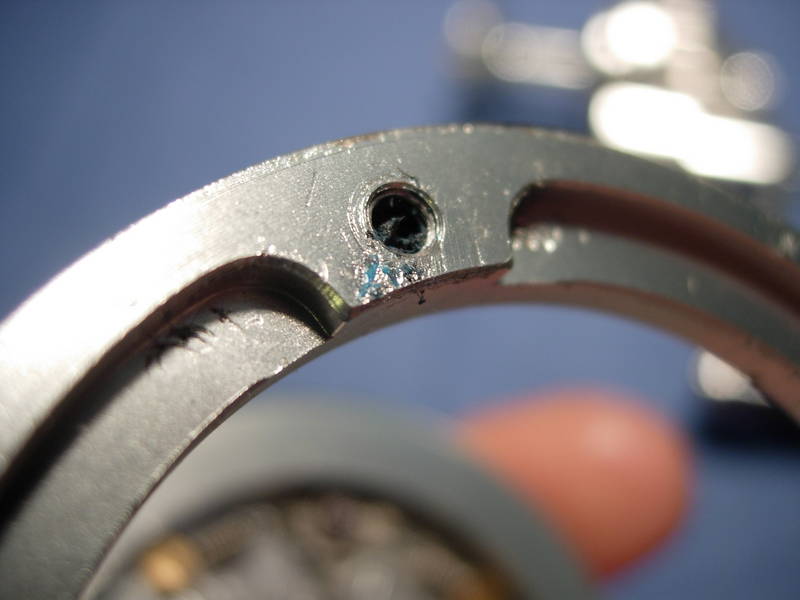
the clicker assembly (key #'s 1-6) already have a light coat of grease.
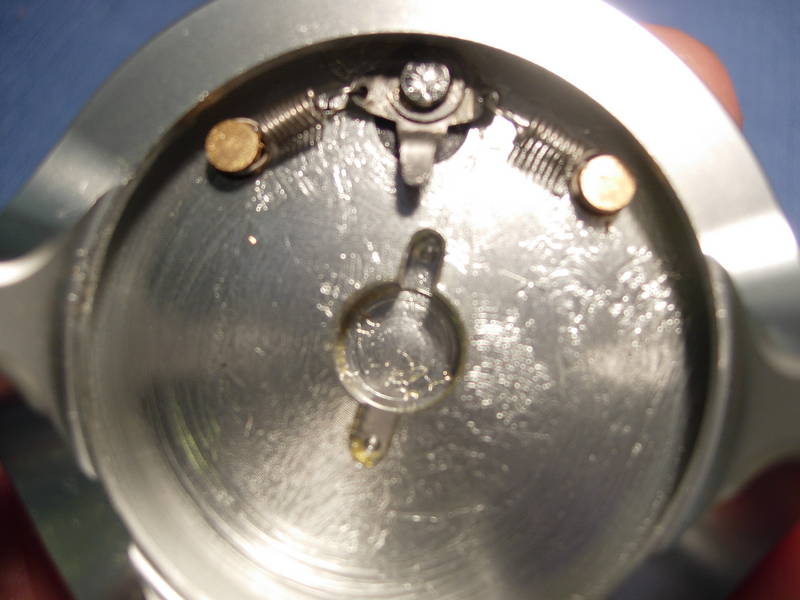
using a no. 2 philips, back out the cover screws (key #8), add a small bead of grease and reinstall the screws.
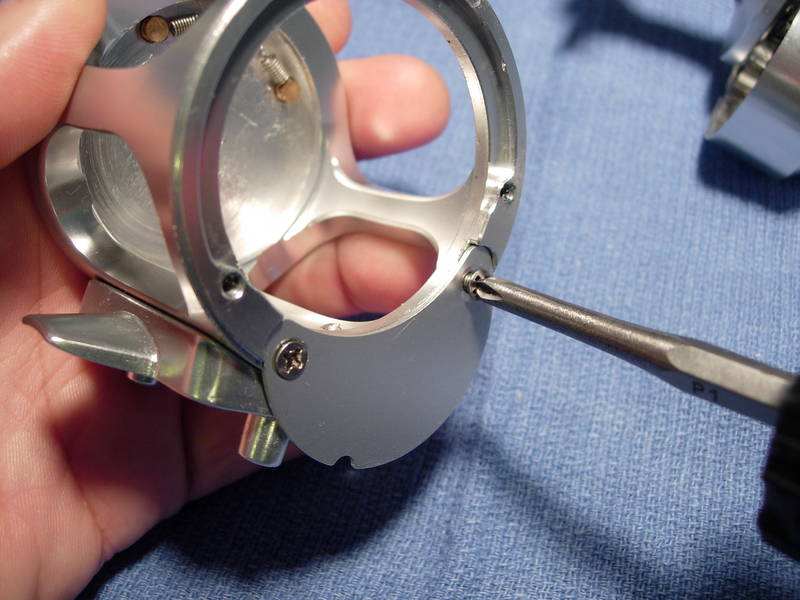
using a no. 10 torx, back out each reel foot screw (key #27), add a bead of grease to each screw, and re-install the screw. we've had this discussion before and i realize that some would prefer not to grease the reel seat screws. if you just use loctite, you clearly run the risk of extensive corrosion. if you grease them, the screws could loosen. so greasing these screws means that you do have to check them periodically.
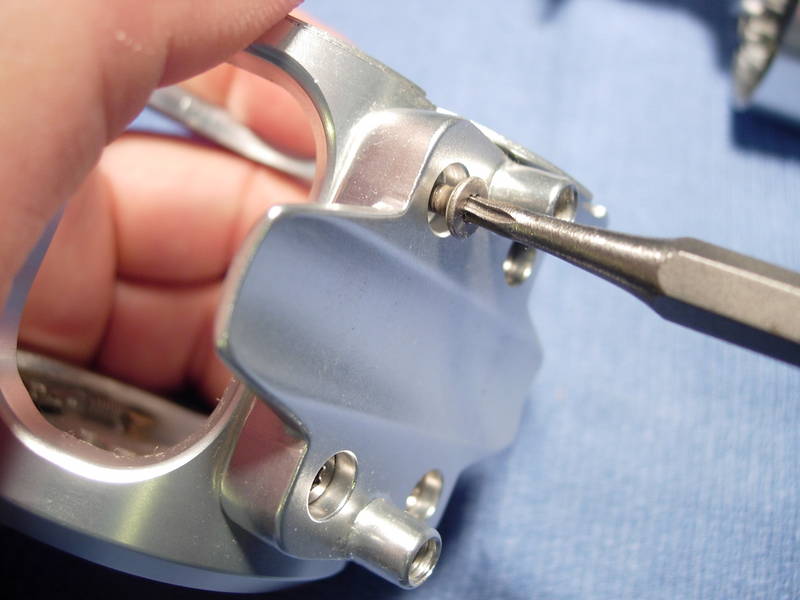
ok, the frame is done.
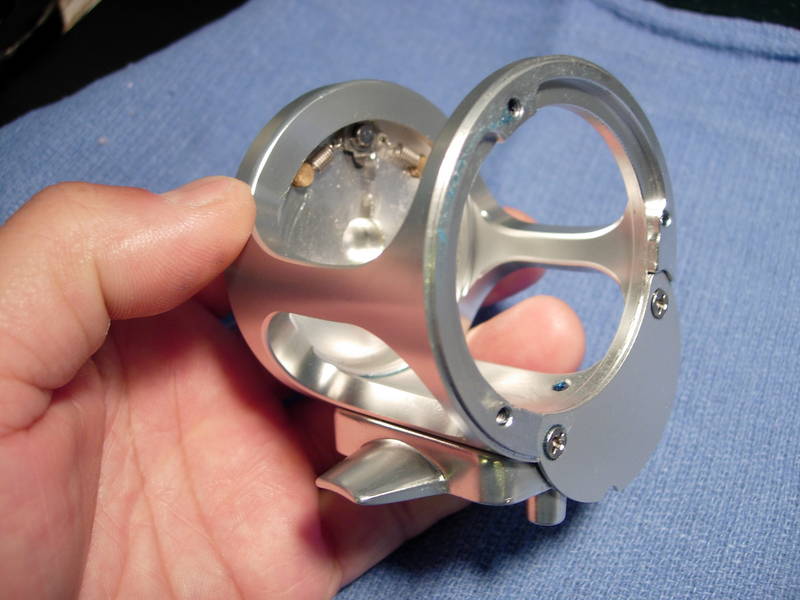
let's have a look around the right side plate and spool assembly.
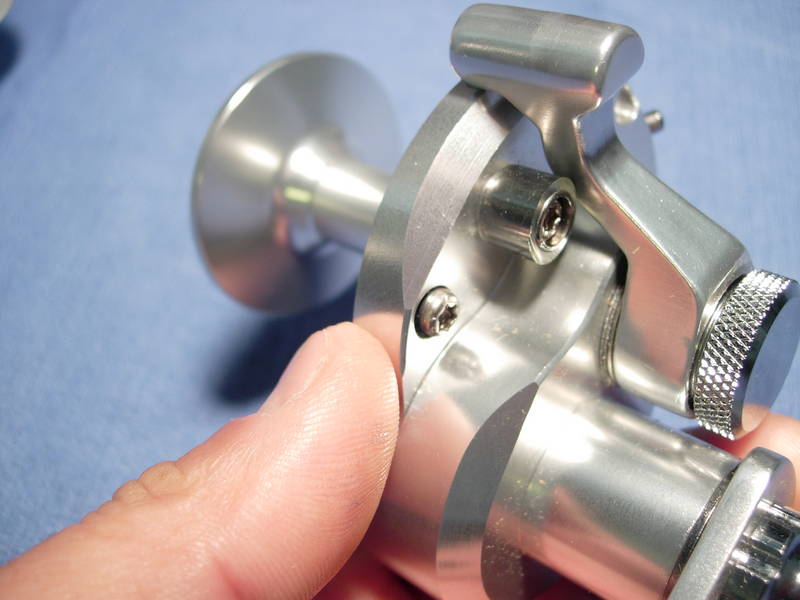
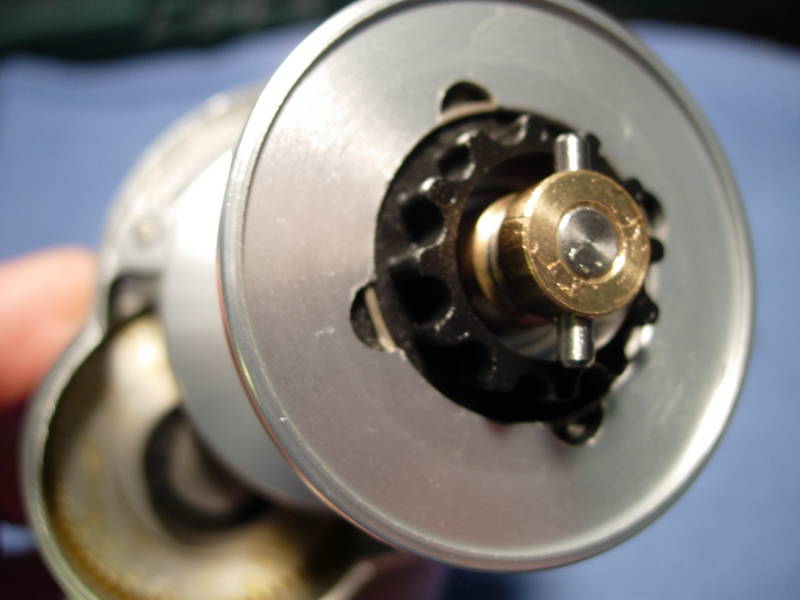
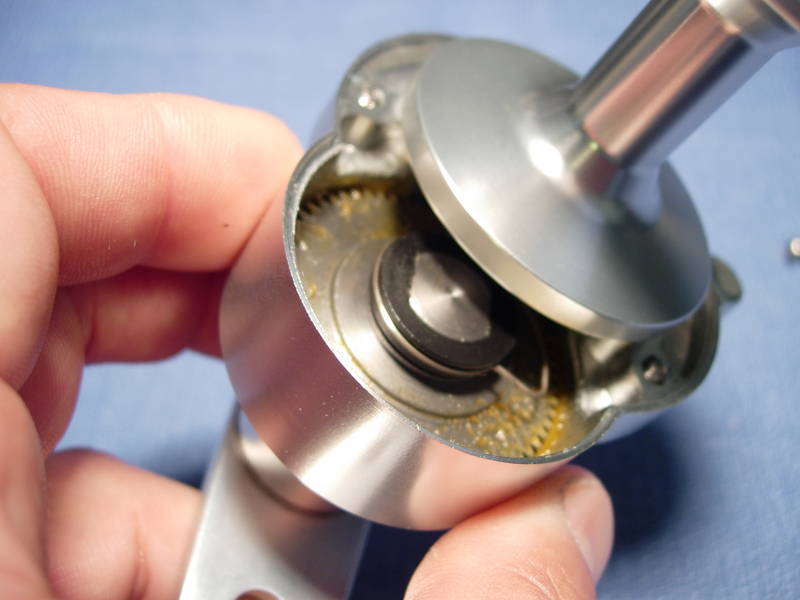
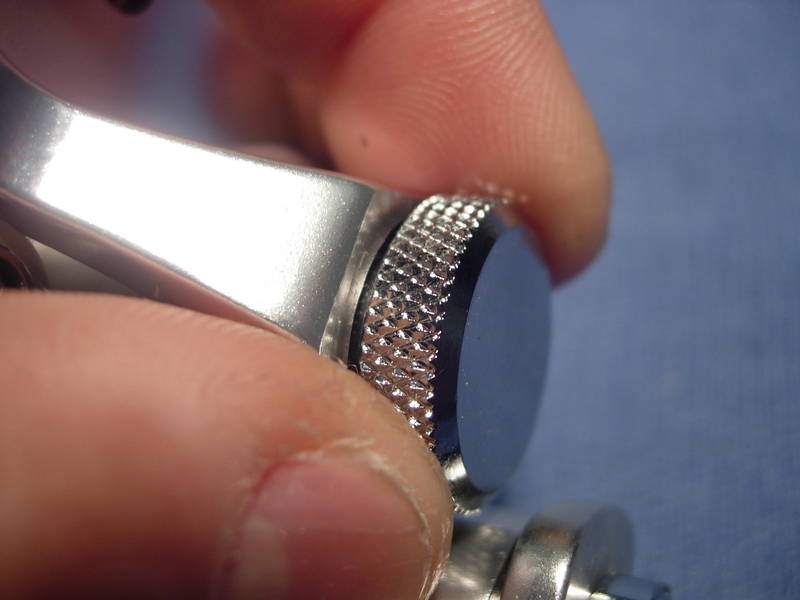
now, with this next step, the reel is going to go "boing!!!!!!" remove the preset knob (key #44).
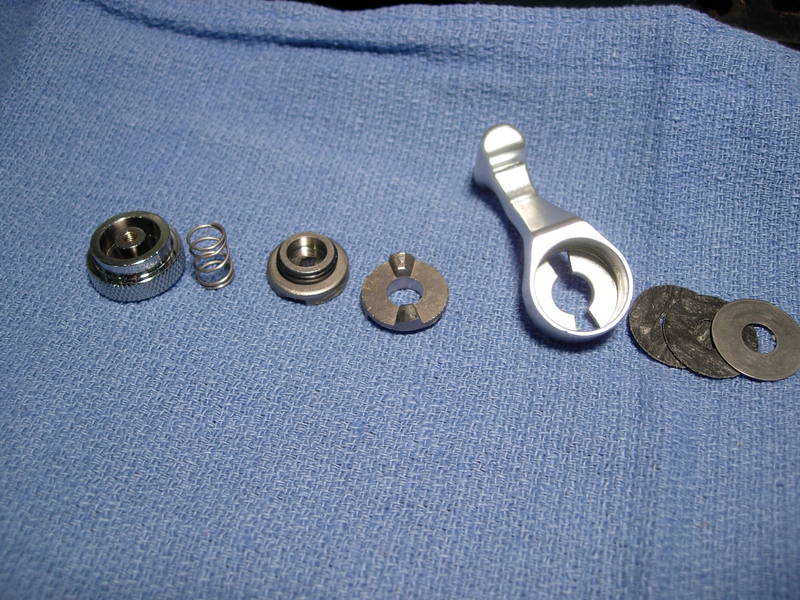
line up all of the parts from left to right, including the the preset knob (key #44), the spring (key #43), the o-ring (key # 42) and brake cam (key #41) assembly, the lifter (key #40), the brake lever (key #39), a metal washer (key #38) and two teflon washers (key #37).
not much left on the right side plate now.
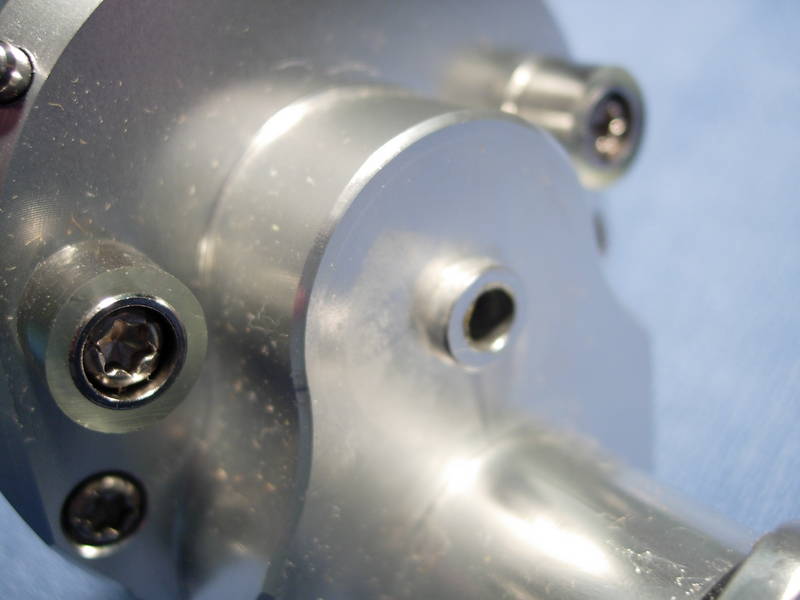
we now have a spool assembly and a right side plate assembly.
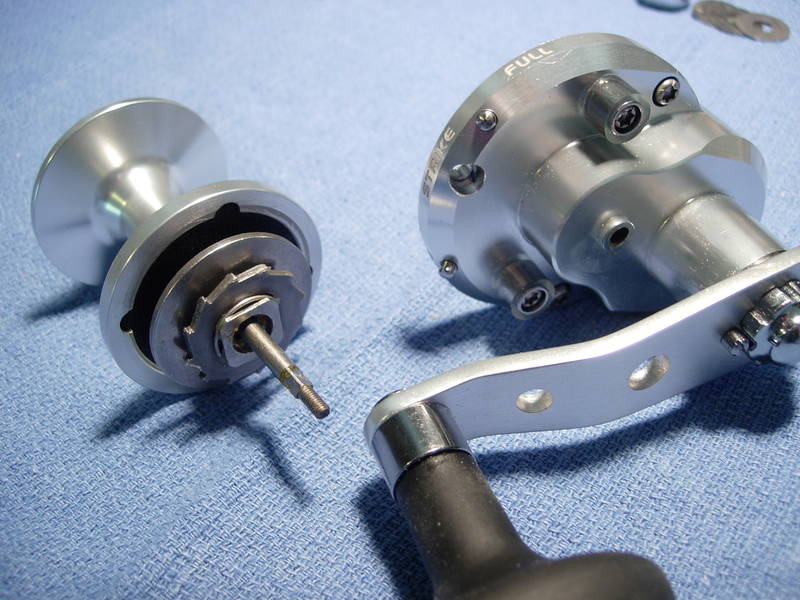
here is the spool shaft (key #49) out of the spool with everything attached in the original configuration.
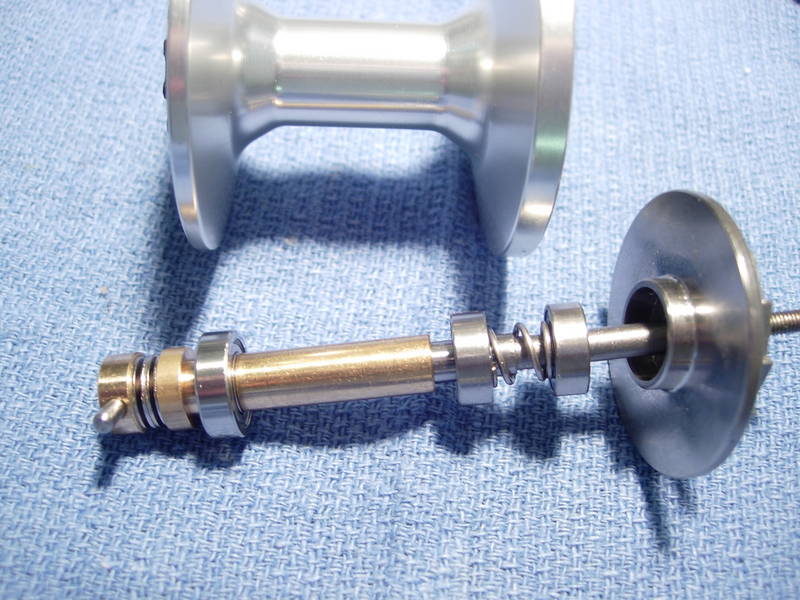
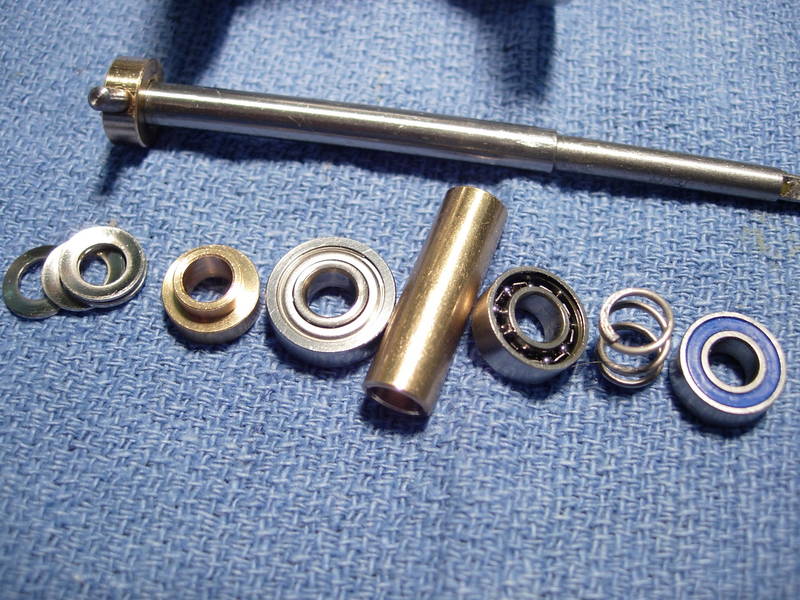
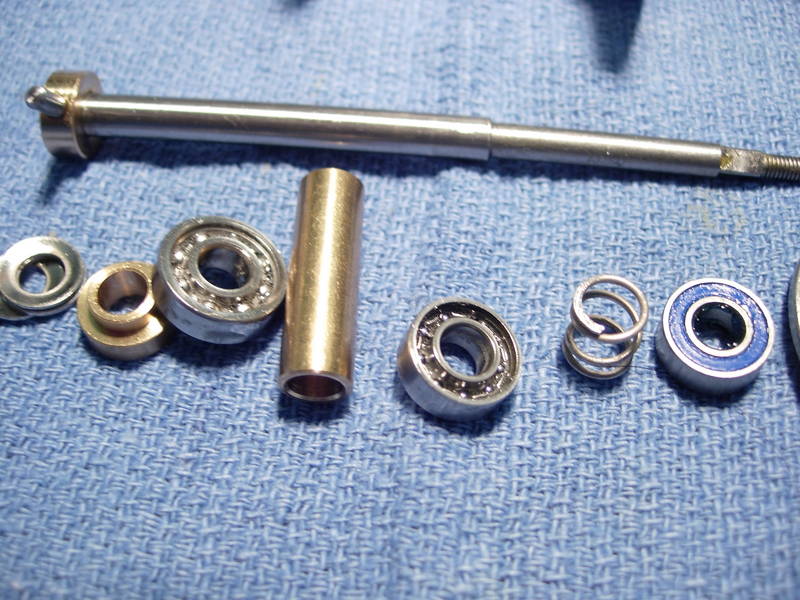
here's everything laid out. on top is the spool shaft (key #49) with the shaft shoulder (key #47) and shaft pin (key #48) still attached. below from left to right are the disc spring washers (key #50), the bushing (key #51), the 5x13x4 mm left spool bearing (key #52), the bearing tube (key #53), the 5x11x4 right spool bearing (key #56), the return spring (key #57), and the 5x11x4 brake disc bearing (key #58). the brake disc assembly (key #59, 60 and 61) is not shown.
using a 1/0 ringed owner flyliner, i removed the retaining rings and shields from the left spool bearing (key #52). this bearing was cleaned with carb cleaner, lubed with corrosion x and will be re-installed open. the right spool bearing will also be cleaned and lubed, but was actually open to begin with.
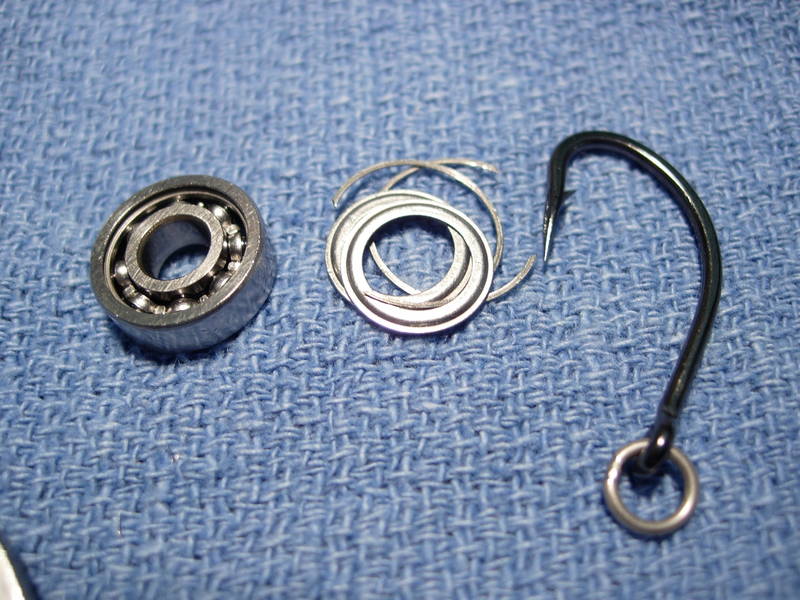
the bearing for the brake disc has a seal. a small scalpel does of great job of prying it out.
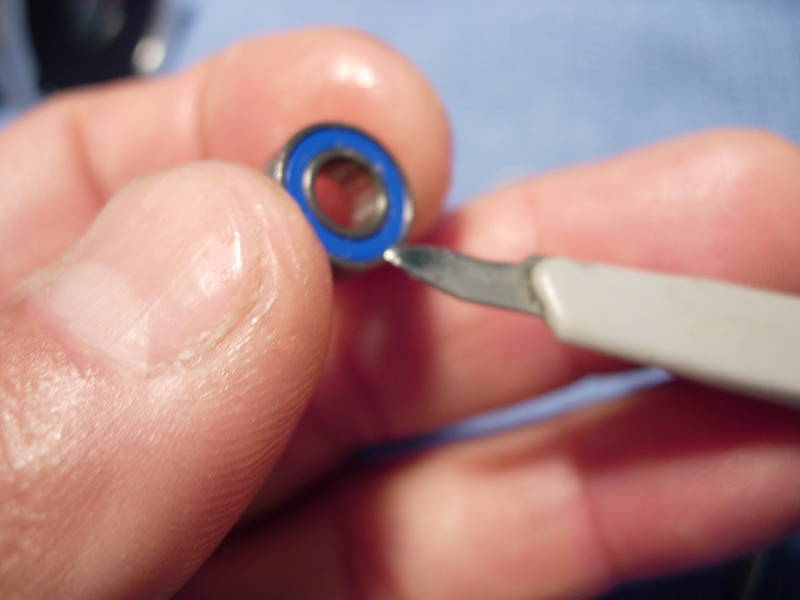
this one is dry as a bone. we'll pack it with grease and press the shields back in.
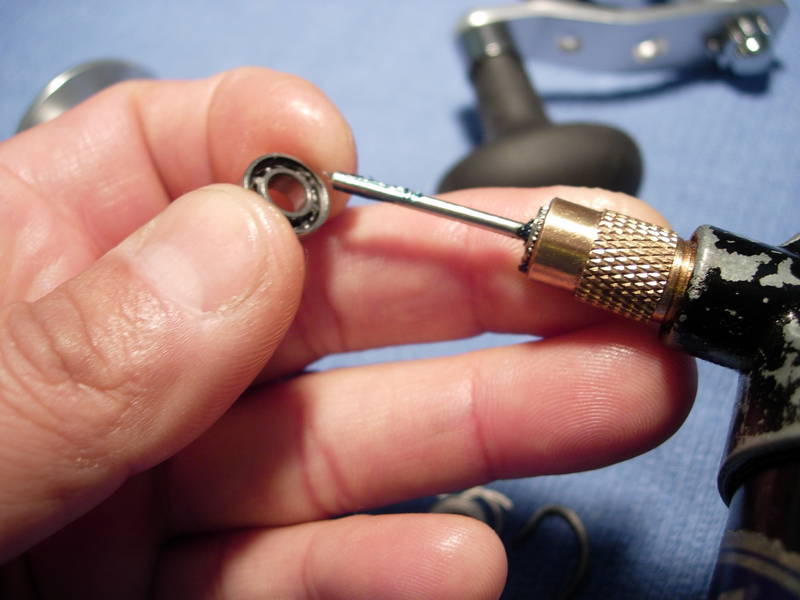
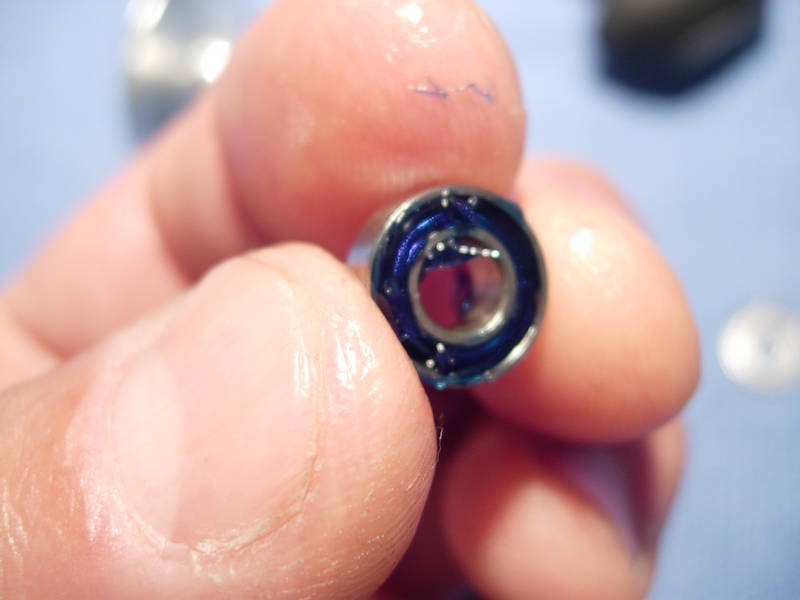
we're done with the spool and brake disc bearings.
now for the drag washer (key #55). it's carbon fiber and it's greased, but it looks like they missed a few spots.
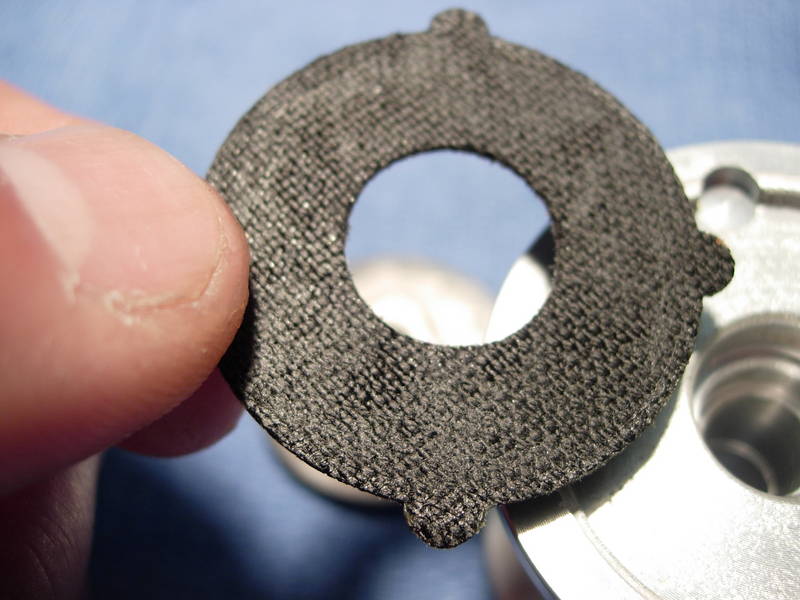
i'm going to apply a thick coat of cal's grease, press it in and wipe off the excess. note that there is no retaining ring, and probably none needed.
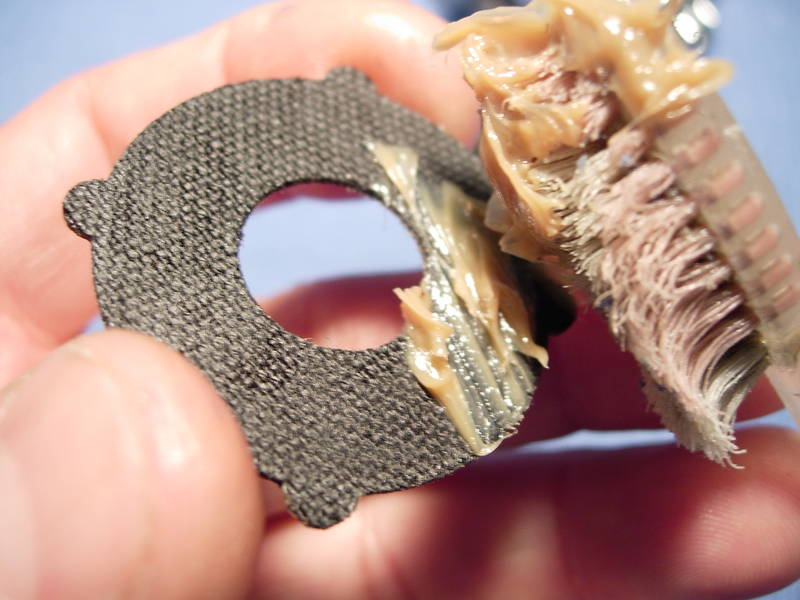
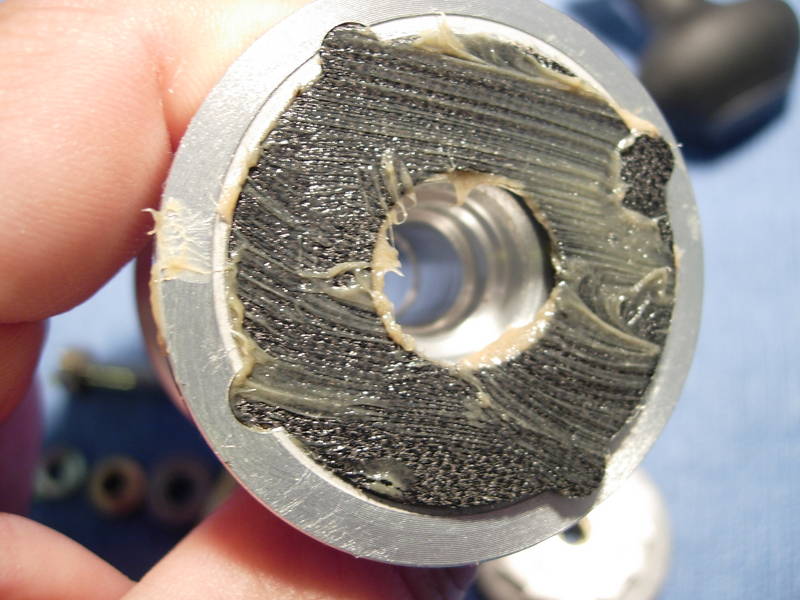
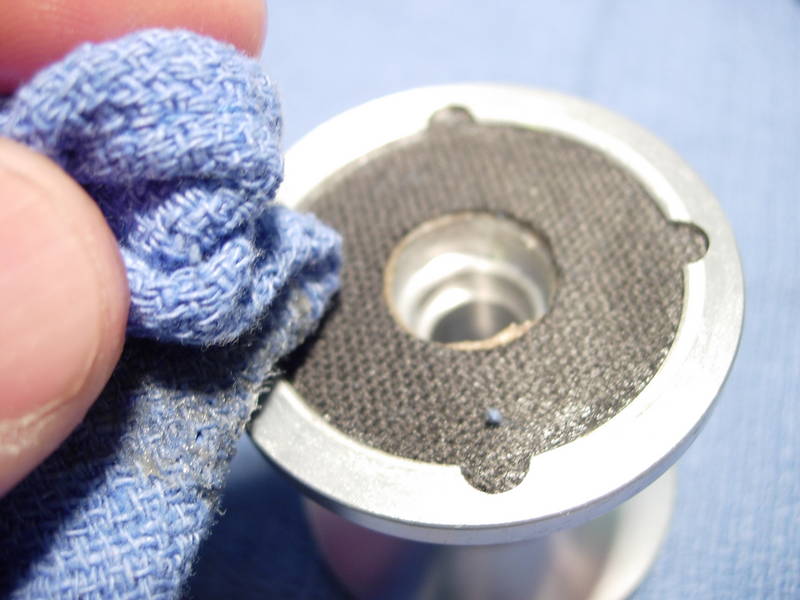
arrange the disc spring washers (key #50) in a "()()" orientation, reassemble the spool and set it aside.
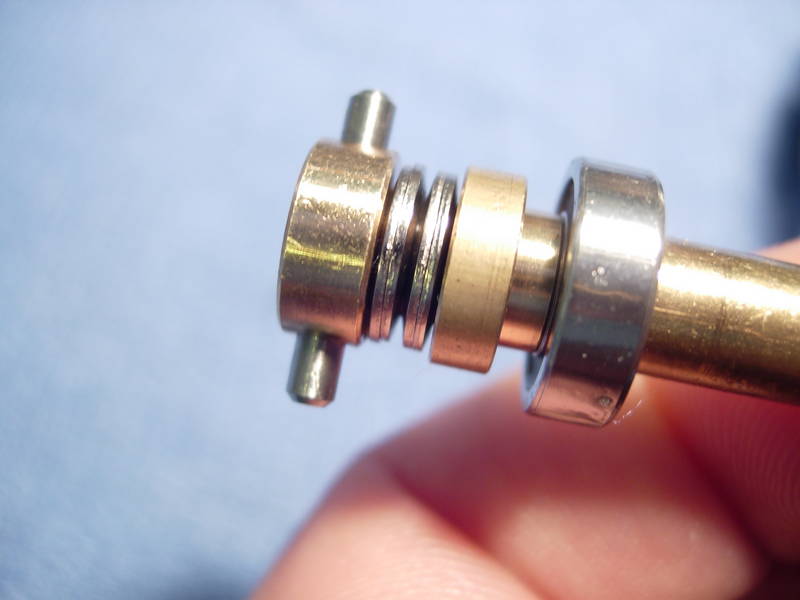
find the pinion gear (key #62) and add it to the spool assembly.
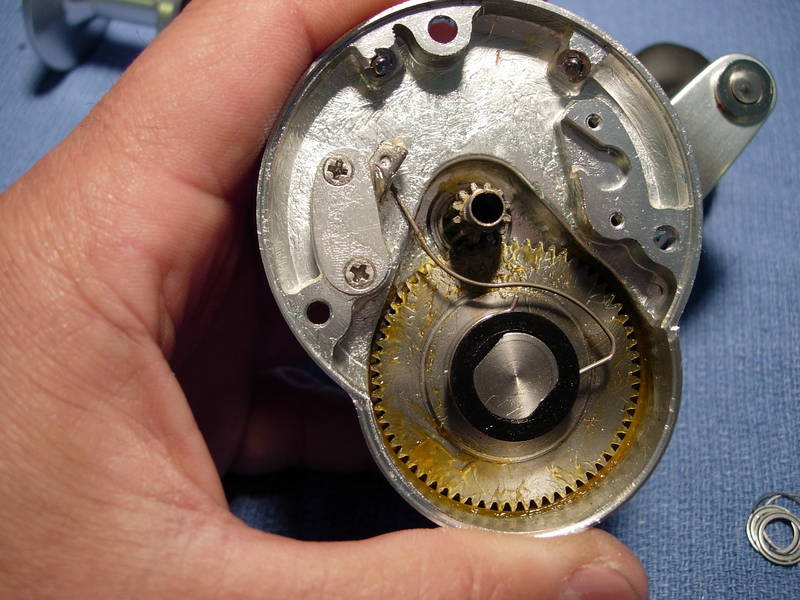
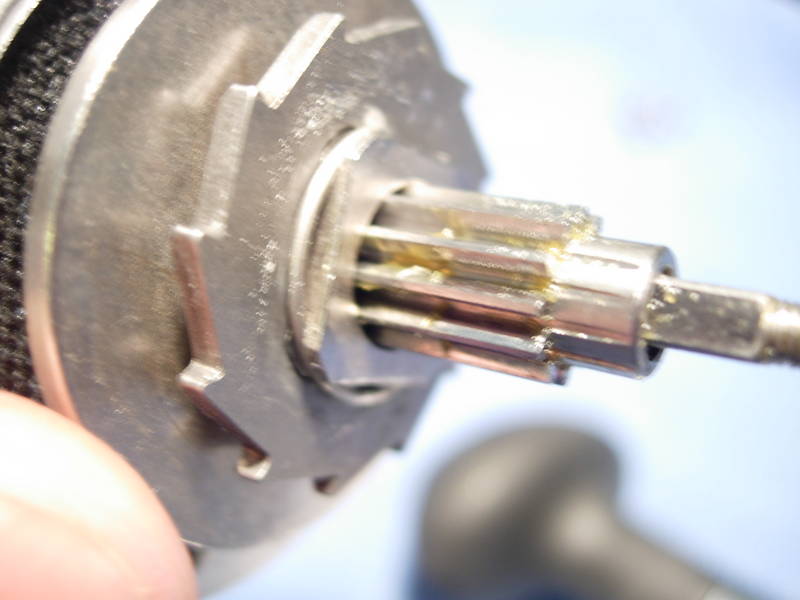
almost done. there are three more bearings that need to be packed with grease. we'll have to pull the main gear to get them. remove the friction ring (key #9).
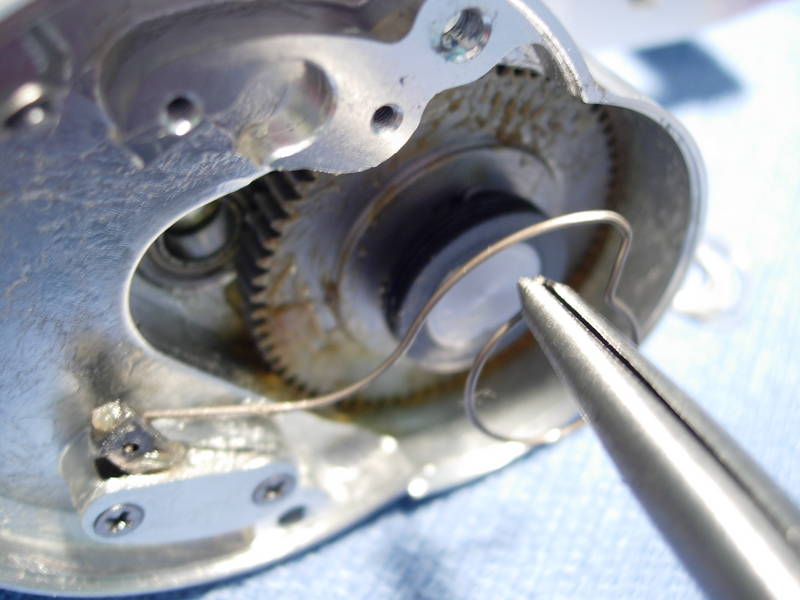
remove the handle nut screw (key #22).
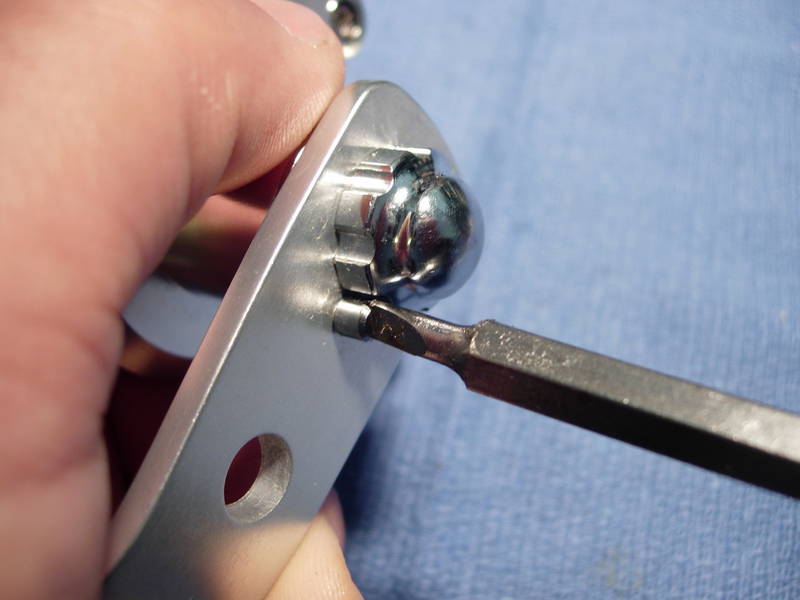
to remove the handle nut (key #21), you need a special wrench. the penn wrench on the right is too small. the shimano wrench on the left is slightly bigger, but still too small.
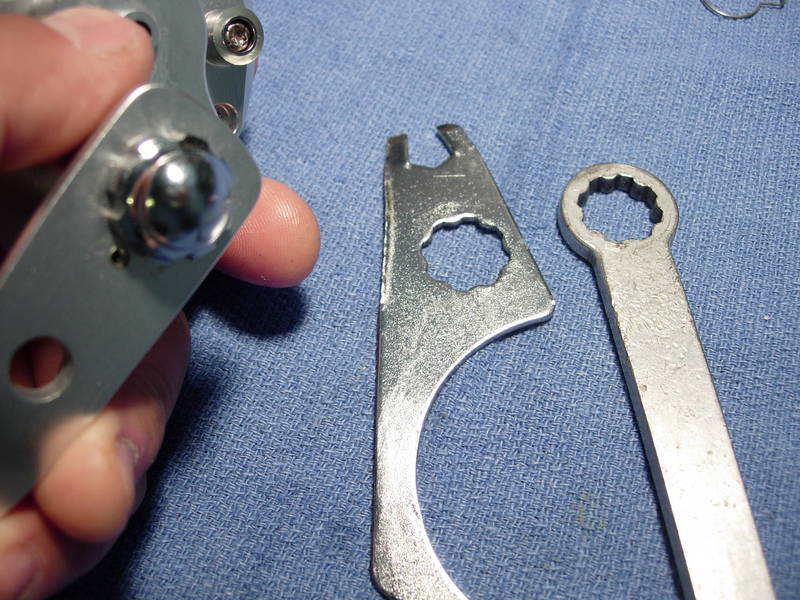
guess we'll have to use the wrench provided.
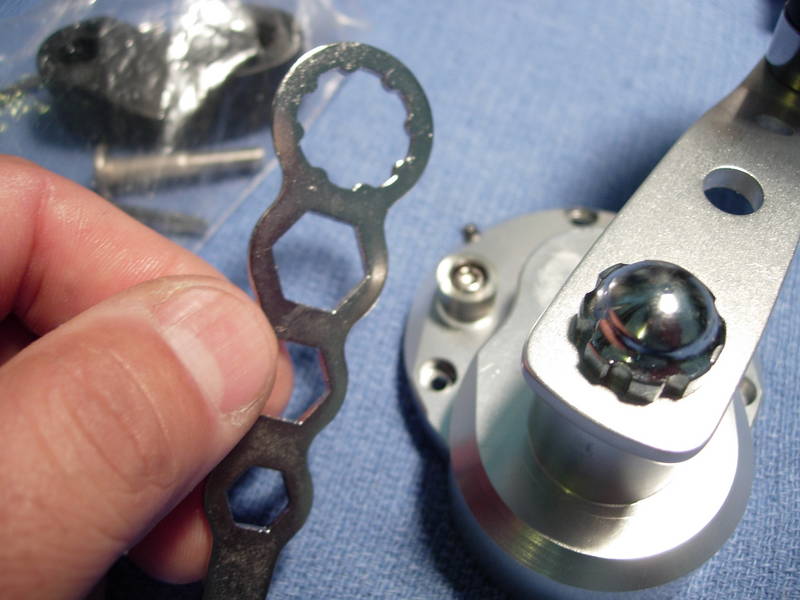
off comes the handle nut (key #21).
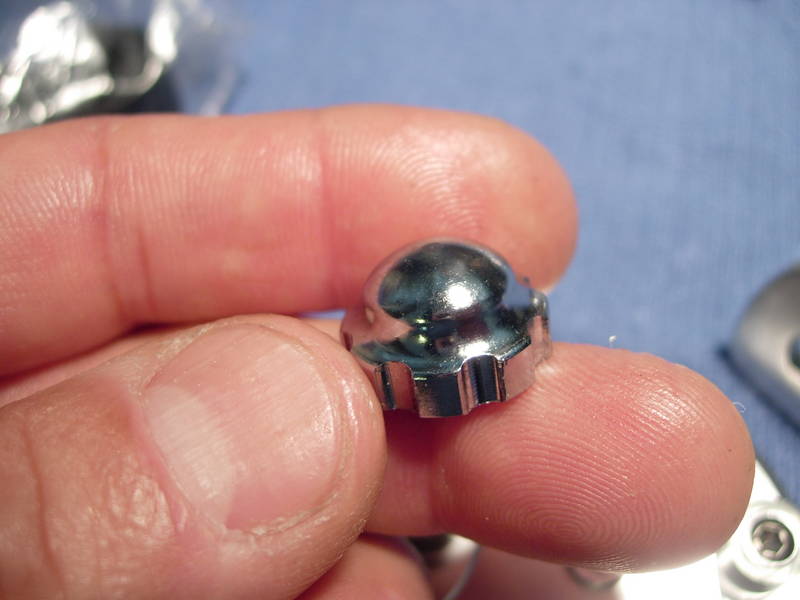
remove the handle assembly (key #20).
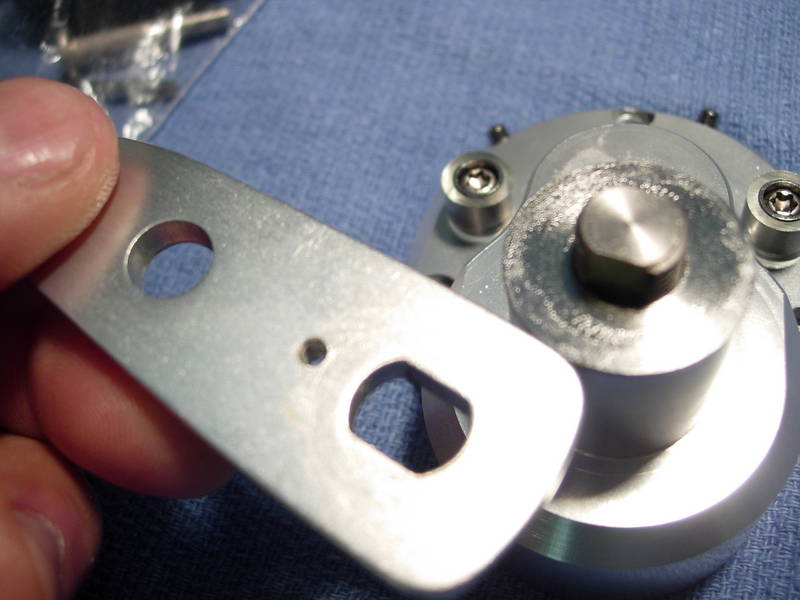
remove the handle washer (key #19).
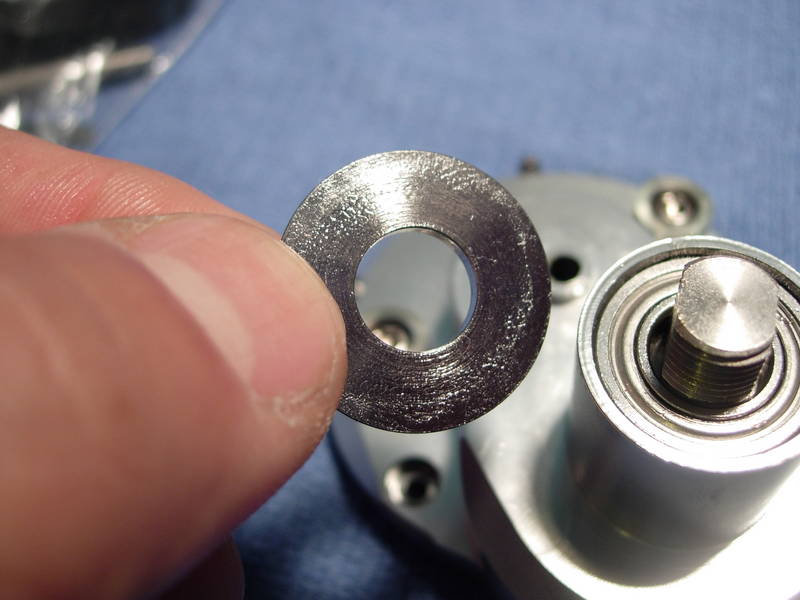
remove the drive gear/shaft assembly (key #'s 10, 11, 12, 13, and 14), the pair of 10x20x6 drive shaft bearings (key #15), and the drive shaft tube (key #18).
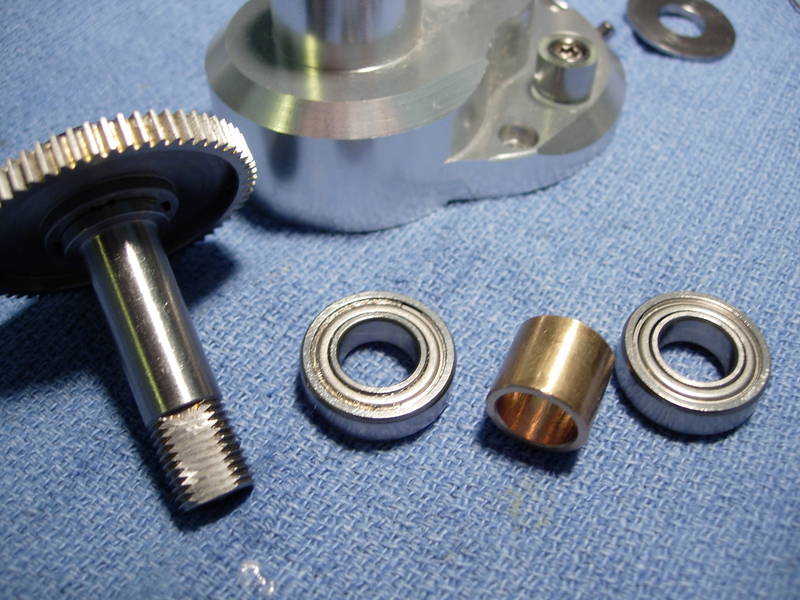
this is how the assembly is oriented.
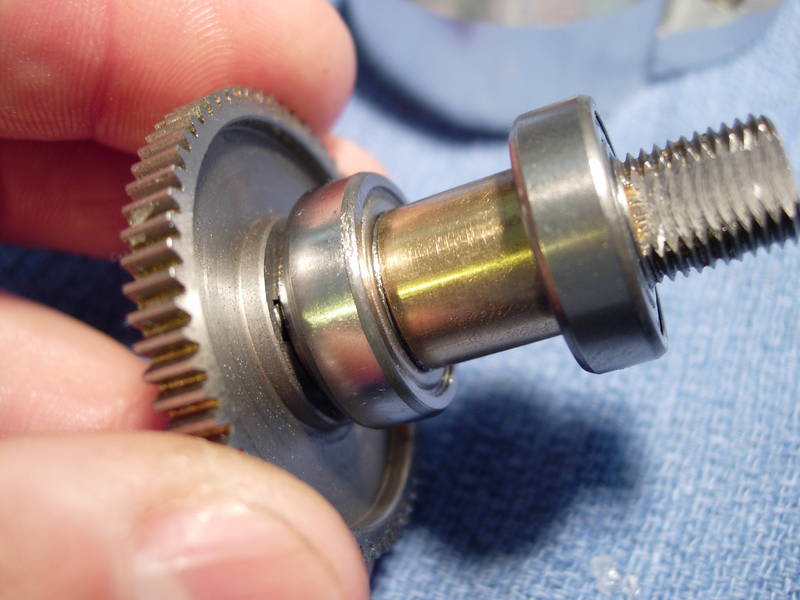
pull the shields of these bearings and you'll find that they are lubed with oil only. let's pack them with grease and re-install the shields.
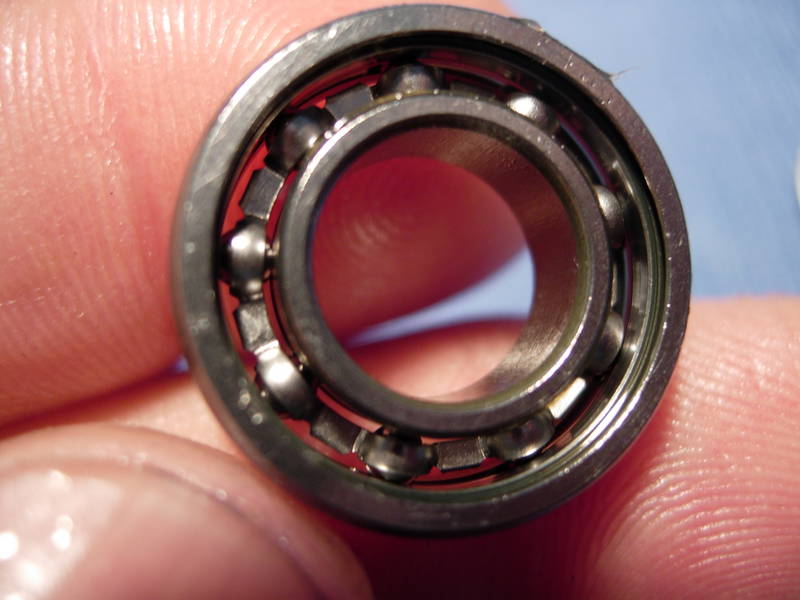
here is the 6x12x4 right main side plate bearing (key #31). at first glance, it looked quite a bit smaller that the corresponding bearing found in the avet sx. i will have to double check this. it may cause problems down the line.
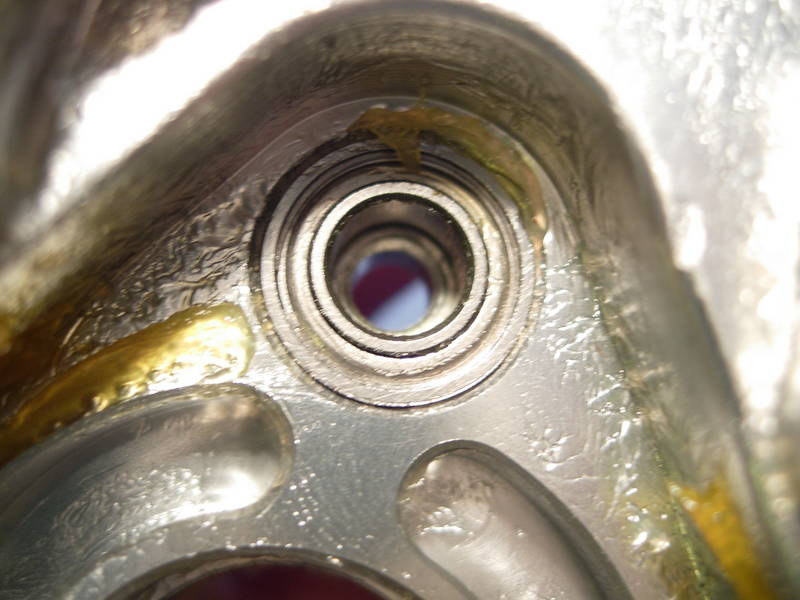
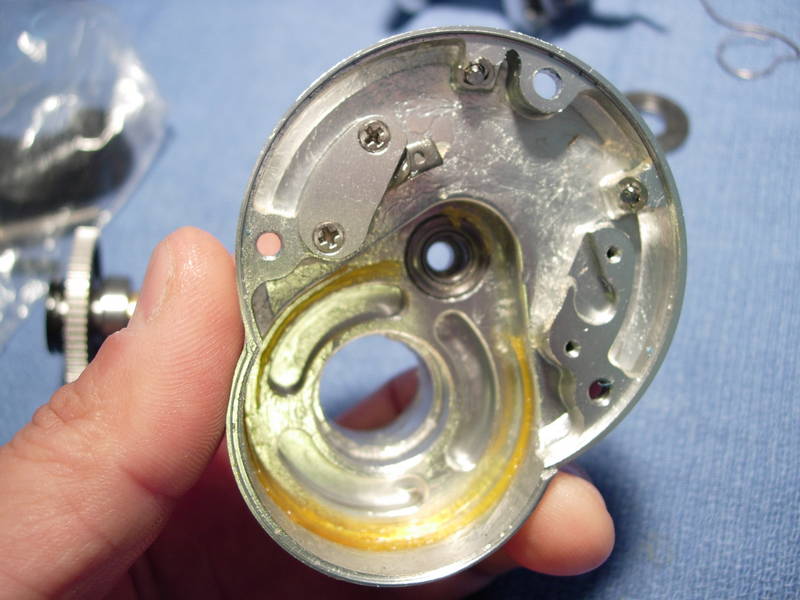
pull the bearing out and remove the shields. the bearing has only a small amount of grease in it. any air pockets may allow salt water intrusion.
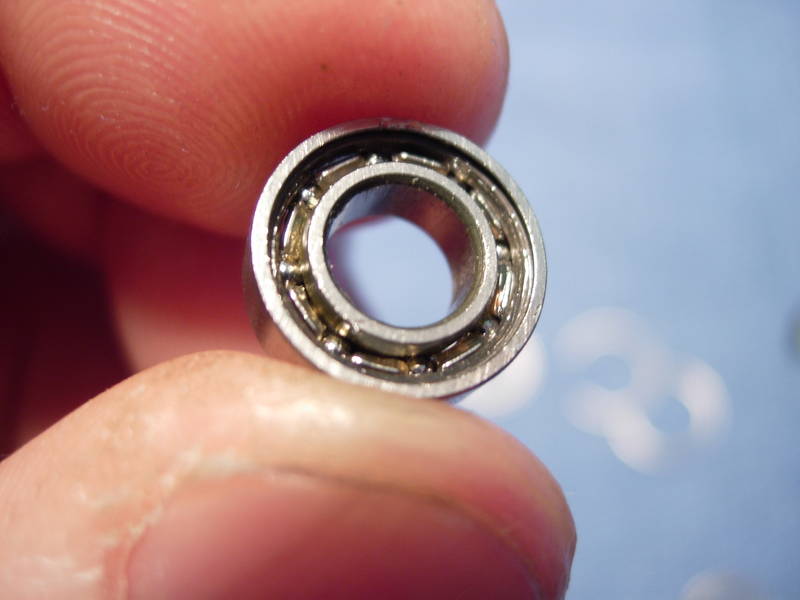
let's pack the bearing with grease and re-install the shields.
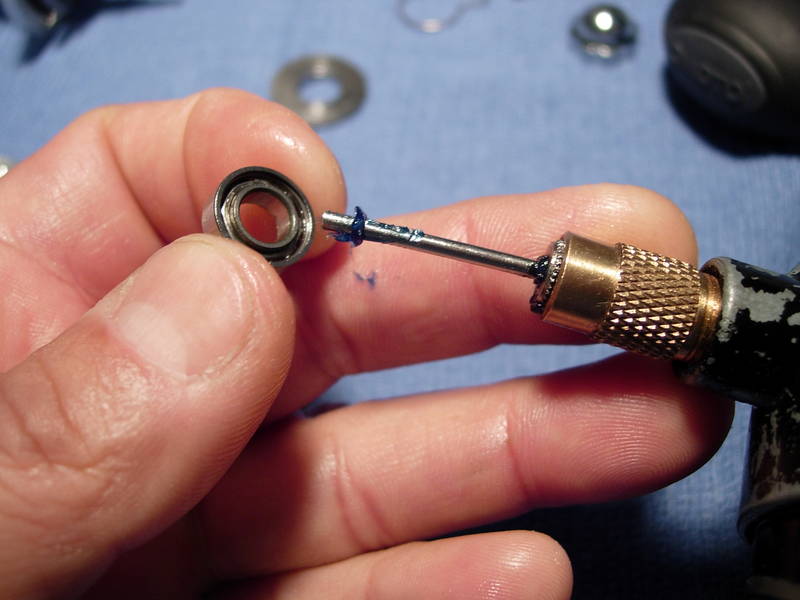
re-install the right main side plate bearing (key #31).
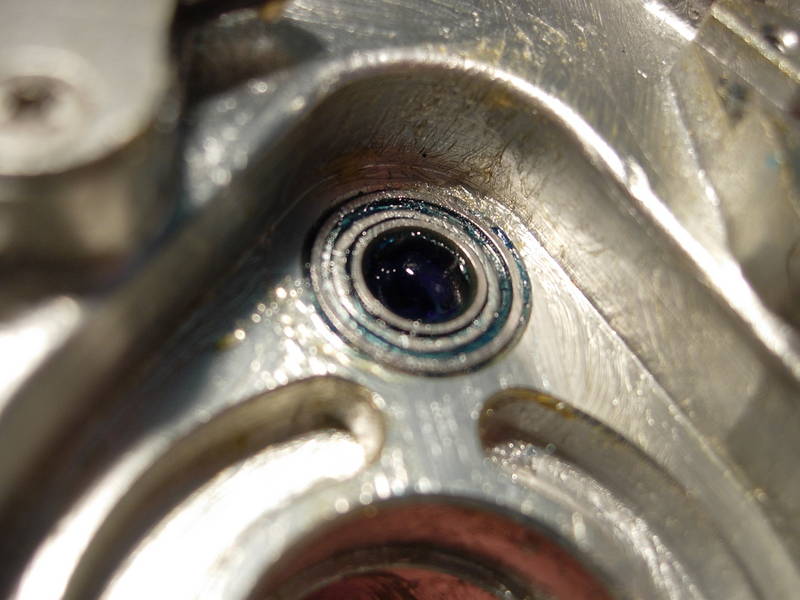
re-install the outer drive shaft bearing (key #15).
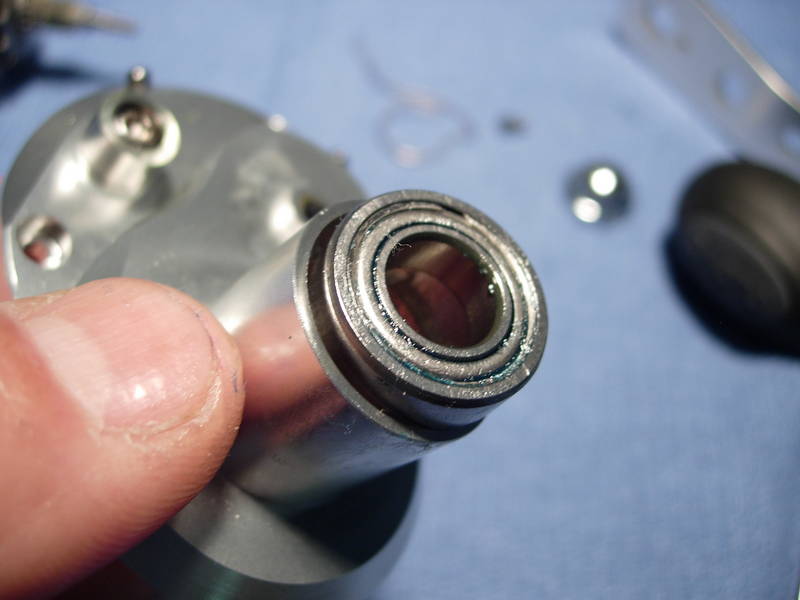
re-install the drive/gear shaft assembly, bearing and tube as a unit.
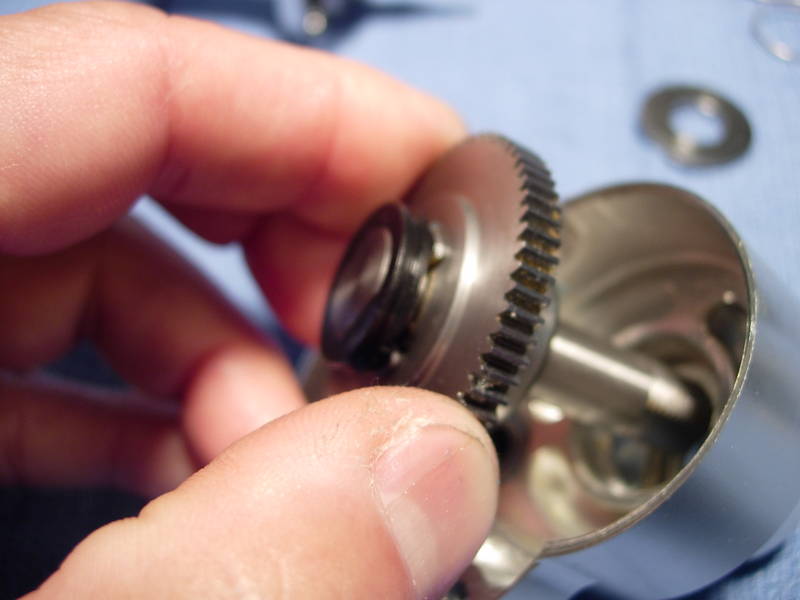
add a little grease to the outside of the drive shaft bearing (key #15) and install the washer (key #19).
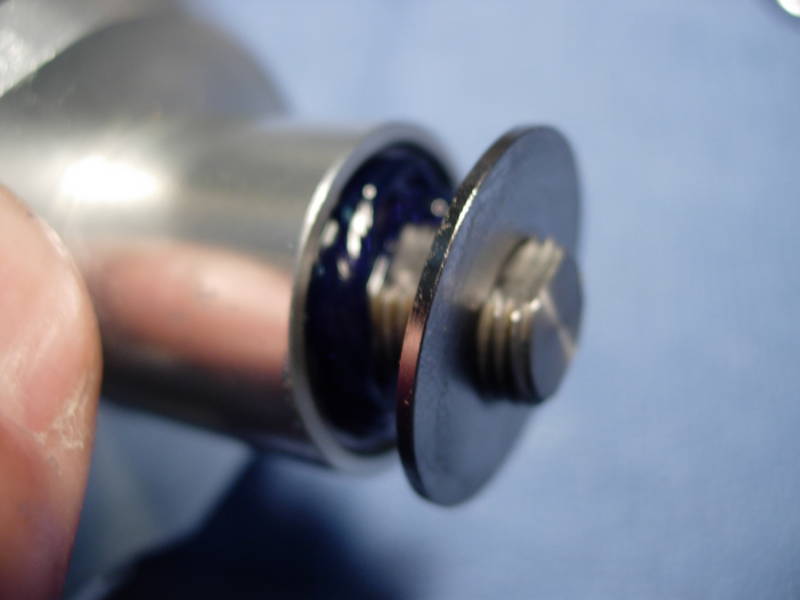
install the handle assembly (key #20).
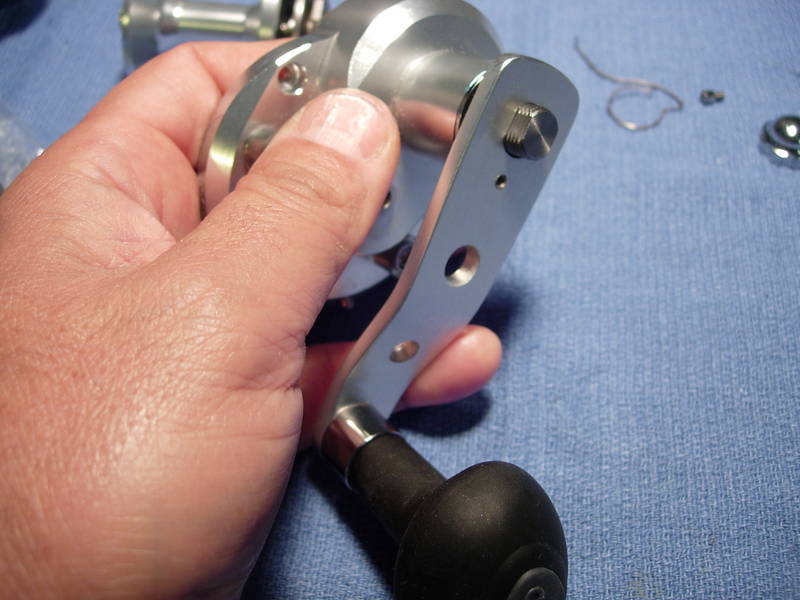
install the handle nut (key #21) and screw (key #22).
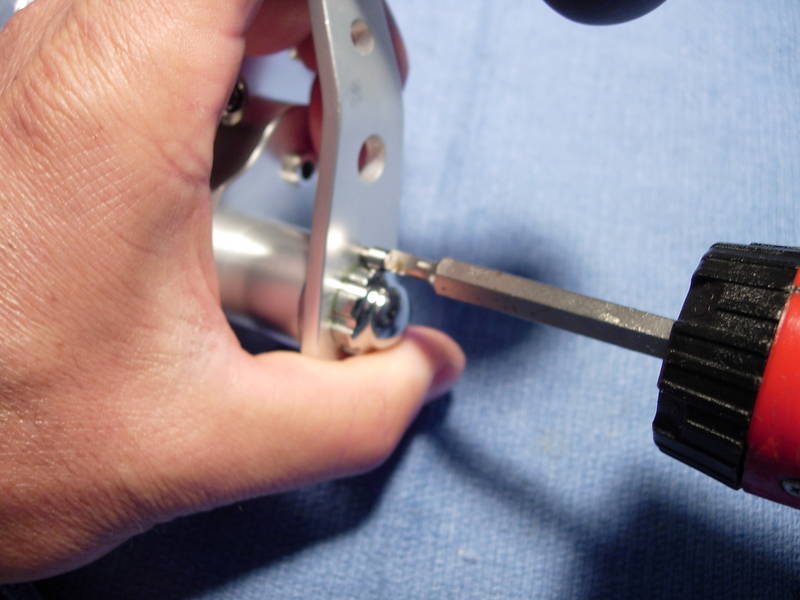
install the friction ring (key #9).
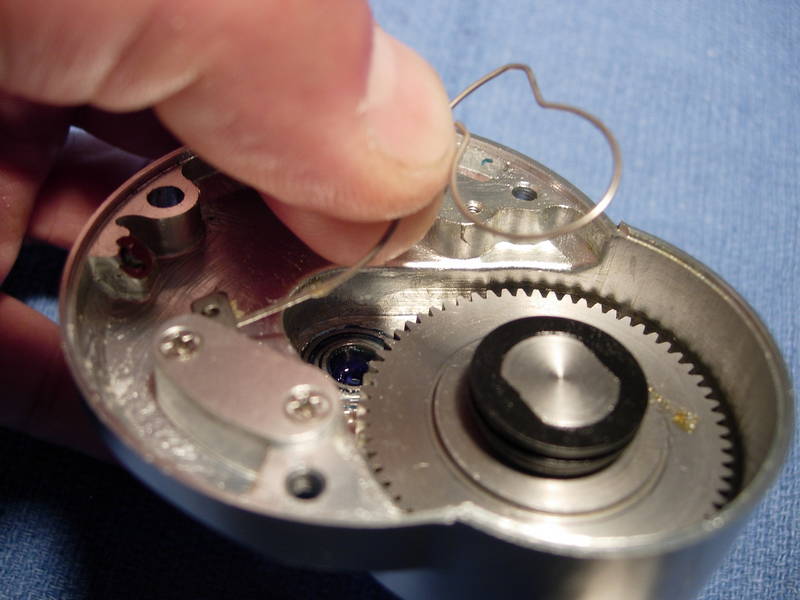
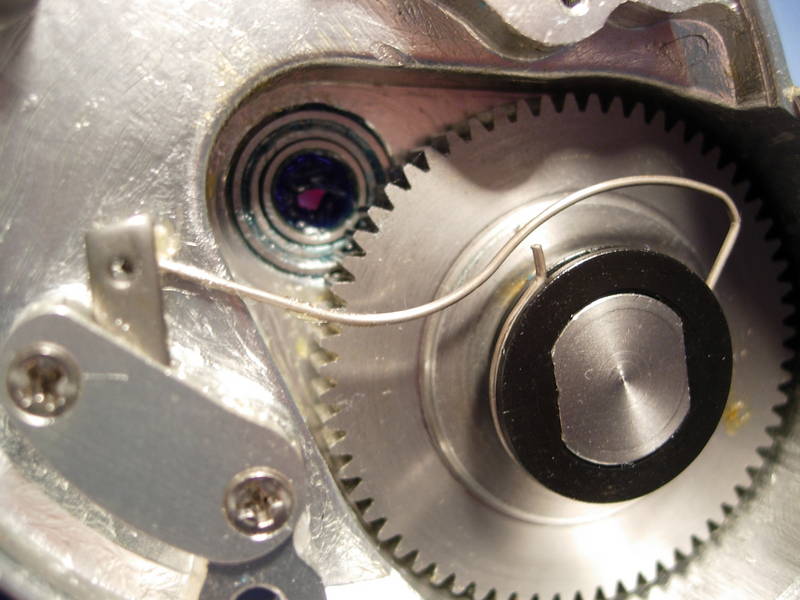
install the spool assembly (key #54) back into the right side plate assembly (key #16). you have to line up the cross pin so that it is close to it's final position when it is installed into the frame.
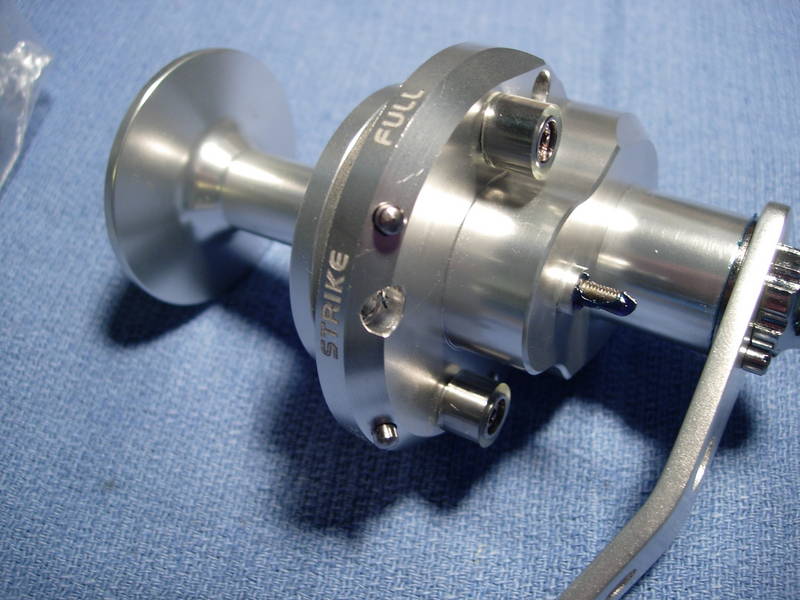
put a light coat of grease on all the brake lever parts.
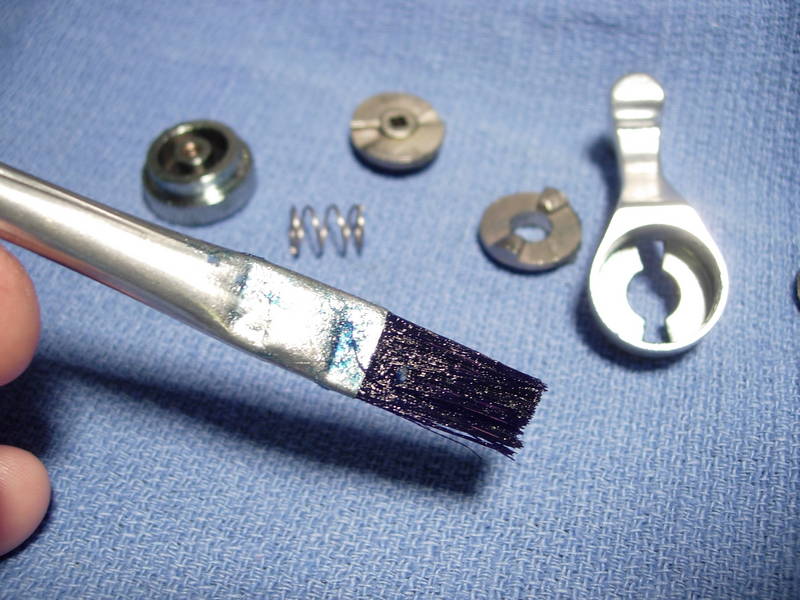
install just one of the teflon washers (key #37), not the original two.
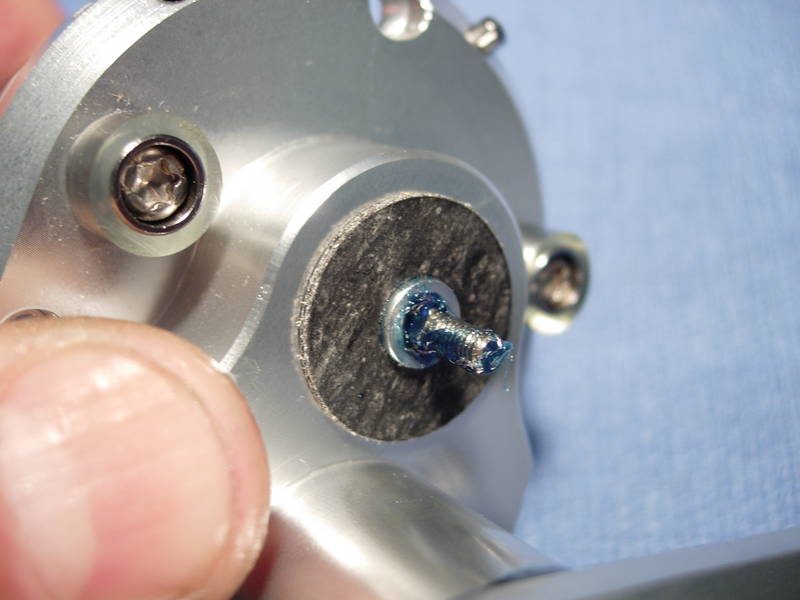
install the metal brake washer (key #38).
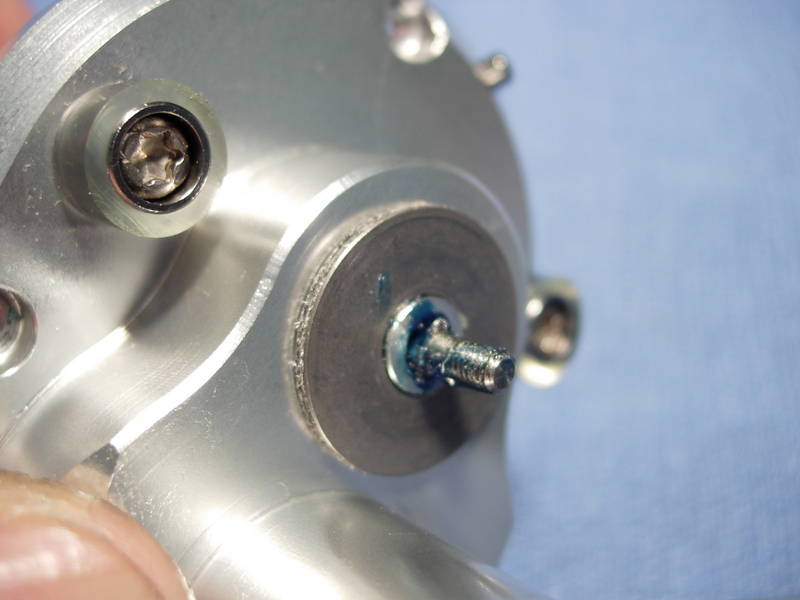
install the brake lever (key #39) and position the lever so that it is in the "free" position.
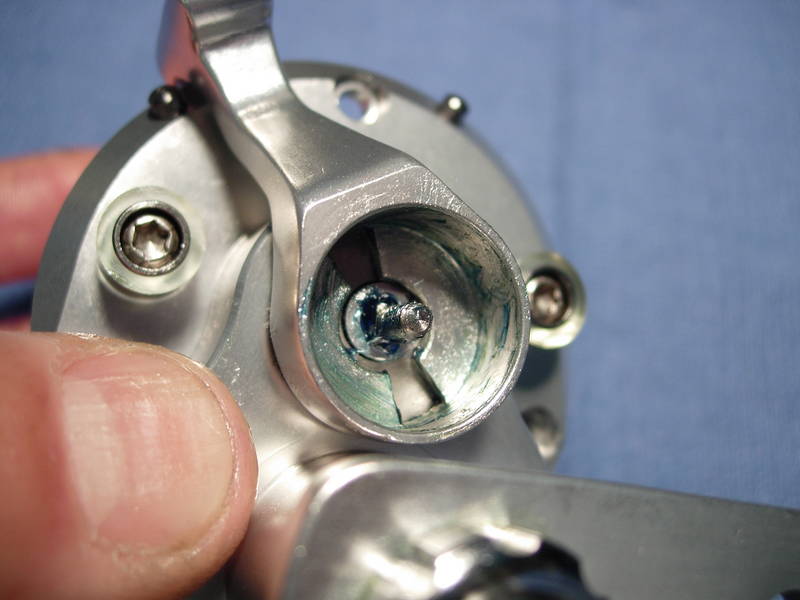
here is the stainless steel lifter (key #40). note that the "bottom" has sharp corners, ......
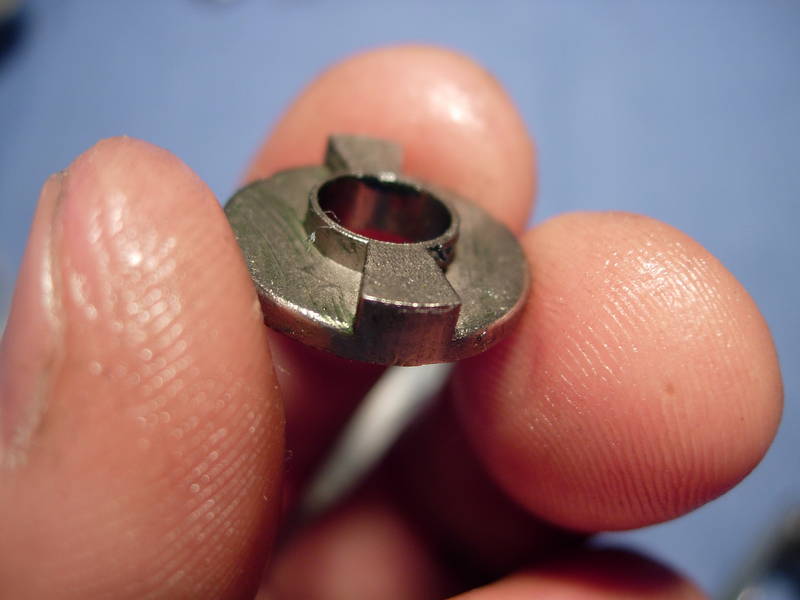
.... and the top is ramped.
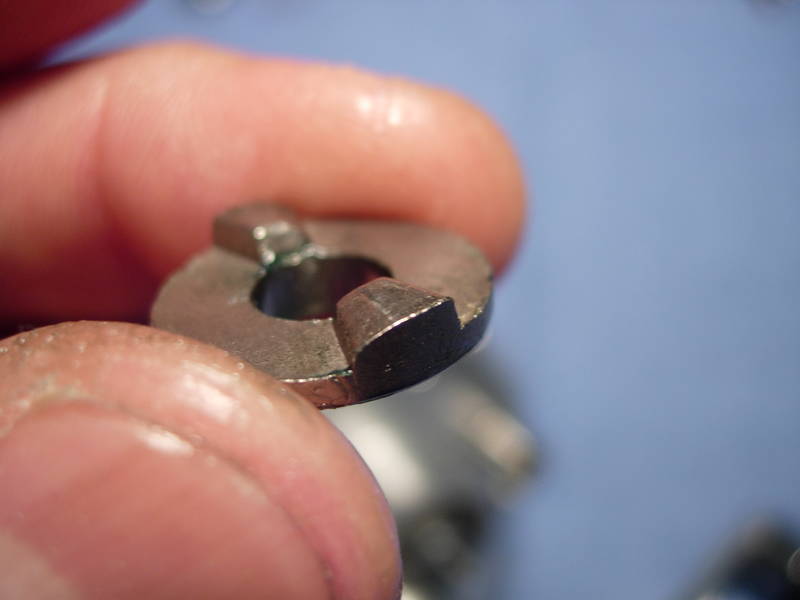
install the lifter with the ramped side up.
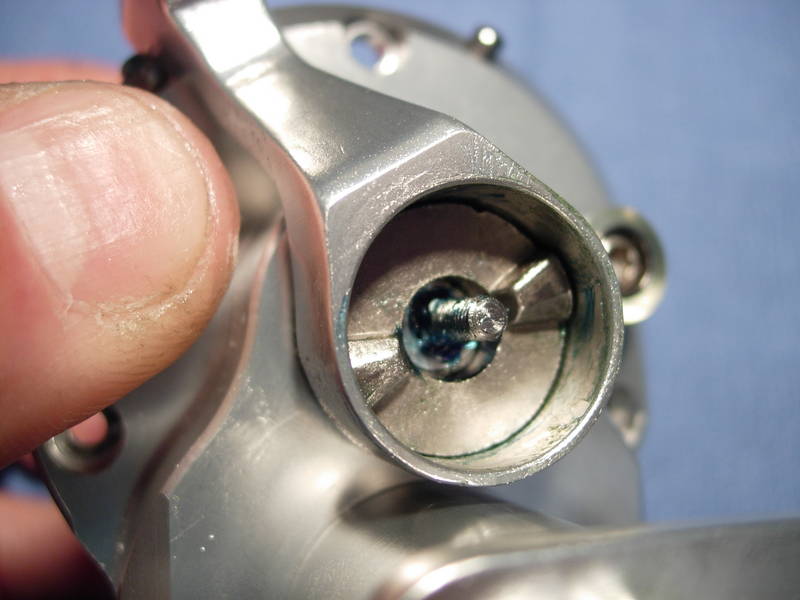
install the brake cam (key #41) so that it nests into the lifter (key #40).
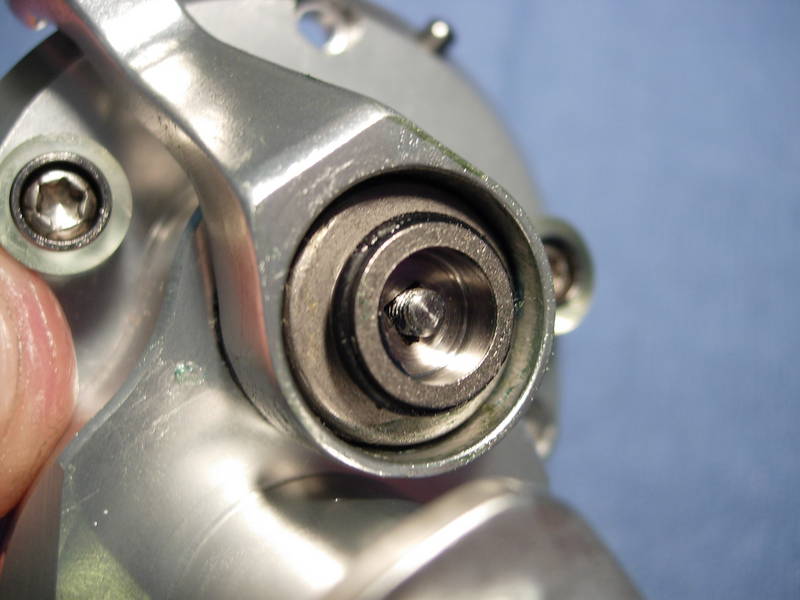
install the spring (key #43).
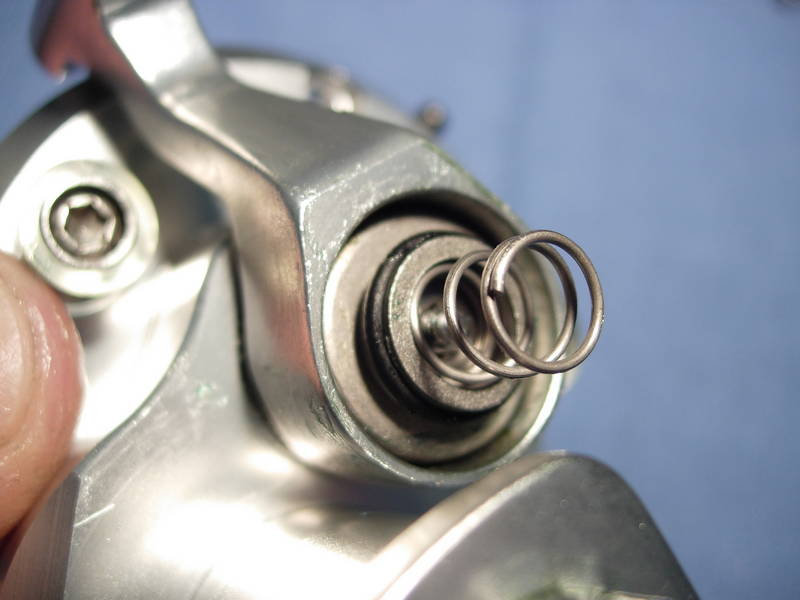
install the pre-set knob (key #44).
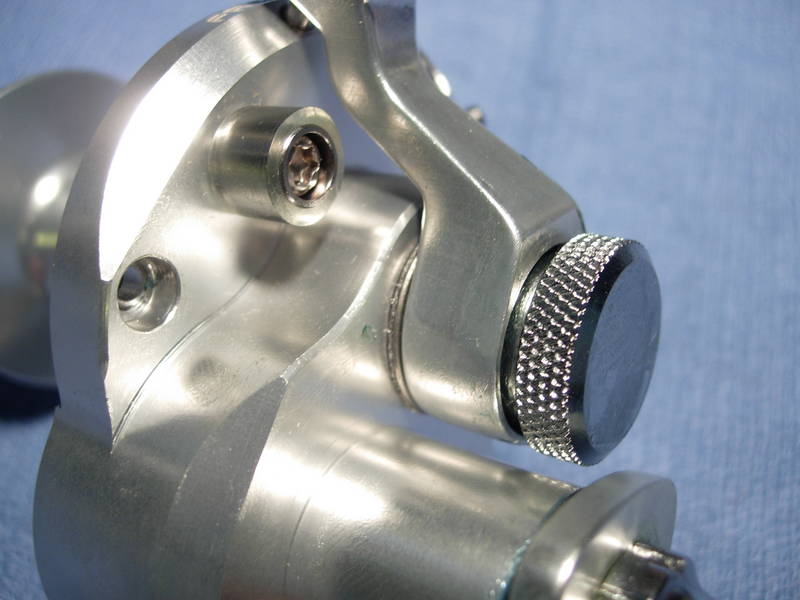
with the brake lever (key #39) in the "free" position, the shaft pin (key #48) should line up with the slot cut into the left side plate. if it doesn't line up, you'll have to start all over with the spool shaft rotated 90 degrees.
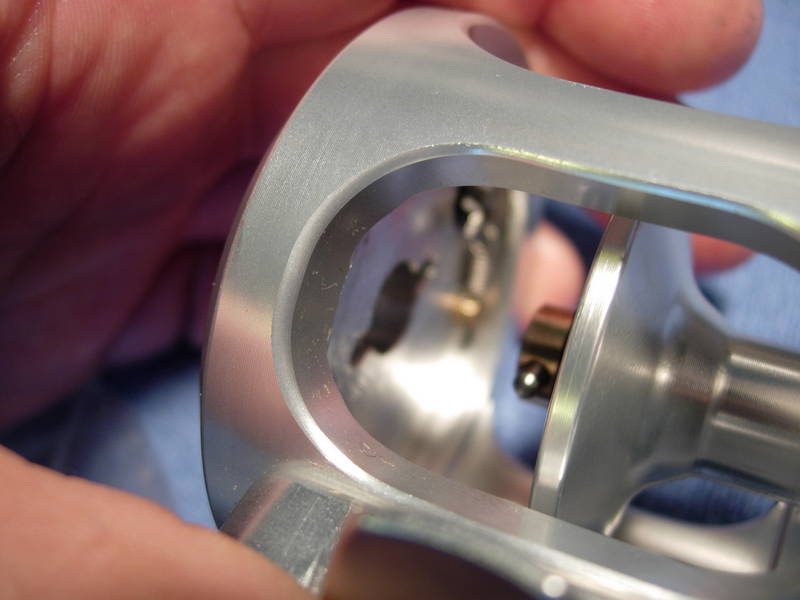
there! perfect fit! and we did it on our first try!!!!!
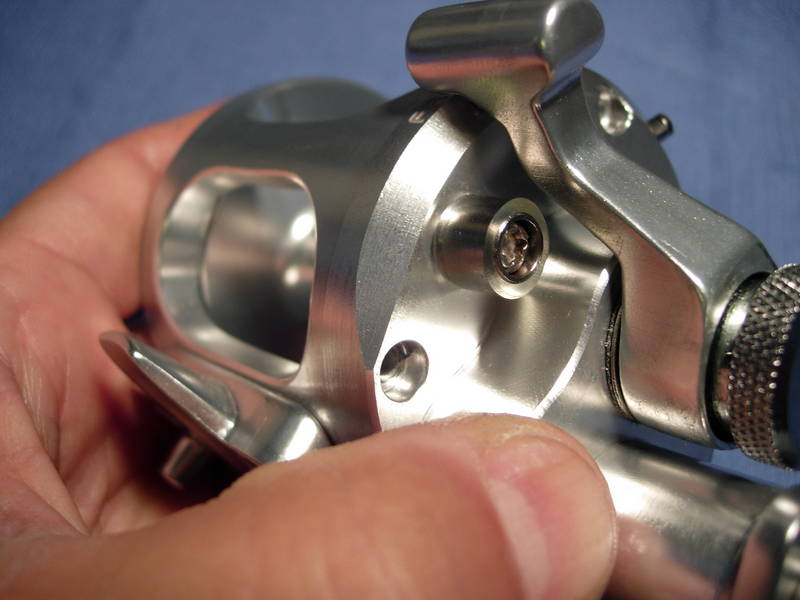
because of problems with the avet reels, we will grease the right side plate screws (key #17) and not shoot grease directly into the screw holes.
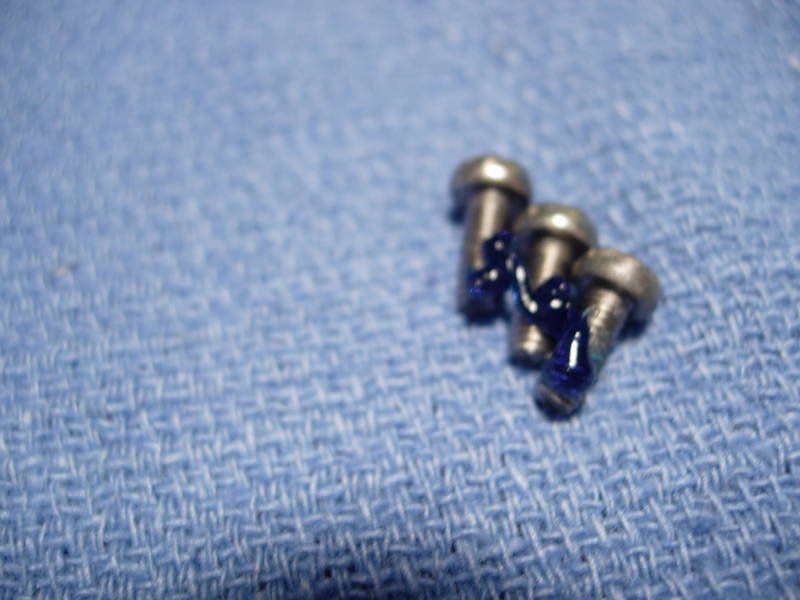
install the right side plate screws (key #17) and check for dimpling on the inside of the frame. luckily, there is none.
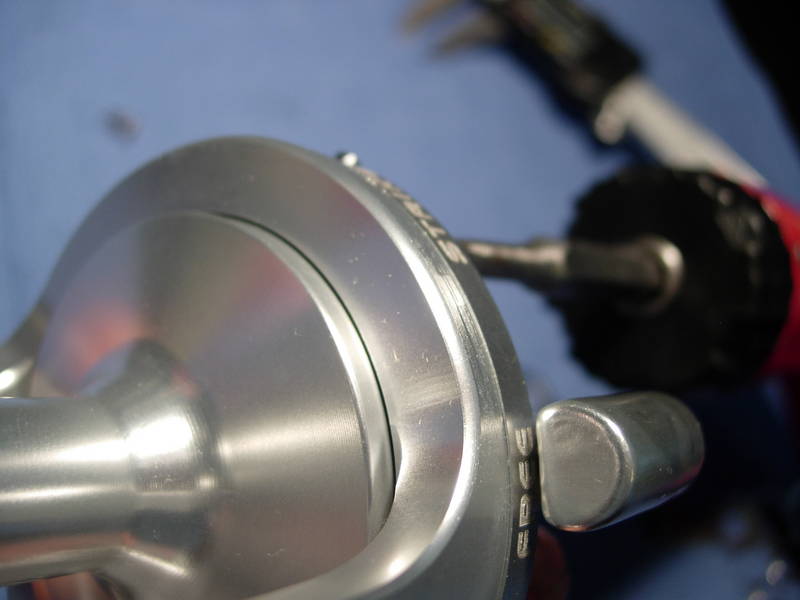
and done! now, to run the reel through it's paces, i loaded it up with 200 yards of 20# berkeley big game. this particular reel gave me only 15 seconds of freespool. i think that perhaps the bearing tube (key #53) might be cut a little to short. it also gets a ridiculous amount of drag before losing freespool. heavy duty belleville spring washers (key #50) are the reason for that. an increased drag range is easy to accomplish in ANY lever drag reel just by stiffening up the bellevilles. the problem is that there was increasing amount of resistance when you tried to crank the handle as soon as you passed 6#'s of drag. this is the same problem seen in the avet sx, only the avet sx handle starts to bind at a 9# drag setting. i THINK that the omoto vs 10 binds at a lower drag pressure because the right main side plate bearing is smaller. like i said, i'll have to double check this.
overall, this reel should fish perfectly within specs for 20# mono. remember that a 6# drag setting is 30% for 20# mono. i'm going to shim the bearing sleeve to see if i can get more freespool, and i'm going to talk to my machine shop buddies to see if we can get a bigger bearing into this reel. as is, it will not fish 30# mono like the avet sx will, but as a 20# reel, it will go toe-to-toe with the avet. in terms of overall reliability, both reels have bearings issues that have to be addressed. at least the omoto has a greased drag washer. and finally, you should consider the $179 price for the omoto vs 10 versus the $235 charkbait price for the avet sx.
here you are, gentlemen! meet the chinese sx!
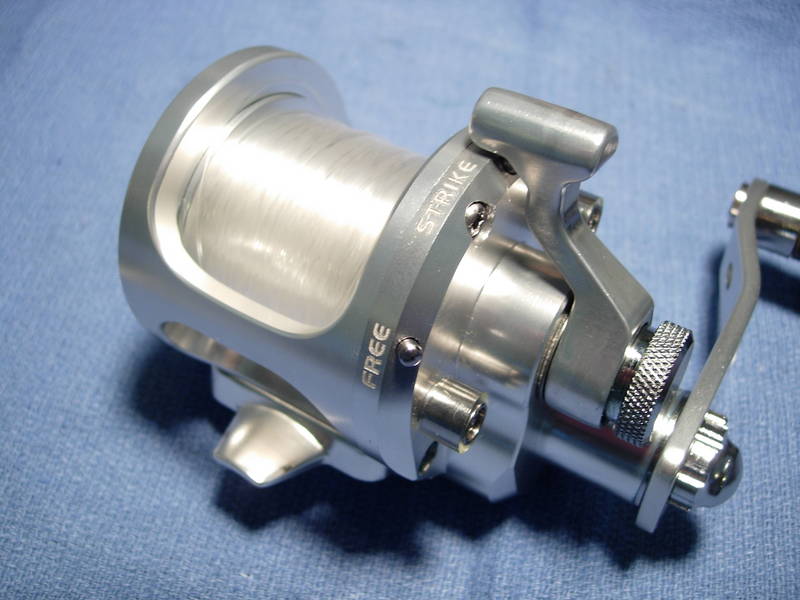
here's our new reel.
i've got a paper copy of the schematics, but was not able to locate one online. alan chui says that the websites have not been updated yet.
let's take a look around.
it looks like everything is engraved rather than etched.
they apparently took the lessons from avet and bolted down the reel seat with 4 screws. avet started with two screws and had trouble, then switched to 6. the four screws holding the omoto reel foot in place should be adequate.
a 5.2 to 1 gear ratio and 220 yards of 20# mono make this reel nearly the exact match to the avet sx.
using a no 15 torx bit, back out all three right side plate screws (key #17).
the right side plate and spool cleanly separate from the frame assembly.
the screw holes appear to have a small amount of blue loctite. we'll have to grease these.
the clicker assembly (key #'s 1-6) already have a light coat of grease.
using a no. 2 philips, back out the cover screws (key #8), add a small bead of grease and reinstall the screws.
using a no. 10 torx, back out each reel foot screw (key #27), add a bead of grease to each screw, and re-install the screw. we've had this discussion before and i realize that some would prefer not to grease the reel seat screws. if you just use loctite, you clearly run the risk of extensive corrosion. if you grease them, the screws could loosen. so greasing these screws means that you do have to check them periodically.
ok, the frame is done.
let's have a look around the right side plate and spool assembly.
now, with this next step, the reel is going to go "boing!!!!!!" remove the preset knob (key #44).
line up all of the parts from left to right, including the the preset knob (key #44), the spring (key #43), the o-ring (key # 42) and brake cam (key #41) assembly, the lifter (key #40), the brake lever (key #39), a metal washer (key #38) and two teflon washers (key #37).
not much left on the right side plate now.
we now have a spool assembly and a right side plate assembly.
here is the spool shaft (key #49) out of the spool with everything attached in the original configuration.
here's everything laid out. on top is the spool shaft (key #49) with the shaft shoulder (key #47) and shaft pin (key #48) still attached. below from left to right are the disc spring washers (key #50), the bushing (key #51), the 5x13x4 mm left spool bearing (key #52), the bearing tube (key #53), the 5x11x4 right spool bearing (key #56), the return spring (key #57), and the 5x11x4 brake disc bearing (key #58). the brake disc assembly (key #59, 60 and 61) is not shown.
using a 1/0 ringed owner flyliner, i removed the retaining rings and shields from the left spool bearing (key #52). this bearing was cleaned with carb cleaner, lubed with corrosion x and will be re-installed open. the right spool bearing will also be cleaned and lubed, but was actually open to begin with.
the bearing for the brake disc has a seal. a small scalpel does of great job of prying it out.
this one is dry as a bone. we'll pack it with grease and press the shields back in.
we're done with the spool and brake disc bearings.
now for the drag washer (key #55). it's carbon fiber and it's greased, but it looks like they missed a few spots.
i'm going to apply a thick coat of cal's grease, press it in and wipe off the excess. note that there is no retaining ring, and probably none needed.
arrange the disc spring washers (key #50) in a "()()" orientation, reassemble the spool and set it aside.
find the pinion gear (key #62) and add it to the spool assembly.
almost done. there are three more bearings that need to be packed with grease. we'll have to pull the main gear to get them. remove the friction ring (key #9).
remove the handle nut screw (key #22).
to remove the handle nut (key #21), you need a special wrench. the penn wrench on the right is too small. the shimano wrench on the left is slightly bigger, but still too small.
guess we'll have to use the wrench provided.
off comes the handle nut (key #21).
remove the handle assembly (key #20).
remove the handle washer (key #19).
remove the drive gear/shaft assembly (key #'s 10, 11, 12, 13, and 14), the pair of 10x20x6 drive shaft bearings (key #15), and the drive shaft tube (key #18).
this is how the assembly is oriented.
pull the shields of these bearings and you'll find that they are lubed with oil only. let's pack them with grease and re-install the shields.
here is the 6x12x4 right main side plate bearing (key #31). at first glance, it looked quite a bit smaller that the corresponding bearing found in the avet sx. i will have to double check this. it may cause problems down the line.
pull the bearing out and remove the shields. the bearing has only a small amount of grease in it. any air pockets may allow salt water intrusion.
let's pack the bearing with grease and re-install the shields.
re-install the right main side plate bearing (key #31).
re-install the outer drive shaft bearing (key #15).
re-install the drive/gear shaft assembly, bearing and tube as a unit.
add a little grease to the outside of the drive shaft bearing (key #15) and install the washer (key #19).
install the handle assembly (key #20).
install the handle nut (key #21) and screw (key #22).
install the friction ring (key #9).
install the spool assembly (key #54) back into the right side plate assembly (key #16). you have to line up the cross pin so that it is close to it's final position when it is installed into the frame.
put a light coat of grease on all the brake lever parts.
install just one of the teflon washers (key #37), not the original two.
install the metal brake washer (key #38).
install the brake lever (key #39) and position the lever so that it is in the "free" position.
here is the stainless steel lifter (key #40). note that the "bottom" has sharp corners, ......
.... and the top is ramped.
install the lifter with the ramped side up.
install the brake cam (key #41) so that it nests into the lifter (key #40).
install the spring (key #43).
install the pre-set knob (key #44).
with the brake lever (key #39) in the "free" position, the shaft pin (key #48) should line up with the slot cut into the left side plate. if it doesn't line up, you'll have to start all over with the spool shaft rotated 90 degrees.
there! perfect fit! and we did it on our first try!!!!!
because of problems with the avet reels, we will grease the right side plate screws (key #17) and not shoot grease directly into the screw holes.
install the right side plate screws (key #17) and check for dimpling on the inside of the frame. luckily, there is none.
and done! now, to run the reel through it's paces, i loaded it up with 200 yards of 20# berkeley big game. this particular reel gave me only 15 seconds of freespool. i think that perhaps the bearing tube (key #53) might be cut a little to short. it also gets a ridiculous amount of drag before losing freespool. heavy duty belleville spring washers (key #50) are the reason for that. an increased drag range is easy to accomplish in ANY lever drag reel just by stiffening up the bellevilles. the problem is that there was increasing amount of resistance when you tried to crank the handle as soon as you passed 6#'s of drag. this is the same problem seen in the avet sx, only the avet sx handle starts to bind at a 9# drag setting. i THINK that the omoto vs 10 binds at a lower drag pressure because the right main side plate bearing is smaller. like i said, i'll have to double check this.
overall, this reel should fish perfectly within specs for 20# mono. remember that a 6# drag setting is 30% for 20# mono. i'm going to shim the bearing sleeve to see if i can get more freespool, and i'm going to talk to my machine shop buddies to see if we can get a bigger bearing into this reel. as is, it will not fish 30# mono like the avet sx will, but as a 20# reel, it will go toe-to-toe with the avet. in terms of overall reliability, both reels have bearings issues that have to be addressed. at least the omoto has a greased drag washer. and finally, you should consider the $179 price for the omoto vs 10 versus the $235 charkbait price for the avet sx.
here you are, gentlemen! meet the chinese sx!