
finnor ofc 16h rebuild - 12/1/2009
a good friend from lousiana send this reel to me at the beginning of the year. it sat for several months before i was able to go through it, then the photos have sat until now.

according to the website http://www.finnorfishing.com/offshoreconv.html , it has a cast aluminum frame, carbon fiber drag washers and a 6.2 to 1 gear ratio. it'a a very nice looking reel!


i found this in the pamphlet that came with the reel. it reminds me of a car salesman saying "no reasonable offer refused." I know this kind of disclaimer is necessary, but it doesn't mean that i have to like it.

i wasn't able to find the schematic on-line, so don't lose your hard copies.

let's start by removing the left side cover (key #35). back out the three cover screws (key #38).

wow! looks alot like a daiwa saltist. i'm going to open up the left side spool bearing (key #31).

actually, let's take a minute to get this spool out of the way. the brakes fall off easily. never been a fan of these. a little masking tap will keep the spectra from getting too greasy.
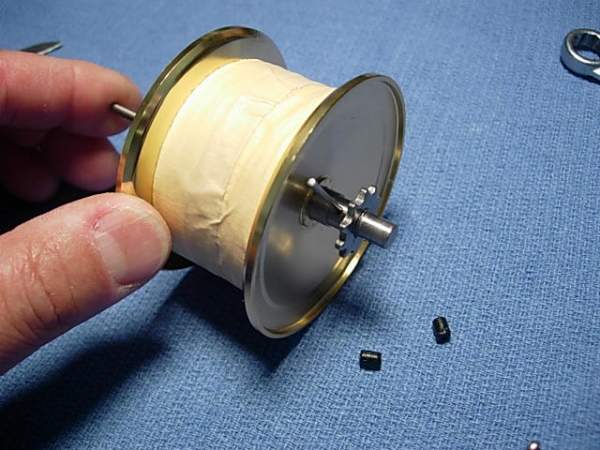
back out the spool click spring screw (key #27).
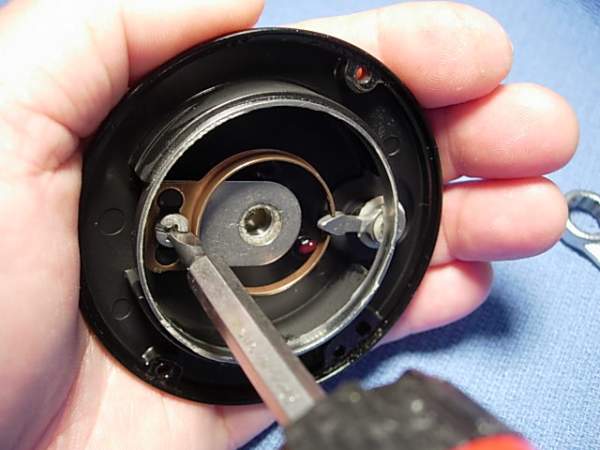
remove the spool click spring (key #28) and bearing retainer (key #29).
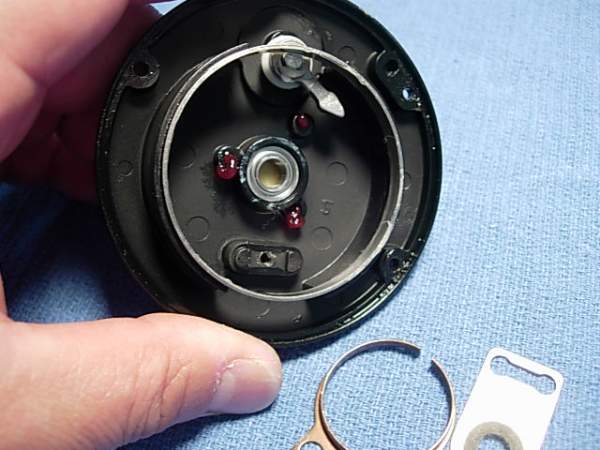
the left side plate bearing (key #31) is 6x12x4mm.
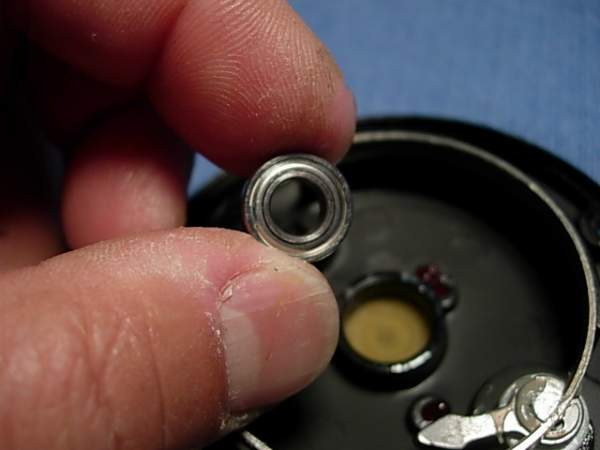
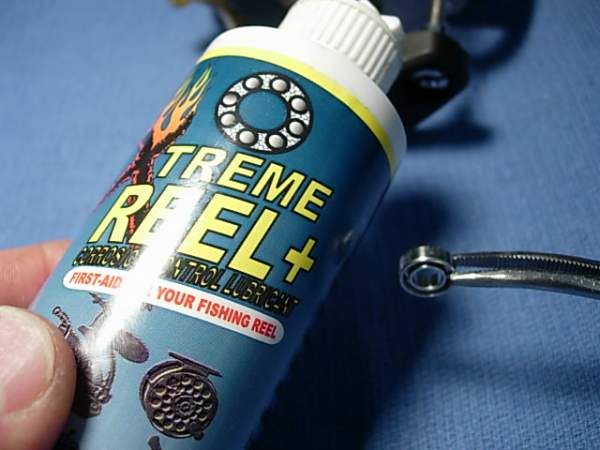
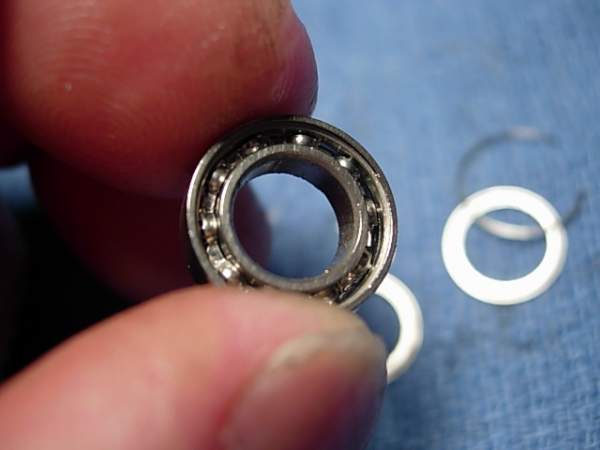
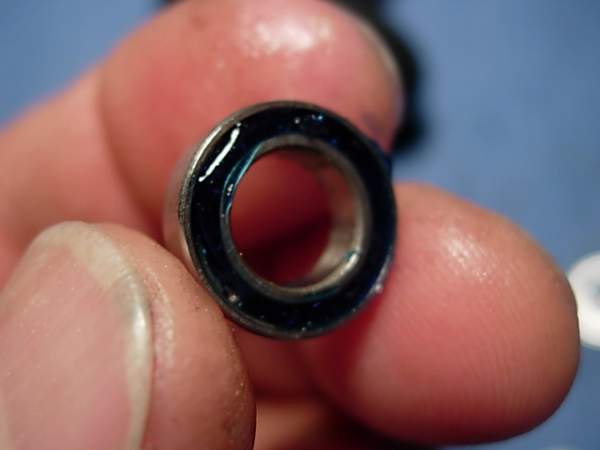
the bearing was opened up, cleaned with carb cleaner and compressed air, and relubed with xtreme reel +.
back in it goes.
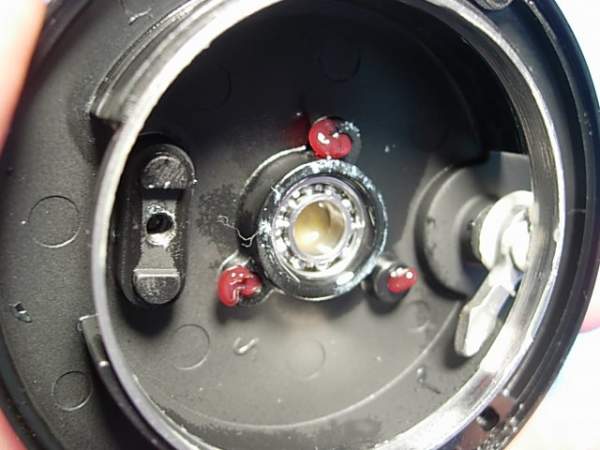
install the bearing retainer (key #29), the click spring (key #28) and the spool click spring screw (key #27).
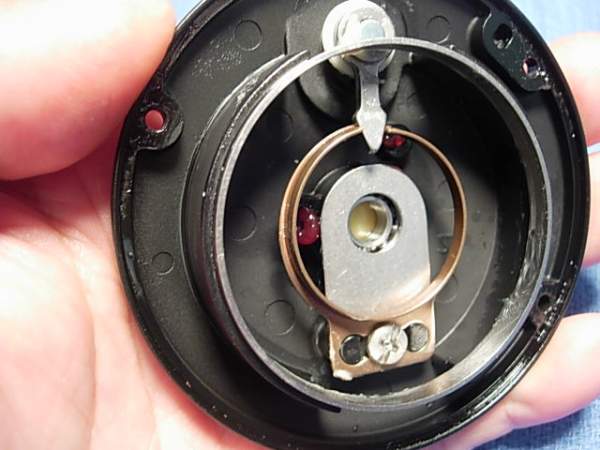
the right spool bearing (key #25) is 8x16x5mm.
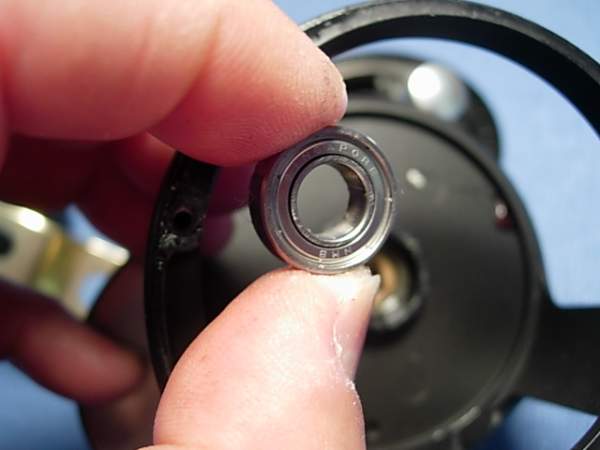
for maximum freespool, this bearing will also be opened up, degreased and lubed with xtreme reel +.
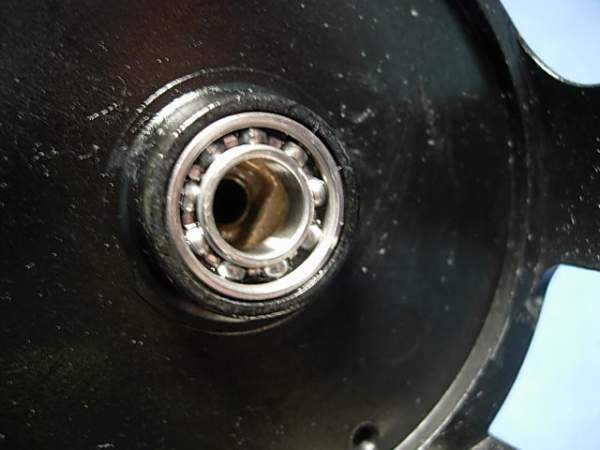
install the spool assembly (key #44).
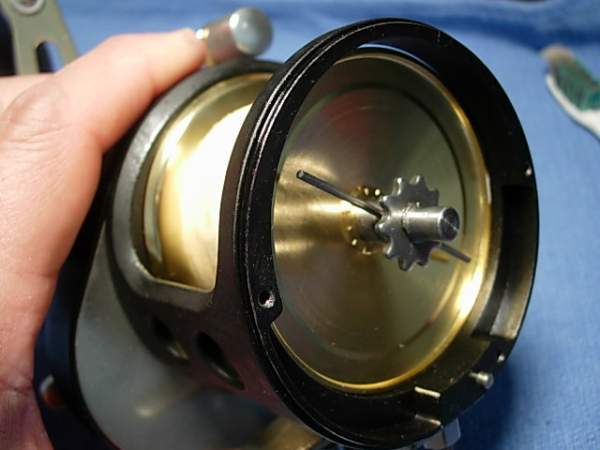
install the left side cover assembly (key #35).
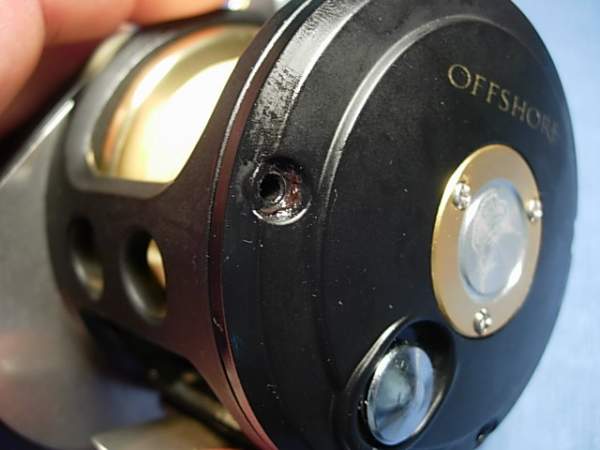
install the left side cover screws (key #37) and you are done servicing the spool bearings. this is also as far as you will need to go for your routine service. bearings are always the first things to fail. at the very least, pull the side plates on your reels and lube the bearings now.
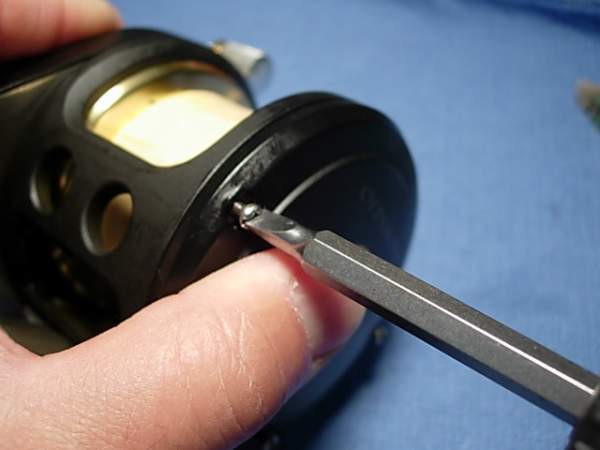
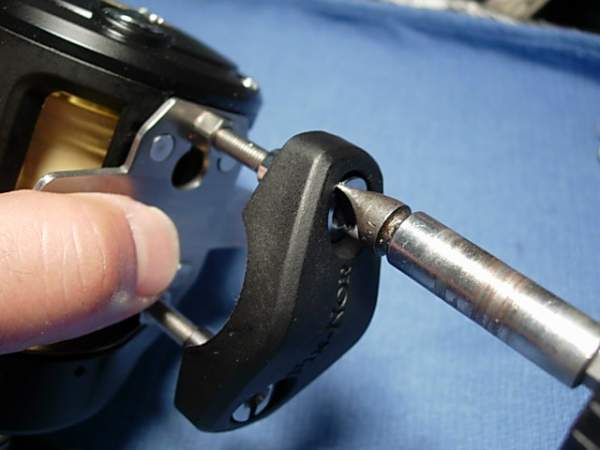
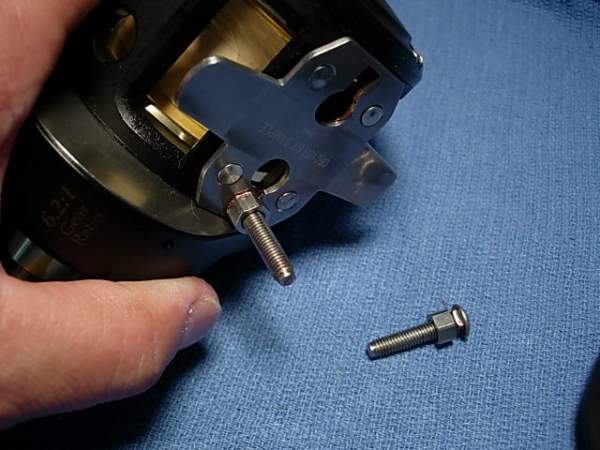
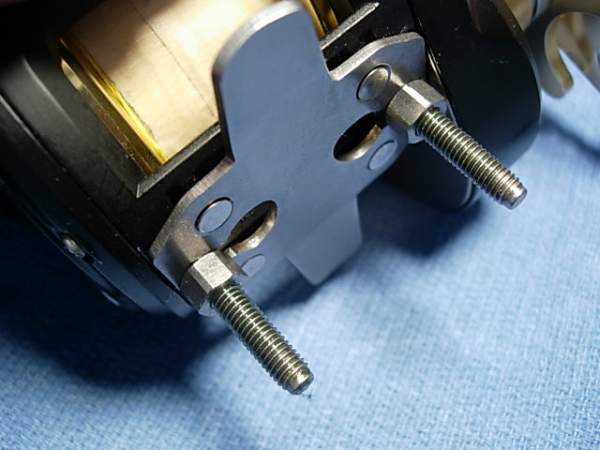
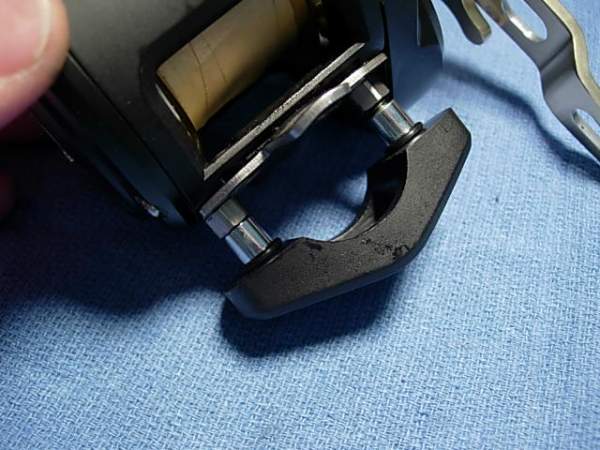
onward! remove the bolts for the rod clamp assembly (key #67), grease the bolts and re-install them.
now for the right side plate. remove the handle nut screw (key #3).
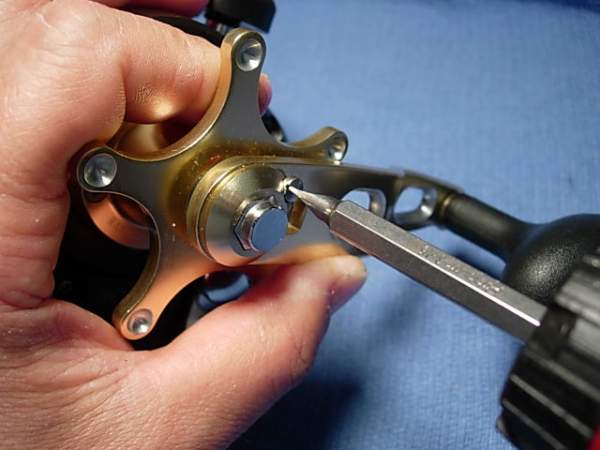
remove the handle nut plate (key #1).
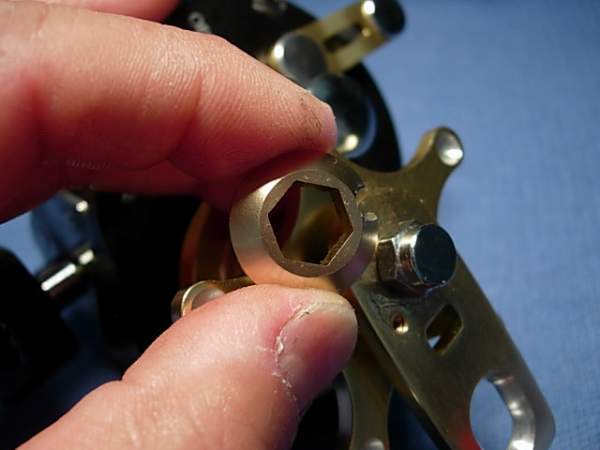
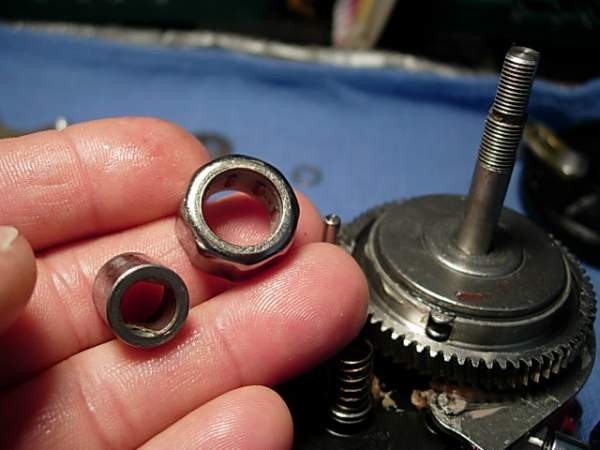
remove the handle nut (key #2) with a 10mm wrench.
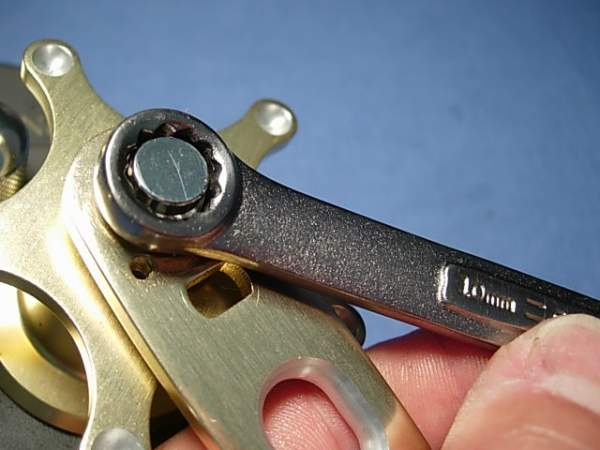
remove the handle assembly (key #4).
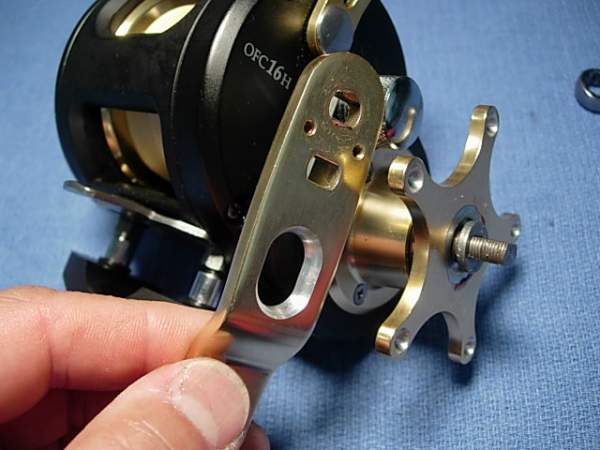
remove the spacer (key #5).
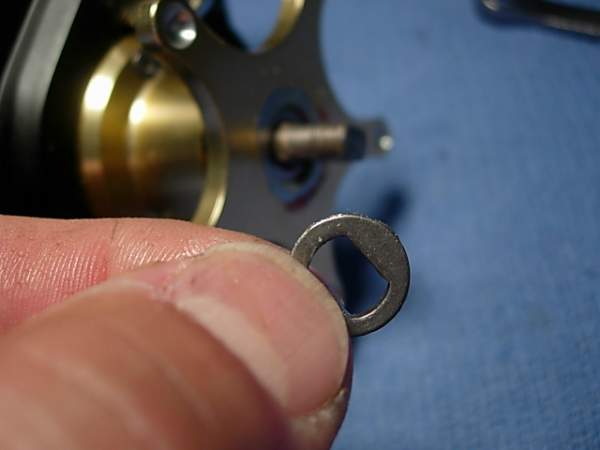
unscrew the drag star (key #6).
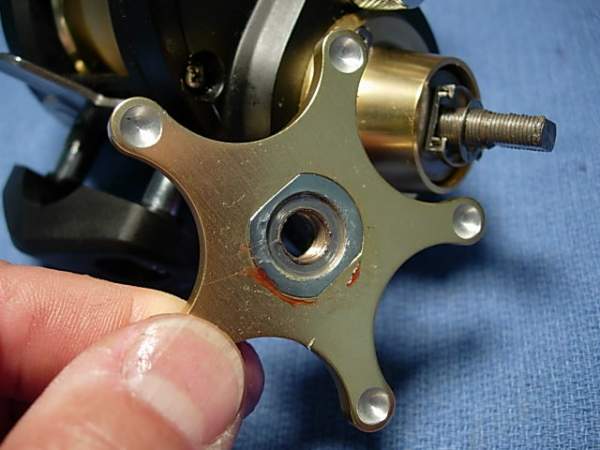
remove the bearing washer (key #66) and click spring assembly (key #65).
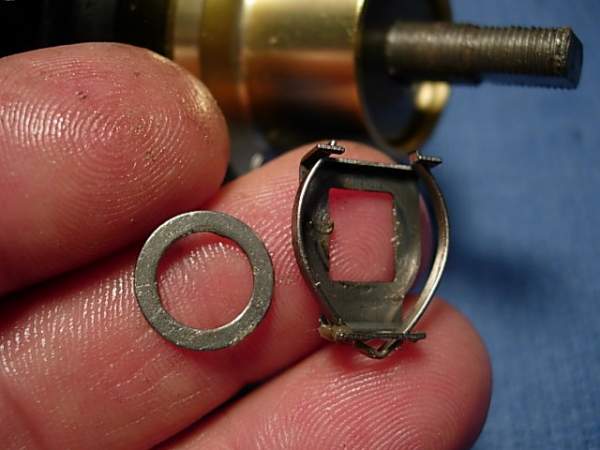
remove the two spring washers (key #64). the are installed in a "()" orientation.
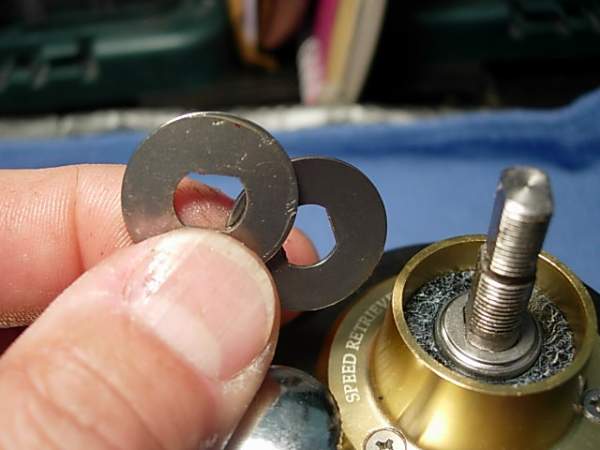
remove the bearing washer (key #63).
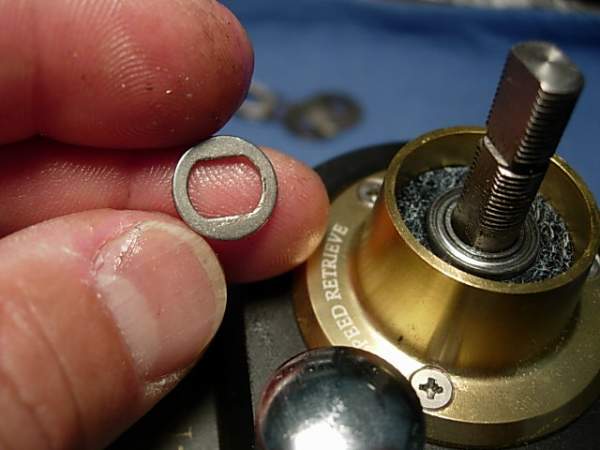
remove all three right side cover screws (key #13).
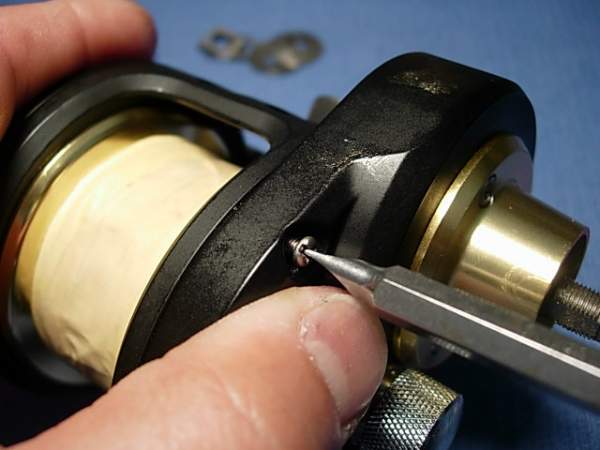
remove the right side cover assembly (key #14).
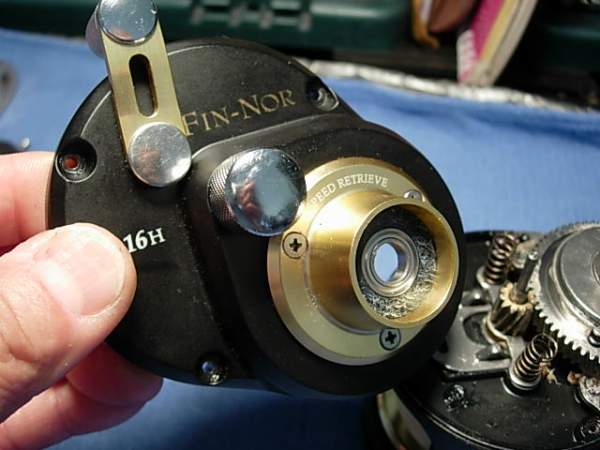
it still looks like a saltist.
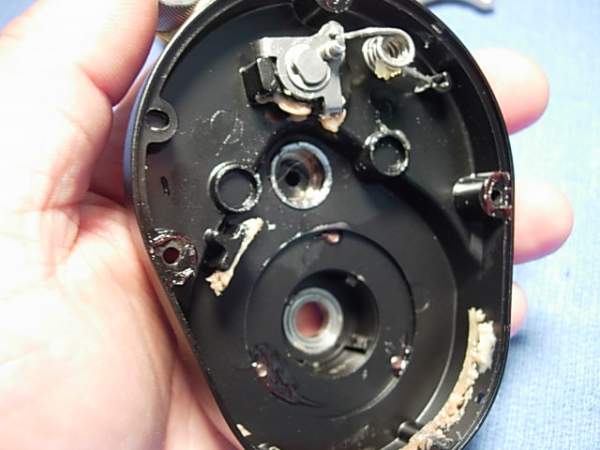
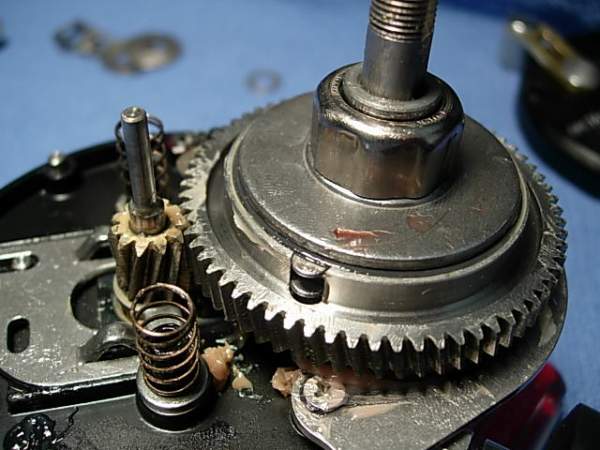
remove the clutch (key #60) and the clutch sleeve (key #59).
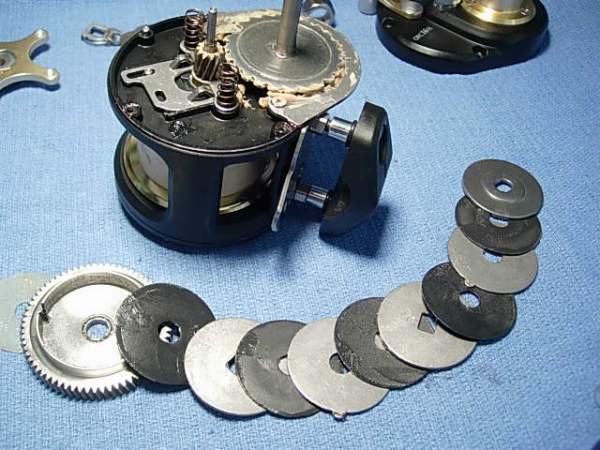
here's what the drag stack looks like.
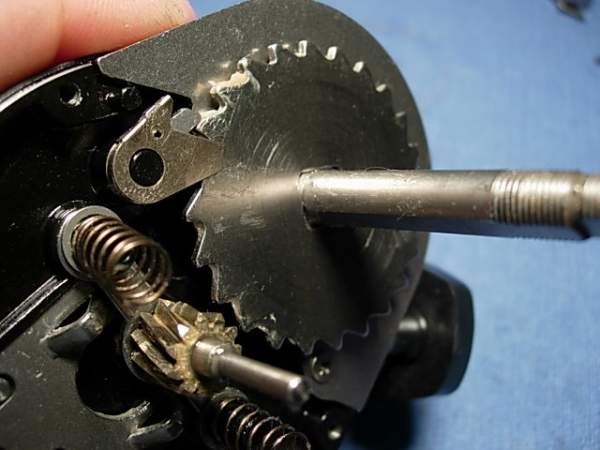
here you see the same ambassaduer-style dog (or anti-reverse pawl assembly (key #58).
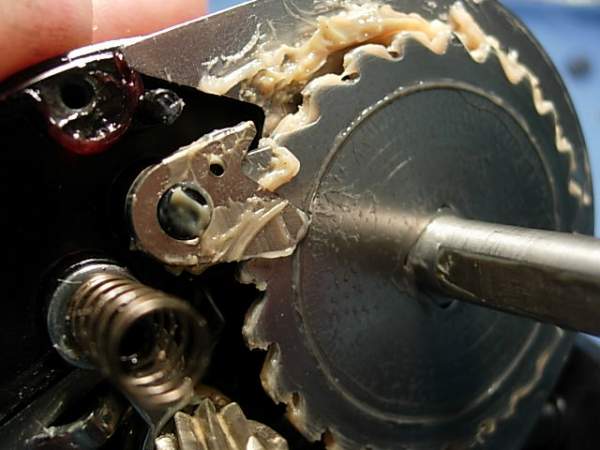
carefully remove the a/r pawl (key #58) and the a/r ratchet (key #50) as a unit. take care not to bend the springs of the pawl.
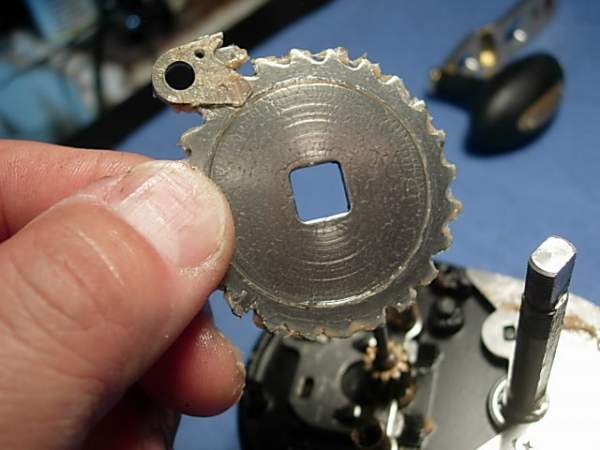
remove the yoke springs (key #21), the pinion gear (key #20), the yoke (key #22) and the yoke plate (key #23).
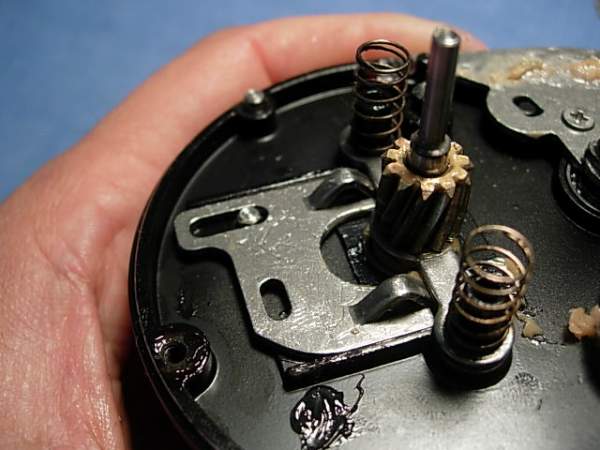
remove the three screws (key #48-B) for the drive shaft retainer (key #47).
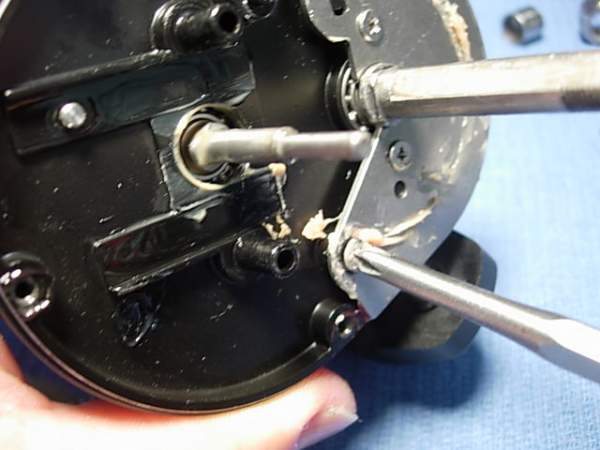
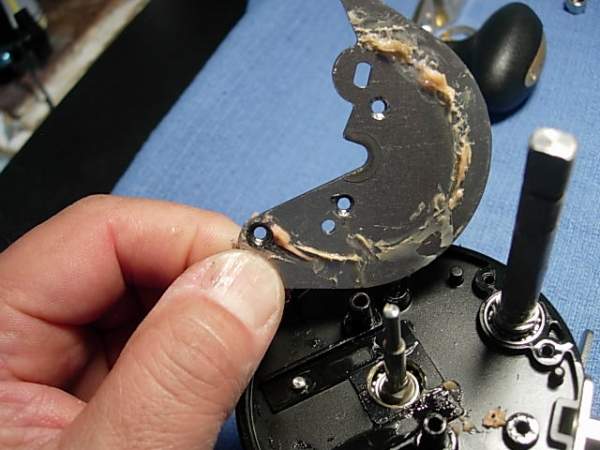
remove the drive shaft (key #49).
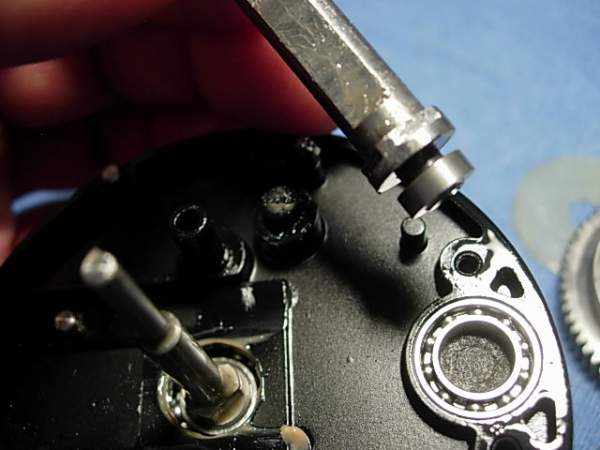
the drive shaft bearing (key #46) measures 8x14x3.5mm.
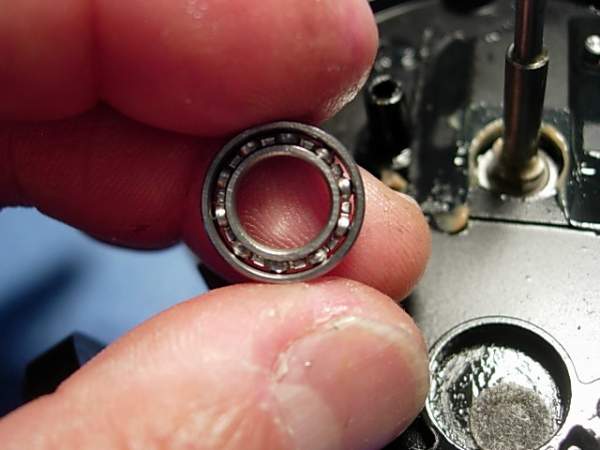
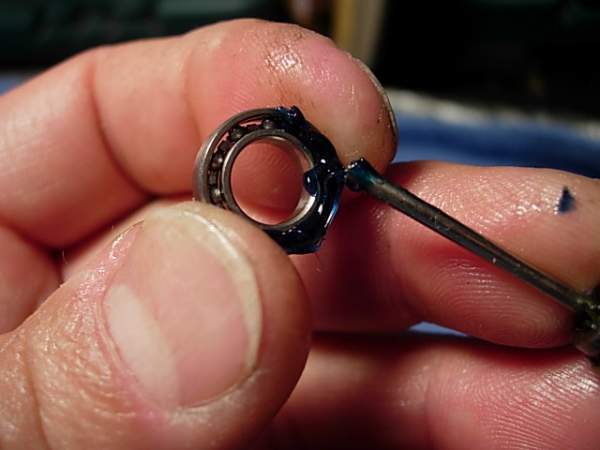
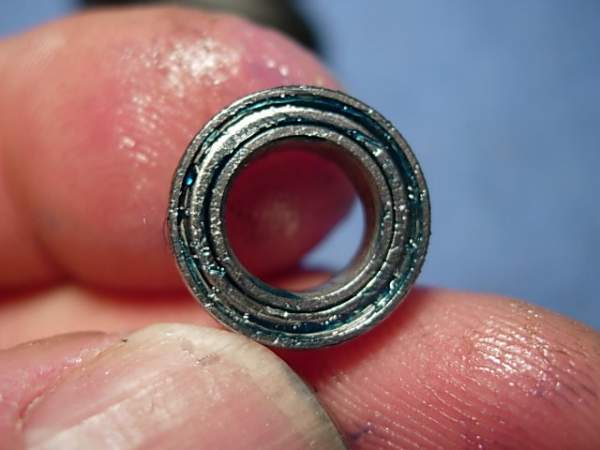
since this bearing does not affect freespool, i'll pack it with grease to give it the best corrosion resistance.
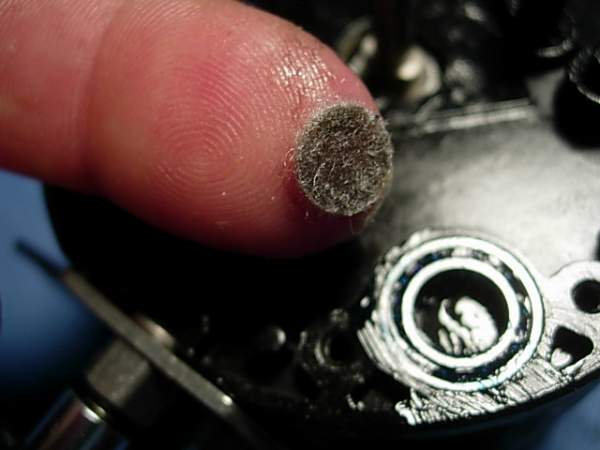
the felt drive shaft pad (key #45) goes in the center of the bearing.
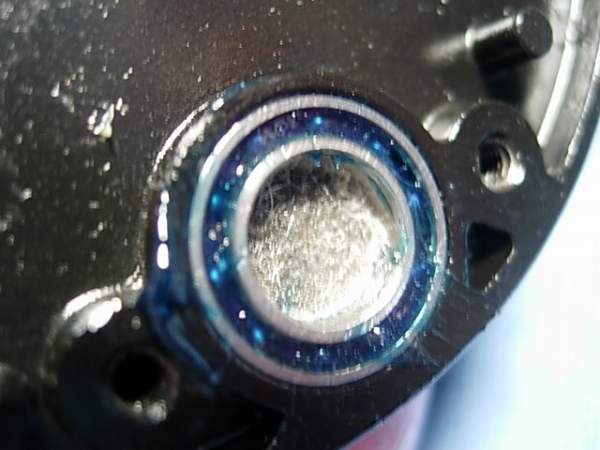
re-install the drive shaft (key #49).
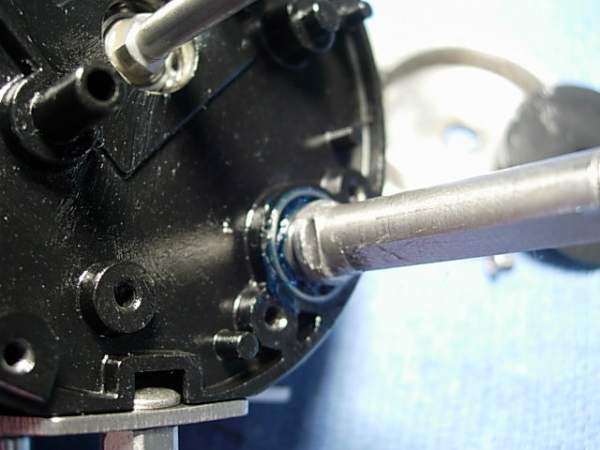
install the drive shaft retainier (key #47) and screws (key #48-B).
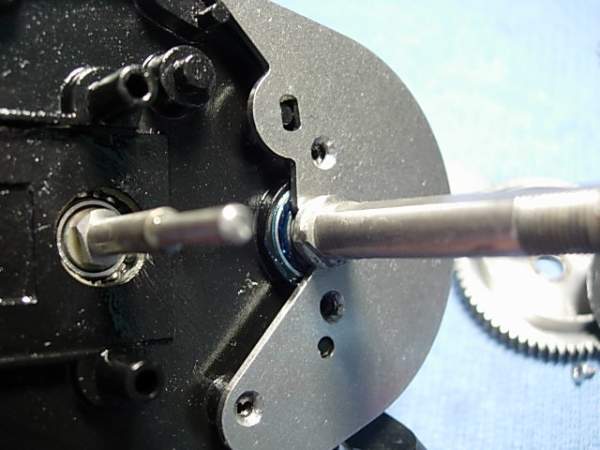
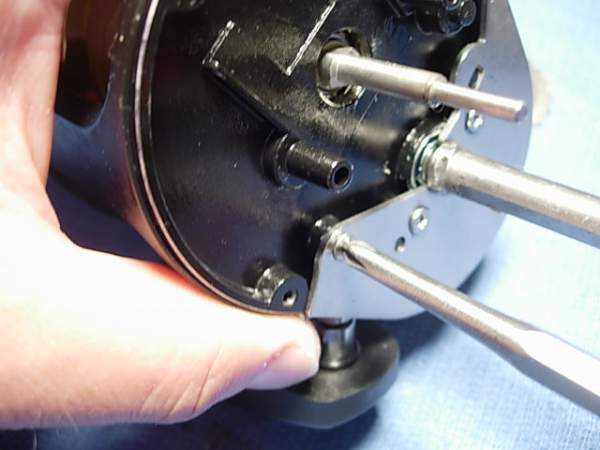
install the yoke plate (key #23).
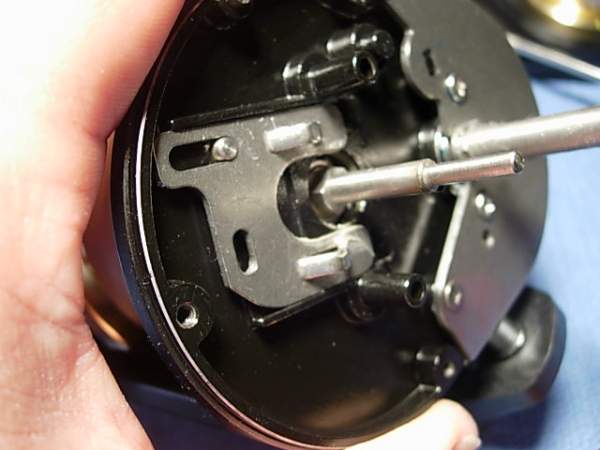
install the yoke (key #22) and pinion gear (key #20) as a unit.
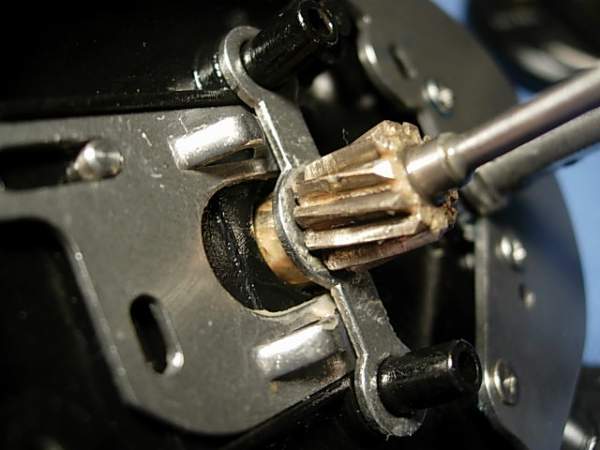
install the yoke spring washers (no key #).
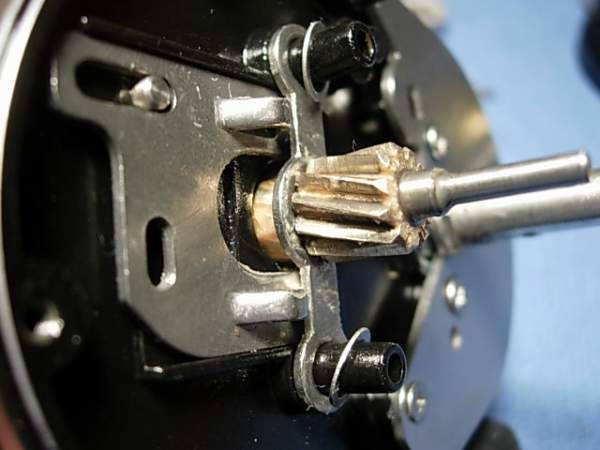
install the yoke springs (key #21).
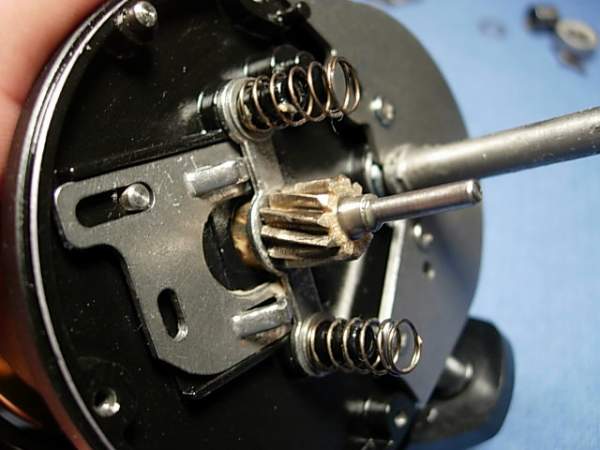
install the a/r pawl (key #58) and the a/r ratchet (key #50) as a unit. check the function of the pawl. if it does not "grab" properly, squeeze the leaf springs of the pawl together so that it does.
as close as this reel appears in design to the daiwa saltist, i'll bet these will work.
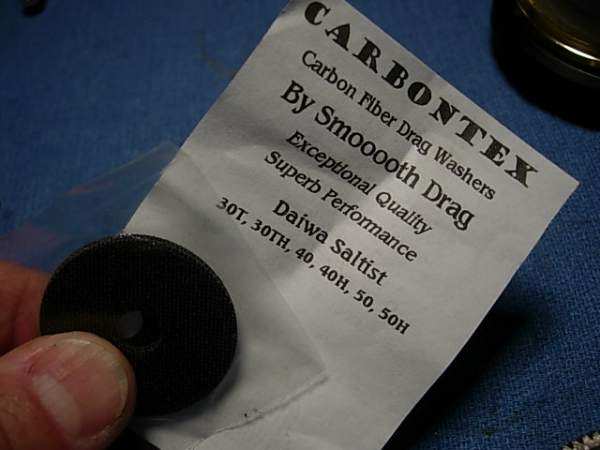
here are the carbontex drag washers in their proper order, and the stock drag washers ready to be tossed.
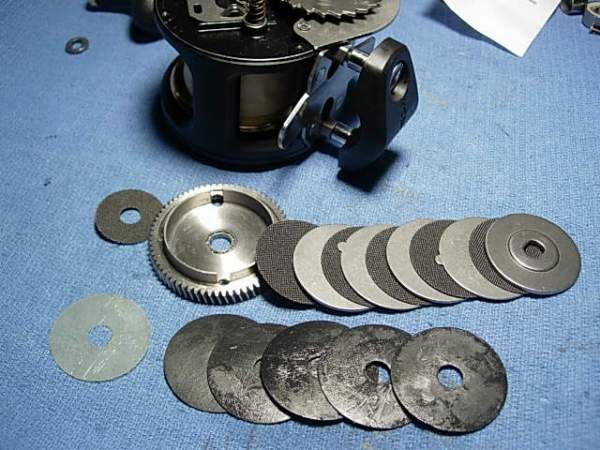
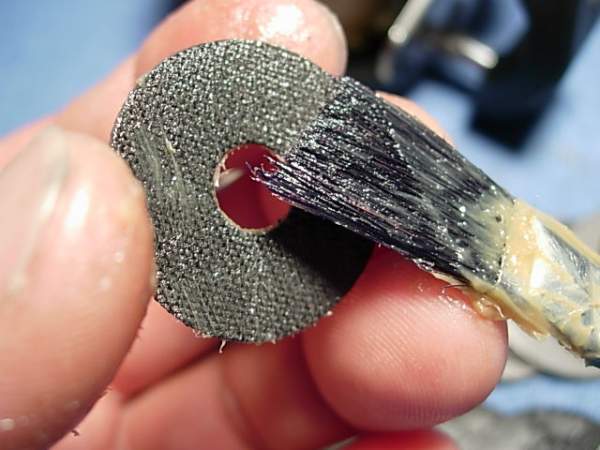
i'll apply a coat of cal's drag grease to each washer and reassemble the drag stack.
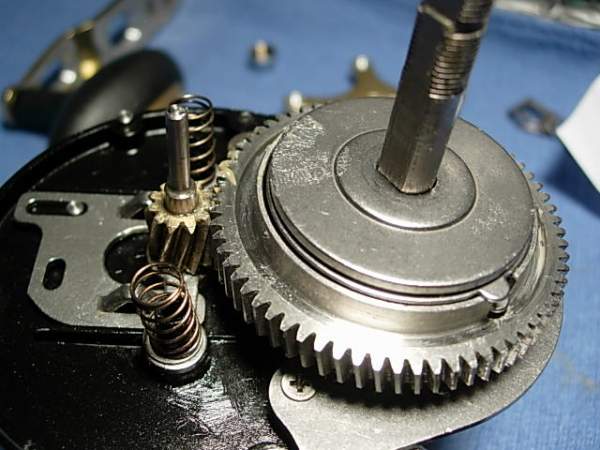
install the clutch sleeve (key #59).
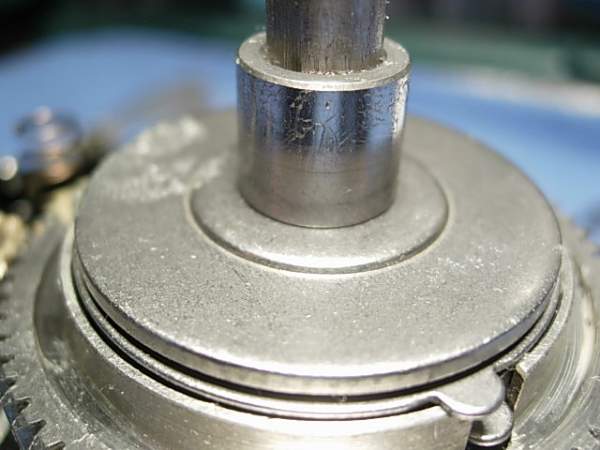
install the clutch (key #60).
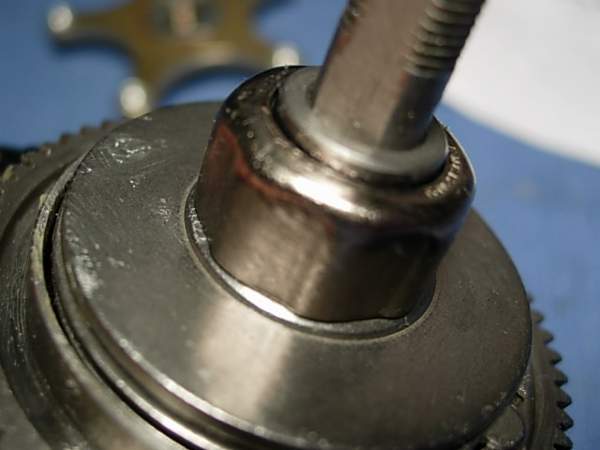
salt will stick to any intermal metal surface that is not coated with grease. take an old toothbrush and let's spread some of this grease around.
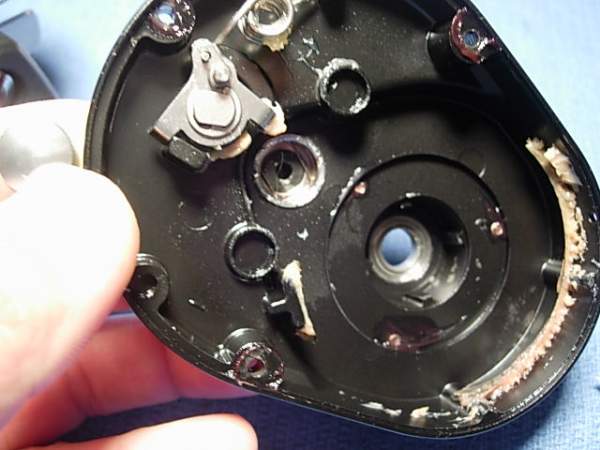
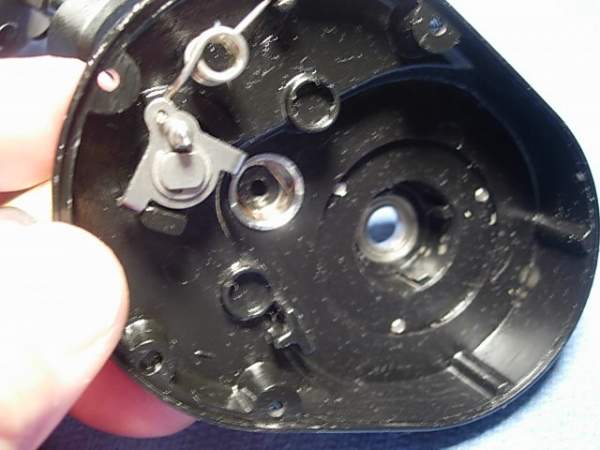
the drive shaft bearing (key #62) is 8x14x4 and has been quietly sitting in the right side cover. remove it and set it aside.
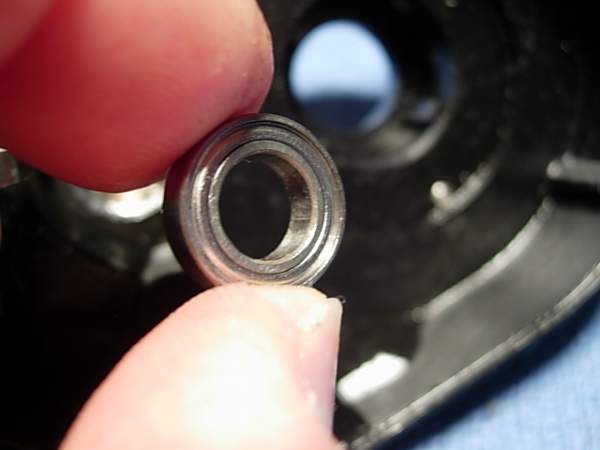
install the right side cover assembly (key #14) with the clutch lever (key #11) in the forward or "in gear" position.
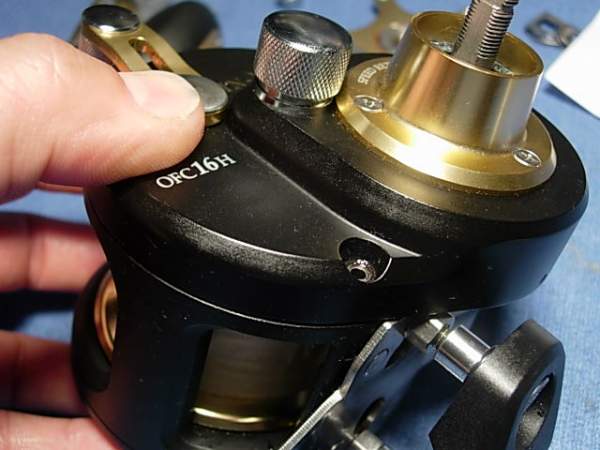
install the three cover screws (key #13).
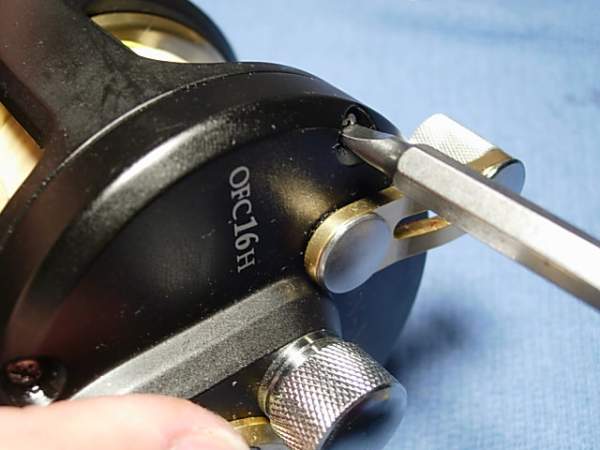
open up the drive shaft bearing (key #62), pack it with grease, reshield it and place it back in the right side cover assembly (key #14).
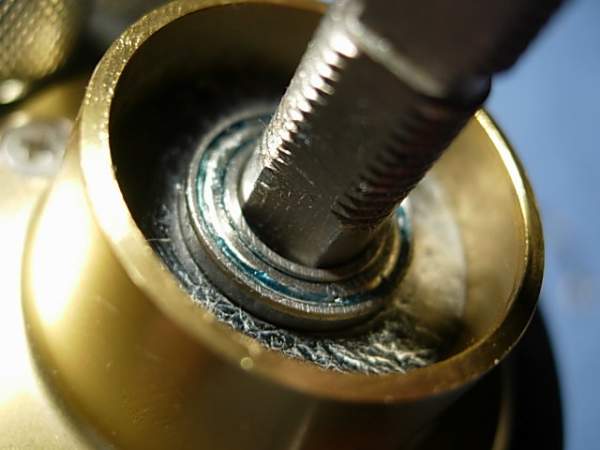
install the keyed bearing washer (key #63), the two spring washers (key #64) in a "()" configuration, the click spring assembly (key #65) and the plain bearing washer (key #66).
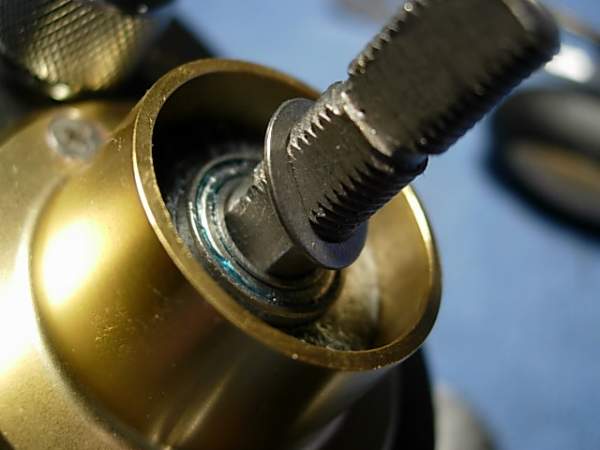
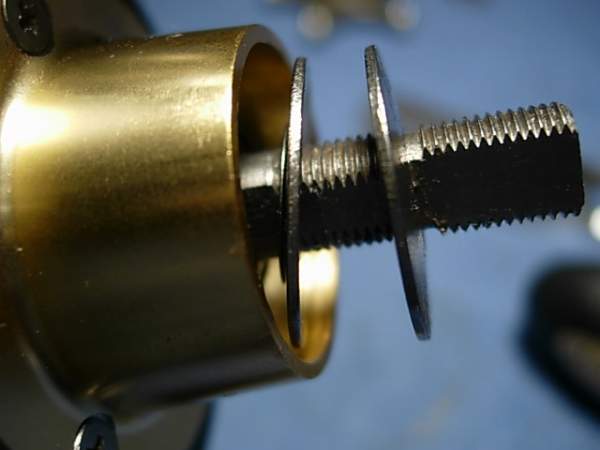
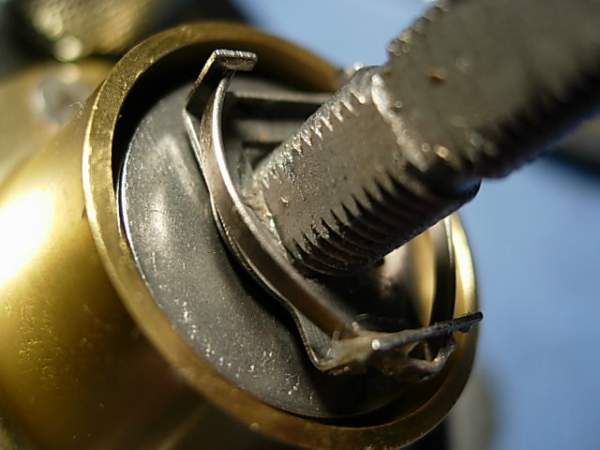
install the drag star (key #6) and tighten it down until the drag star clears the "shoulders" of the drive shaft (key #49).
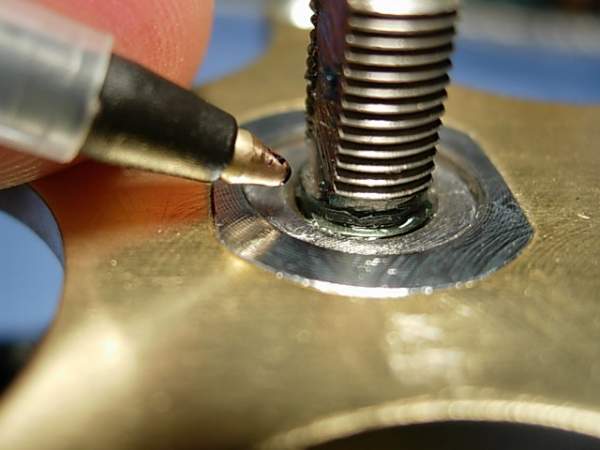
install the spacer (key #5).
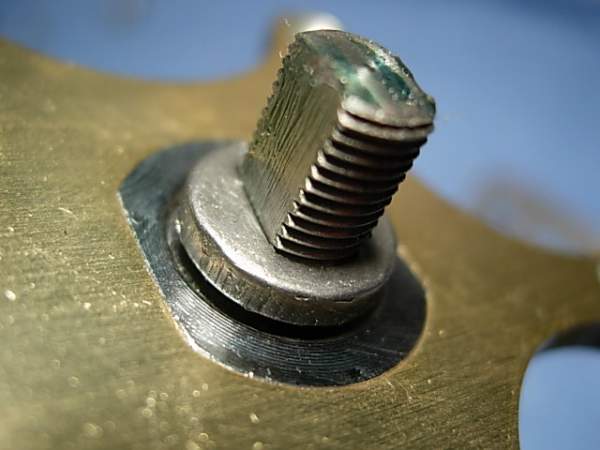
install the handle assembly (key #4).
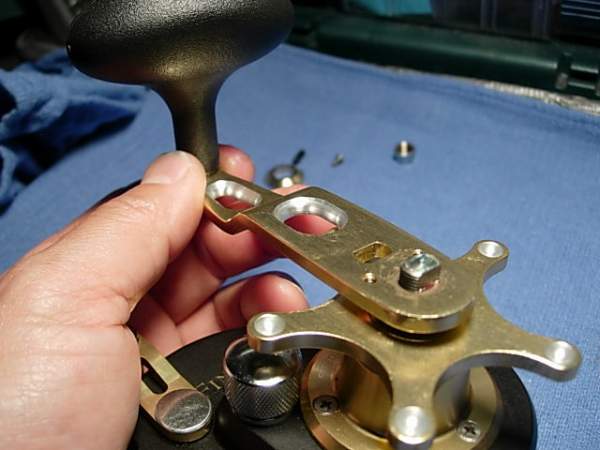
install the handle nut (key #2).
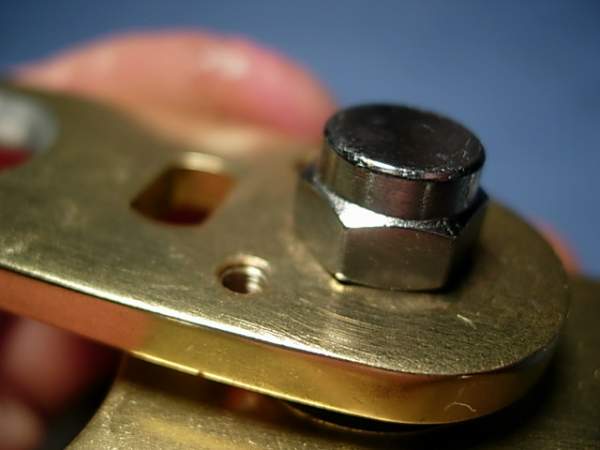
install the handle nut plate (key #1).
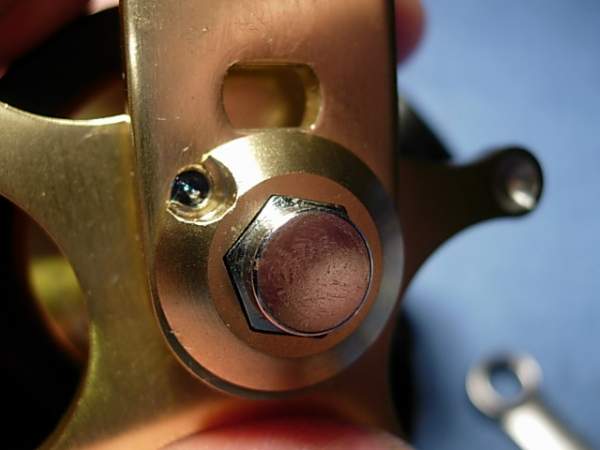
install the handle nut plate screw (key #3).
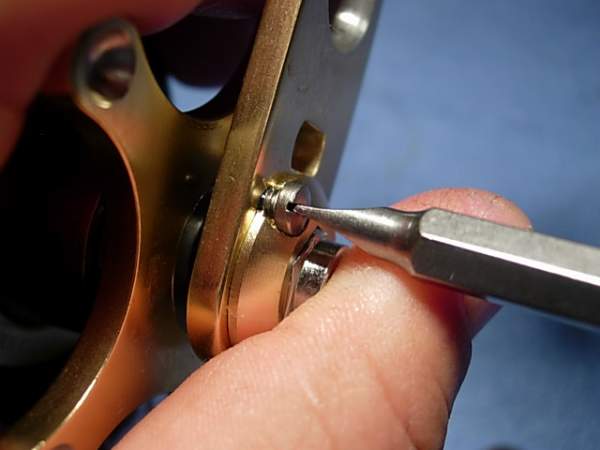
and done!
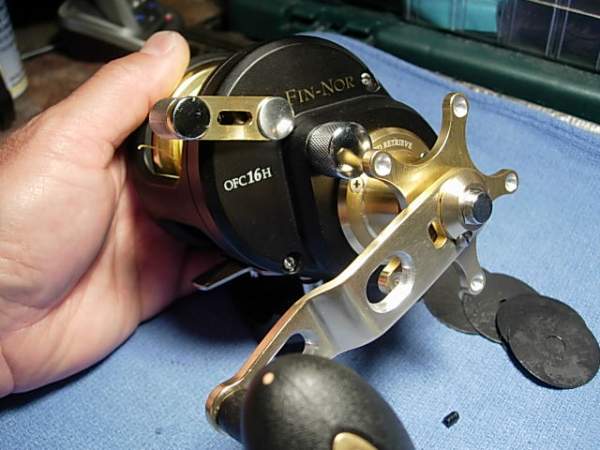
now, for a few comments about this reel. if you like the design, fit and finish of the daiwa saltist, you'll love the finnor. unfortunately, it has the same ambassaduer-style dog and single anti-reverse roller bearing that has cause so much difficulty for me in the past. like the saltist, this reel benefits greatly from a carbontex upgrade and bearing service. overall, it's a very nice reel!
a good friend from lousiana send this reel to me at the beginning of the year. it sat for several months before i was able to go through it, then the photos have sat until now.
according to the website http://www.finnorfishing.com/offshoreconv.html , it has a cast aluminum frame, carbon fiber drag washers and a 6.2 to 1 gear ratio. it'a a very nice looking reel!
i found this in the pamphlet that came with the reel. it reminds me of a car salesman saying "no reasonable offer refused." I know this kind of disclaimer is necessary, but it doesn't mean that i have to like it.
i wasn't able to find the schematic on-line, so don't lose your hard copies.
let's start by removing the left side cover (key #35). back out the three cover screws (key #38).
wow! looks alot like a daiwa saltist. i'm going to open up the left side spool bearing (key #31).
actually, let's take a minute to get this spool out of the way. the brakes fall off easily. never been a fan of these. a little masking tap will keep the spectra from getting too greasy.
back out the spool click spring screw (key #27).
remove the spool click spring (key #28) and bearing retainer (key #29).
the left side plate bearing (key #31) is 6x12x4mm.
the bearing was opened up, cleaned with carb cleaner and compressed air, and relubed with xtreme reel +.
back in it goes.
install the bearing retainer (key #29), the click spring (key #28) and the spool click spring screw (key #27).
the right spool bearing (key #25) is 8x16x5mm.
for maximum freespool, this bearing will also be opened up, degreased and lubed with xtreme reel +.
install the spool assembly (key #44).
install the left side cover assembly (key #35).
install the left side cover screws (key #37) and you are done servicing the spool bearings. this is also as far as you will need to go for your routine service. bearings are always the first things to fail. at the very least, pull the side plates on your reels and lube the bearings now.
onward! remove the bolts for the rod clamp assembly (key #67), grease the bolts and re-install them.
now for the right side plate. remove the handle nut screw (key #3).
remove the handle nut plate (key #1).
remove the handle nut (key #2) with a 10mm wrench.
remove the handle assembly (key #4).
remove the spacer (key #5).
unscrew the drag star (key #6).
remove the bearing washer (key #66) and click spring assembly (key #65).
remove the two spring washers (key #64). the are installed in a "()" orientation.
remove the bearing washer (key #63).
remove all three right side cover screws (key #13).
remove the right side cover assembly (key #14).
it still looks like a saltist.
remove the clutch (key #60) and the clutch sleeve (key #59).
here's what the drag stack looks like.
here you see the same ambassaduer-style dog (or anti-reverse pawl assembly (key #58).
carefully remove the a/r pawl (key #58) and the a/r ratchet (key #50) as a unit. take care not to bend the springs of the pawl.
remove the yoke springs (key #21), the pinion gear (key #20), the yoke (key #22) and the yoke plate (key #23).
remove the three screws (key #48-B) for the drive shaft retainer (key #47).
remove the drive shaft (key #49).
the drive shaft bearing (key #46) measures 8x14x3.5mm.
since this bearing does not affect freespool, i'll pack it with grease to give it the best corrosion resistance.
the felt drive shaft pad (key #45) goes in the center of the bearing.
re-install the drive shaft (key #49).
install the drive shaft retainier (key #47) and screws (key #48-B).
install the yoke plate (key #23).
install the yoke (key #22) and pinion gear (key #20) as a unit.
install the yoke spring washers (no key #).
install the yoke springs (key #21).
install the a/r pawl (key #58) and the a/r ratchet (key #50) as a unit. check the function of the pawl. if it does not "grab" properly, squeeze the leaf springs of the pawl together so that it does.
as close as this reel appears in design to the daiwa saltist, i'll bet these will work.
here are the carbontex drag washers in their proper order, and the stock drag washers ready to be tossed.
i'll apply a coat of cal's drag grease to each washer and reassemble the drag stack.
install the clutch sleeve (key #59).
install the clutch (key #60).
salt will stick to any intermal metal surface that is not coated with grease. take an old toothbrush and let's spread some of this grease around.
the drive shaft bearing (key #62) is 8x14x4 and has been quietly sitting in the right side cover. remove it and set it aside.
install the right side cover assembly (key #14) with the clutch lever (key #11) in the forward or "in gear" position.
install the three cover screws (key #13).
open up the drive shaft bearing (key #62), pack it with grease, reshield it and place it back in the right side cover assembly (key #14).
install the keyed bearing washer (key #63), the two spring washers (key #64) in a "()" configuration, the click spring assembly (key #65) and the plain bearing washer (key #66).
install the drag star (key #6) and tighten it down until the drag star clears the "shoulders" of the drive shaft (key #49).
install the spacer (key #5).
install the handle assembly (key #4).
install the handle nut (key #2).
install the handle nut plate (key #1).
install the handle nut plate screw (key #3).
and done!
now, for a few comments about this reel. if you like the design, fit and finish of the daiwa saltist, you'll love the finnor. unfortunately, it has the same ambassaduer-style dog and single anti-reverse roller bearing that has cause so much difficulty for me in the past. like the saltist, this reel benefits greatly from a carbontex upgrade and bearing service. overall, it's a very nice reel!